Although I now mostly sew garments for myself, every now and then I embark on some selfless sewing and the most recent one was a birthday gift to my husband. After browsing through a number of men's coat patterns, I found a really unique design which I showed to him beforehand for approval and now he is the proud owner of an OkiStyle Paris coat!
I have written a very detailed review of the pattern at
SewingPatternReview.com. This post is a supplement that features some construction highlights and photos that I could not fit in the review. It is not meant as a tutorial at all since the PDF pattern already includes step-by-step photo guided instructions. It is sold at
Etsy under Okistyle Patterns. (Note: I am not an affiliate, just an admirer!)
Fabrics & Notions
 |
| The main fabric was cashmere wool coating purchased from Stonemountain & Daughter. It was napped so the first thing I did before laying out my pattern pieces was to feel the nap and mark the direction with a small masking tape tacked to the fabric. I cut my pattern pieces on a single layer, right side up. |
 |
| Not sure if it's obvious but I wanted too how how thick the fabric was. Good thing it was freezing in my sewing room so I didn't mind the warmth provided by the thick fabric! |
 |
| For lining, I used this burgundy colored map print Cupro Bemberg lining from Bias Bespoke. It was the perfect lining weight for a coat. |
 |
I didn't want to use fusible interfacing on wool cashmere so I invested in some quality sew-on interfacing in the form of hair canvas which I bought from Emma One Sock. This one was the lightweight version and contained wool, horsehair and viscose. To use them I just sewed them to the main fabric within the seam allowances, similar to how one sews an underlining.
|
 |
| For zipper, I went with a two-way separating zipper so hubby could easily unzip from the bottom when needed like while driving. It's size 5 antique brass purchased from Zprz.com. |
 |
| The pattern called for a single button closure on the collar. I opted for snap-on closure and found this beautiful sew-on snap that looked like buffalo horn but is actually high quality strong plastic from Bias Bespoke. |
Construction Highlights
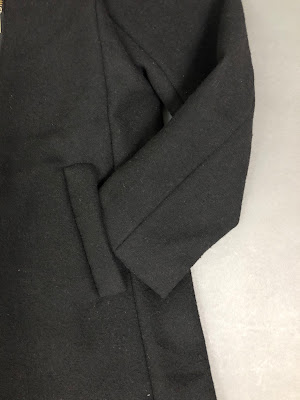
Single welt flap pockets on the coat's front panel:
 |
| These are the flaps. One is shown with right side out and the other wrong side out. The flap is interfaced with the hair canvas. Unlike the 5/8" seam allowances that I used on the coat, I used 3/8" on this one to match the width of the pocket opening as marked on the pattern. |
 |
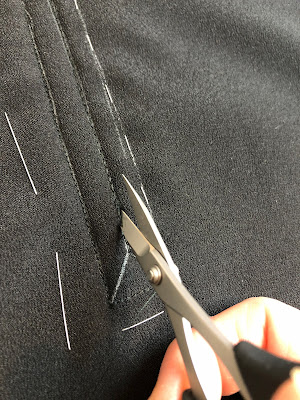
| Above you can see the placement and cutting lines for the pocket which I machine basted. The size of the seam allowance on both sides of the center line is 3/8". |
 |
| The pocket lining was basted to the coat along the placement lines. The long straight edge of the pocket matched the raw straight edge of the coat piece. |
 |
| Cutting the pocket lining/coat layer. |
Here is a short clip showing how the pocket flap was inserted between the pocket lining and coat.
 |
| A view of the cut area from the wrong side of the coat. |
 |
| This is the view from the lining side. |
 |
| Understitching the area between the coat and the pocket lining. |
 |
| After the flap was pulled out to the right side. |
Zipper:
To understand what I did with the center back vent, let me show first some photos of the finished area.
 |
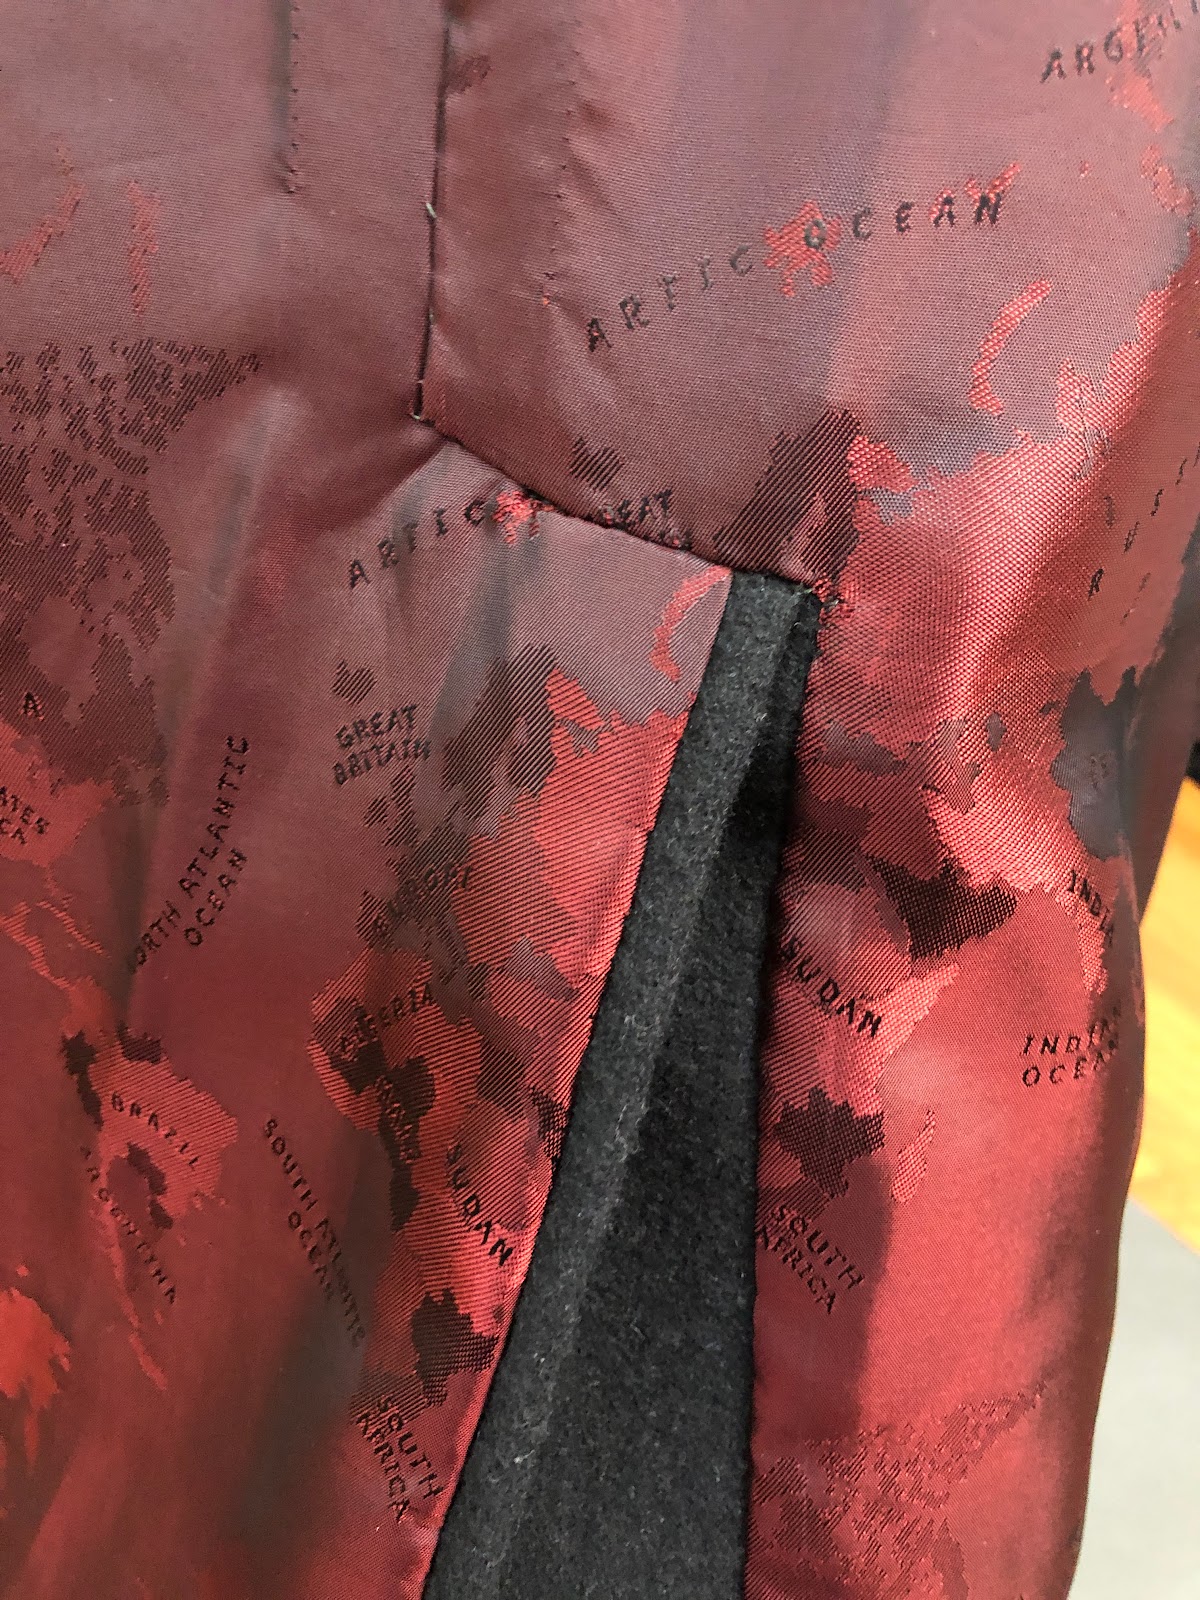
| View of the back vent from the right side. |
 |
| View of the vent from the wrong side. The lining was hand sewn to the main fabric using catchstitches. Before that could be done, I had to finish the main fabric vent first. |
 |
| I mitered the corners around the vent. This one is on the left side which is the overlapping side of the vent. It has a narrower vertical seam allowance. |
 |
| This one is on the right side. |
 |
| The lining pinned to the main fabric before being hand sewn. |
Close-up of Details:
The fashion side:
 |
| Pardon the underexposure as it was the only way to show the detail clearly on black fabric. The collar is asymmetrical with the right side being longer and having a sort of "tab" extension. |
 |
Flat lay view of the front lining/facing.
|
 |
| Closer look at the front lining with the facing. |
 |
| Flat lay view of the back lining with the center back pleat and vent. |
 |
| The special labels. "Tinahi ko ito" is a Tagalog sentence which means "I sewed this." |
 |
| The lining hem constructed with a jump pleat. |
 |
| Junction of lining hem and front facing. Area was sewn down to the coat hem and then the rest of the lining hem sewn with a jump pleat as shown in previous photo. |
Modeling Shots
Views with collar and zipper closed.
Views with collar unsnapped.
A view showing that the coat can also be worn unzipped.
That's it! Hope you enjoyed this photo-heavy post. Hubby loves the coat and cannot wait to wear it. Just when he has a cozy wool coat to enjoy, it suddenly turned summer in the middle of winter in our neck of the woods!


What a wonderful labor of love. Thank you for sharing so many details.
ReplyDeleteThanks for stopping by!
DeleteThanks for the detailed post. Gorgeous coat and the model so cooperative looking fabulous. Oki Style has such wonderful twists to her patterns and this is no exception. All that detail truly selfless sewing.
ReplyDeleteThanks so much for the kind words! I'm lucky hubby doesn't mind posing:) I agree about OkiStyle. And what's great is her designs are executable!
DeleteWhat a treasure your skills and detailed illustrations are. OkiStyle would do well to reference your post with their instructions.
ReplyDeleteThanks so much for saying that Carol!
DeleteMaria, I have followed some of your reviews on Pattern Review, but did not know about your blog -- Wow! It is a lot of work to document projects, but it is greatly appreciated! I actually came here to look at your flat lining method after reading your top review of Vogue 1486 by Nicola Finetti, but found a treasure trove!
ReplyDeleteUnfortunately, Blogger eliminated my previous compliments to you, Maria! Thank you for the fabulous detailed construction process and your hub's elegant modeling, as well. I know a blog is a great deal of work, but it IS appreciated! I came to check your instructions for flat lining after reading your PR.com review of Nicola Finetti's Vogue 1486. I'm planning to sew the top and skirt for a holiday wedding. Thanks again!
ReplyDeleteSorry for the late response. Blogger is supposed to send me email notification when someone comments but I haven't been receiving any. I really appreciate your taking time to leave such a wonderful message! Thank you for the kind words and best of luck with your holiday project!
Delete