Although I now mostly sew garments for myself, every now and then I embark on some selfless sewing and the most recent one was a birthday gift to my husband. After browsing through a number of men's coat patterns, I found a really unique design which I showed to him beforehand for approval and now he is the proud owner of an OkiStyle Paris coat!
I have written a very detailed review of the pattern at
SewingPatternReview.com. This post is a supplement that features some construction highlights and photos that I could not fit in the review. It is not meant as a tutorial at all since the PDF pattern already includes step-by-step photo guided instructions. It is sold at
Etsy under Okistyle Patterns. (Note: I am not an affiliate, just an admirer!)
Fabrics & Notions
 |
| The main fabric was cashmere wool coating purchased from Stonemountain & Daughter. It was napped so the first thing I did before laying out my pattern pieces was to feel the nap and mark the direction with a small masking tape tacked to the fabric. I cut my pattern pieces on a single layer, right side up. |
 |
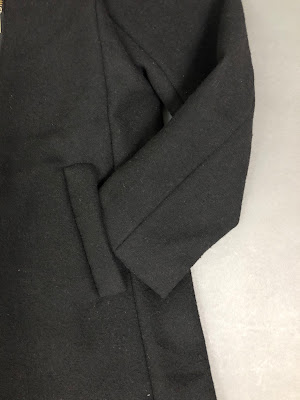
| Not sure if it's obvious but I wanted too how how thick the fabric was. Good thing it was freezing in my sewing room so I didn't mind the warmth provided by the thick fabric! |
 |
| For lining, I used this burgundy colored map print Cupro Bemberg lining from Bias Bespoke. It was the perfect lining weight for a coat. |
 |
I didn't want to use fusible interfacing on wool cashmere so I invested in some quality sew-on interfacing in the form of hair canvas which I bought from Emma One Sock. This one was the lightweight version and contained wool, horsehair and viscose. To use them I just sewed them to the main fabric within the seam allowances, similar to how one sews an underlining.
|
 |
| For zipper, I went with a two-way separating zipper so hubby could easily unzip from the bottom when needed like while driving. It's size 5 antique brass purchased from Zprz.com. |
 |
| The pattern called for a single button closure on the collar. I opted for snap-on closure and found this beautiful sew-on snap that looked like buffalo horn but is actually high quality strong plastic from Bias Bespoke. |
Construction Highlights
Single welt flap pockets on the coat's front panel:
 |
| These are the flaps. One is shown with right side out and the other wrong side out. The flap is interfaced with the hair canvas. Unlike the 5/8" seam allowances that I used on the coat, I used 3/8" on this one to match the width of the pocket opening as marked on the pattern. |
 |
| Above you can see the placement and cutting lines for the pocket which I machine basted. The size of the seam allowance on both sides of the center line is 3/8". |
 |
| The pocket lining was basted to the coat along the placement lines. The long straight edge of the pocket matched the raw straight edge of the coat piece. |
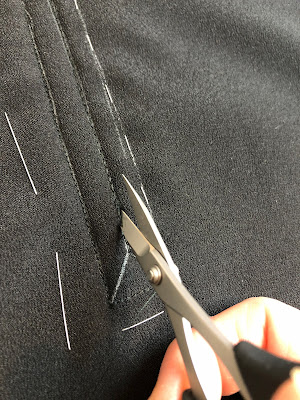 |
| Cutting the pocket lining/coat layer. |
Here is a short clip showing how the pocket flap was inserted between the pocket lining and coat.
 |
| A view of the cut area from the wrong side of the coat. |
 |
| This is the view from the lining side. |
 |
| Understitching the area between the coat and the pocket lining. |
 |
| After the flap was pulled out to the right side. |
Zipper:
To understand what I did with the center back vent, let me show first some photos of the finished area.
 |
| View of the back vent from the right side. |
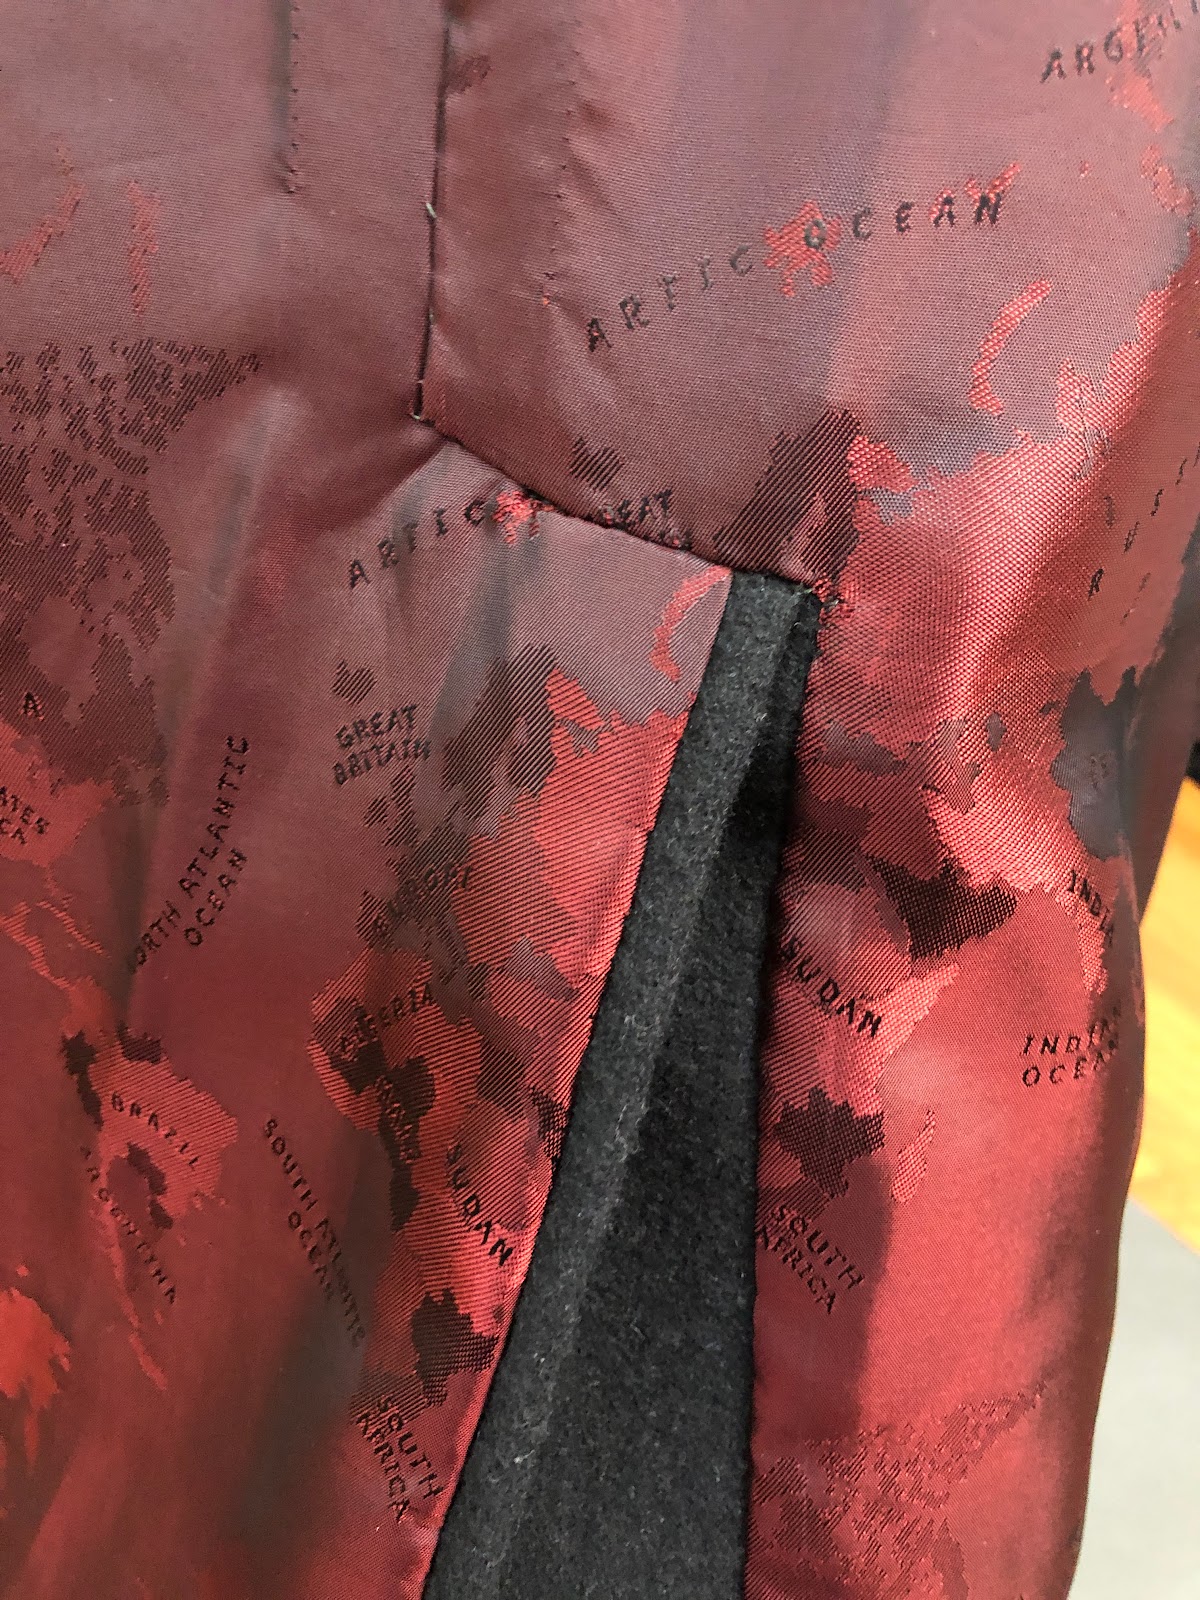 |
| View of the vent from the wrong side. The lining was hand sewn to the main fabric using catchstitches. Before that could be done, I had to finish the main fabric vent first. |
 |
| I mitered the corners around the vent. This one is on the left side which is the overlapping side of the vent. It has a narrower vertical seam allowance. |
 |
| This one is on the right side. |
 |
| The lining pinned to the main fabric before being hand sewn. |
Close-up of Details:
The fashion side:
 |
| Pardon the underexposure as it was the only way to show the detail clearly on black fabric. The collar is asymmetrical with the right side being longer and having a sort of "tab" extension. |
 |
Flat lay view of the front lining/facing.
|
 |
| Closer look at the front lining with the facing. |
 |
| Flat lay view of the back lining with the center back pleat and vent. |
 |
| The special labels. "Tinahi ko ito" is a Tagalog sentence which means "I sewed this." |
 |
| The lining hem constructed with a jump pleat. |
 |
| Junction of lining hem and front facing. Area was sewn down to the coat hem and then the rest of the lining hem sewn with a jump pleat as shown in previous photo. |
Modeling Shots
Views with collar and zipper closed.
Views with collar unsnapped.
A view showing that the coat can also be worn unzipped.
That's it! Hope you enjoyed this photo-heavy post. Hubby loves the coat and cannot wait to wear it. Just when he has a cozy wool coat to enjoy, it suddenly turned summer in the middle of winter in our neck of the woods!