It is still summer here in the Midwest and I'm still working through my linen stash. I really don't follow a system when it comes to deciding which fabric to sew. I just pick the one that was inspiring to me at the moment. Like this lovely Nani Iro linen.
 |
| It's hard to see from the photo but this lightweight Japanese fabric has the most beautiful design that features a double border print and variegated shades of blue arranged in geometric fashion. |
After browsing through the myriad of inspiring garment photos posted on Instagram, I decided to make my own version of the Papercut "Pinnacle Top" pattern.
About the pattern:
The Pinnacle top pattern is available in the Papercut pattern website as a paper pattern or PDF file. It features an oversized cropped top which can be sewn in one of three ways:
Variation 1: deep V neckline with short or wrist length sleeve
Variation 2: round neckline with binding and back ties with short or wrist length sleeve
Variation 3: sweater with neck band and sleeve cuffs
The first two variations will work well with woven fabrics and the third one with knit.
I made view 1. It only consists of three pattern pieces--the body, the triangular inset and the neck facing.
 |
| This is the main body piece. At first glance it is hard to figure out what's going on but after locating the edge which attaches to the triangular inset in the center front, it becomes easier to decipher. |
Unlike the typical top pattern, this one does not have a front and back pattern piece. Instead, it has only one body pattern piece, the back and front being connected already by the sleeve.
 |
| Here I folded the pattern piece so that it is easier to visualize where the sleeves fall on the fabric. I wanted the border print on the sleeves but it was impossible to do it for both front and back sleeves because the grainline of the pattern did not coincide with the selvedge. |

 |
| After much rearranging, I decided to just put the border print on the center back. |
 |
| See the center back? That is made of two border prints sewn along the lengthwise grain. |


 |
| Here are the cut fabric pieces. It's like a giant jigsaw puzzle! |
Construction:
Although the top itself was easy to sew owing to the simplicity of the lines, I still had to grapple with some issues which necessitated some fiddling with.
•Very Deep V-Neckline
It is indeed mentioned in the pattern website that the neckline is deep. Looking at finished garments posted on Instagram, a lot of them were worn with cami. When I tried on the muslin, I found out for myself how deep it was. I definitely could not wear the top as is so I had to make adjustments on my pattern pieces.
 |
| I raised the neckline by 1.5". I had to redraw the edge that would be attached to the center triangular inset. |
 |
| I also needed to adjust the triangular pattern piece on the cut side leaving the center fold line as is. |
 |
| A closer look at the adjustment needed to be made on the triangular piece. |
 |
| Not to forget the neck facing. Since I raised the neckline by 1.5", I had to shorten the neck facing by same amount. |
This is definitely more wearable for me!


•Center Front Seam I created
Since I pieced the fabric I used for the triangular center inset, I created an unwanted seam in the middle. No biggie but I didn't like how it looked so I decided go camouflage it with some decorative stitches.
 |
| After testing a variety of decorative stitches on a scrap piece of fabric, I settled for this one on my Juki F600. |
 |
| I used a wash away stabilizer for decorative stitching. It definitely made a difference in the quality of the final stitches. |
 |
| I used a light blue embroidery thread which went really well with the fabric. |
 |

•Bottom Hem
I tested different methods of hemming the bottom as I did not like how the front center hem was sticking out. Although it seems that the top was supposed to look that way judging from most of the photos I have seen of the finished project, mine was doing so in an unattractive way. I'm guessing it must be due to the seamed center of the triangular inset.
 |
| First try: simple folded hem. I stitched a 5/8" guideline and folded the hem to the inside. |
 |
| Second try: I sewed a wide bias cut hem facing and turned to the inside. |
 |
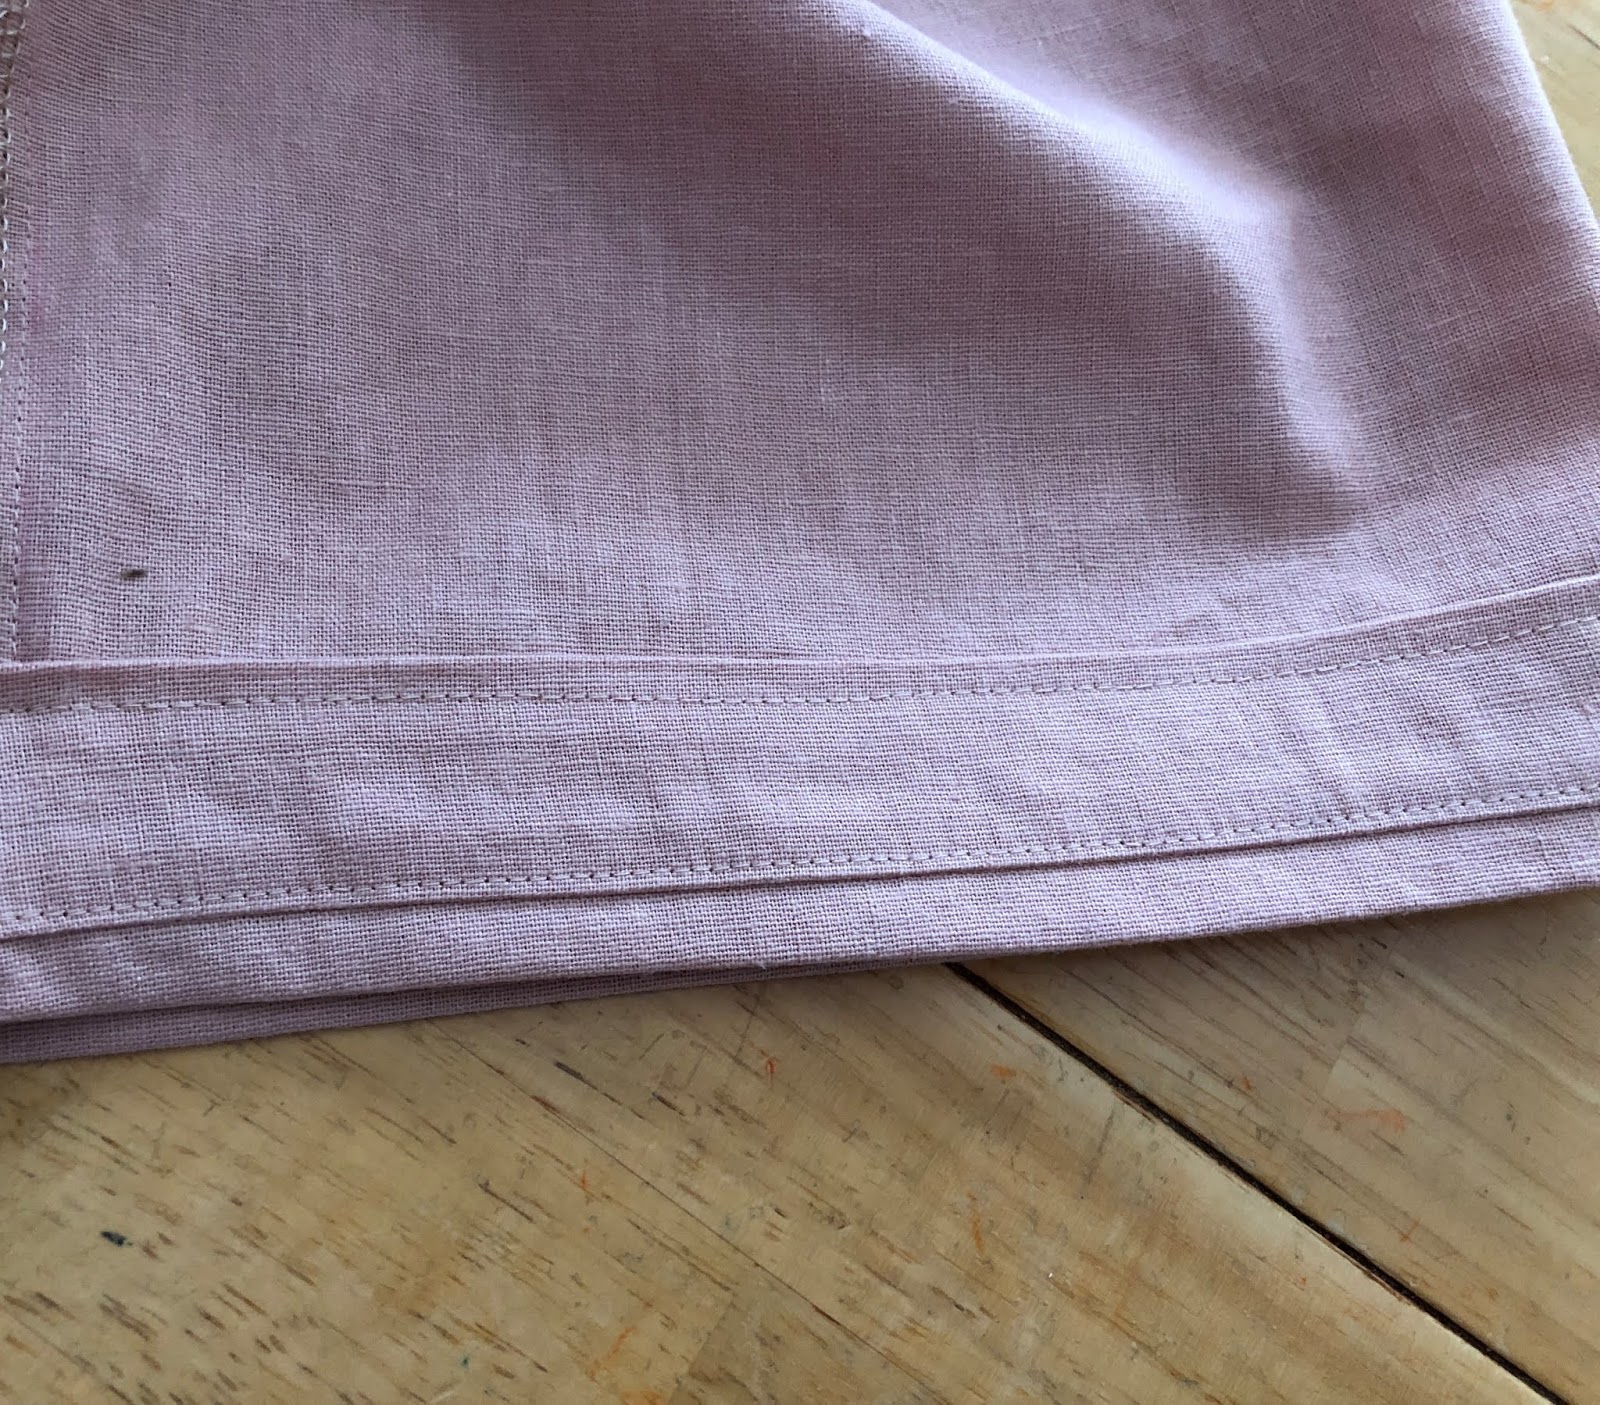
| Third and last try: I sewed a 4" wide bias cut hem band and sewed in place. |
 |
| This is the view from the right side. |
I decided on the third method. After pressing the band in place, it looked good on the top and improved the issue a bit. It still stuck out but in a more graceful manner. And it's a plus that I was able to add 2" hem to the cropped top.
And now photos of the finished garment!