It all started with this Talbots moto style sweater jacket.
I was smitten by the unique style but I was not willing to pay $140 for it. So I started browsing online for sewing patterns that mimic this style and eventually stumbled upon Kwik Sew 3764.
 |
| This multi-sized pattern (XS-XL) is designed for medium weight woven fabrics. |
I decided to go outside my comfort zone and pair the pattern with a faux-leather fabric I found at Fabric.com. This is the most gorgeous, supple faux leather I have ever seen, not plasticky like vinyl. It is fused to a 100% rayon backing and has a degree of mechanical stretch. It is marketed as "Perfection Fused Leather" and Fabric.com had the best price. There was a hitch though with the first shipment as my two yards of fabric arrived folded and stuffed in a very small box. The faux-leather was all wrinkly and since I could not iron it out, that was an issue. Thankfully, the customer service was great and I was sent an immediate replacement and this time the fabric arrived rolled in a tube.
My fabric color was called "Champagne." It is hard to describe the actual color. In certain lightings, it looks silver but under low light, it's more gold tone or beige. It has a low sheen.
The Preparation
I sewed a muslin for each view and decided I liked view A better. Just a word of caution, though. If you're like me when sewing a muslin and only include the essential parts that affect the fit (which means skipping parts like facings, collars, etc), do not skip the waistband on view A. I found out it affects how the back looks. Without the waistband, it looks boxy and it's tempting to take in more than needed at the side seams or center back seam.
After fitting the muslin, here are the alterations I made. Keep in mind I am petite with short torso and arms:
1) Took in shoulder by 1".
2) Shortened sleeves by 1-3/4" along the alteration lines on the pattern.
3) For view B, I found I needed to shorten the body by 1" but for view A, the length was fine. One with longer torso might find this too short.
Although this faux-leather was not as tough as real leather or vinyl, there were still some techniques I used specific to this type of fabric:
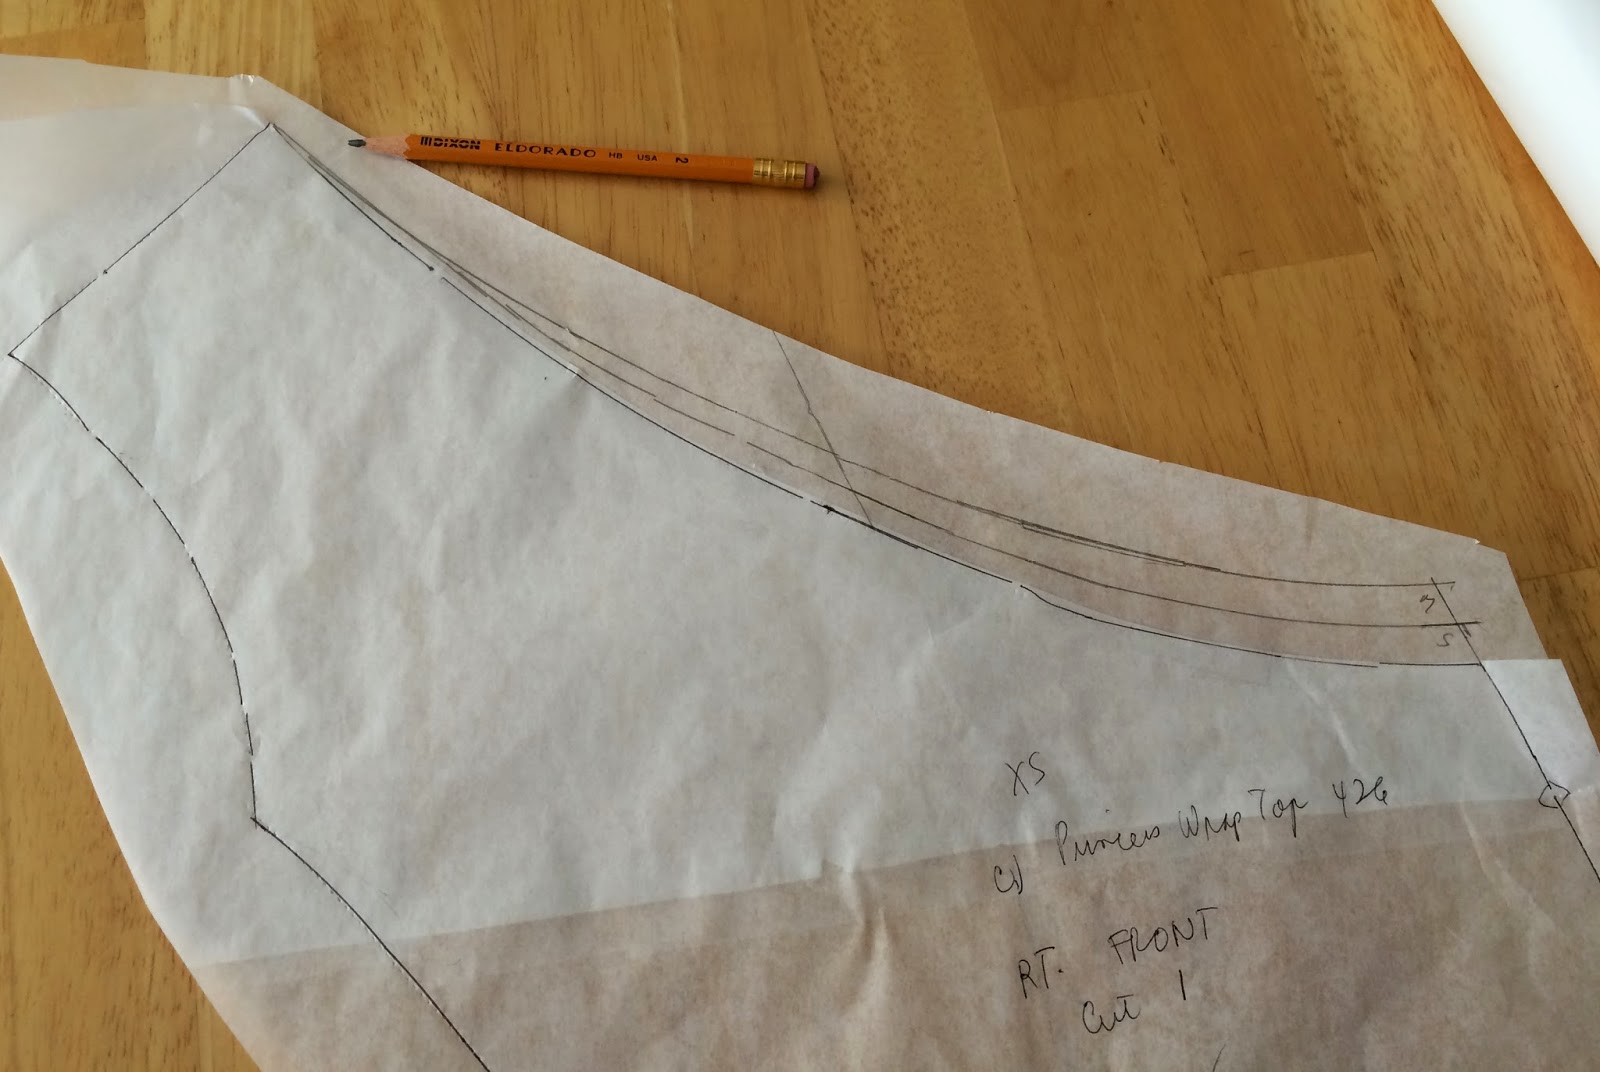
I did not pin the pattern pieces to the fabric as I did not want permanent pin holes on the faux-leather. Instead I traced the pattern to the rayon backing.
After all the pieces were cut, I carefully lay them on my big cutting mat without folding them flat to avoid any folding lines. Since I sew in the dining room, this set-up also made it easy for me to clean up at the end of the day.
The Sewing Process:
*I invested on a box of Clover Wonder clips to use in place of pins. I found mine at Amazon.com.
*Tracing paper which I used under the sewing foot when sewing over the faux leather side. I found
that using nonstick foot did not help at all as my fabric refused to budge. It was not hard at all to peel off the paper. In fact it was even fun pretty much like popping the bubbles in a bubble wrap.
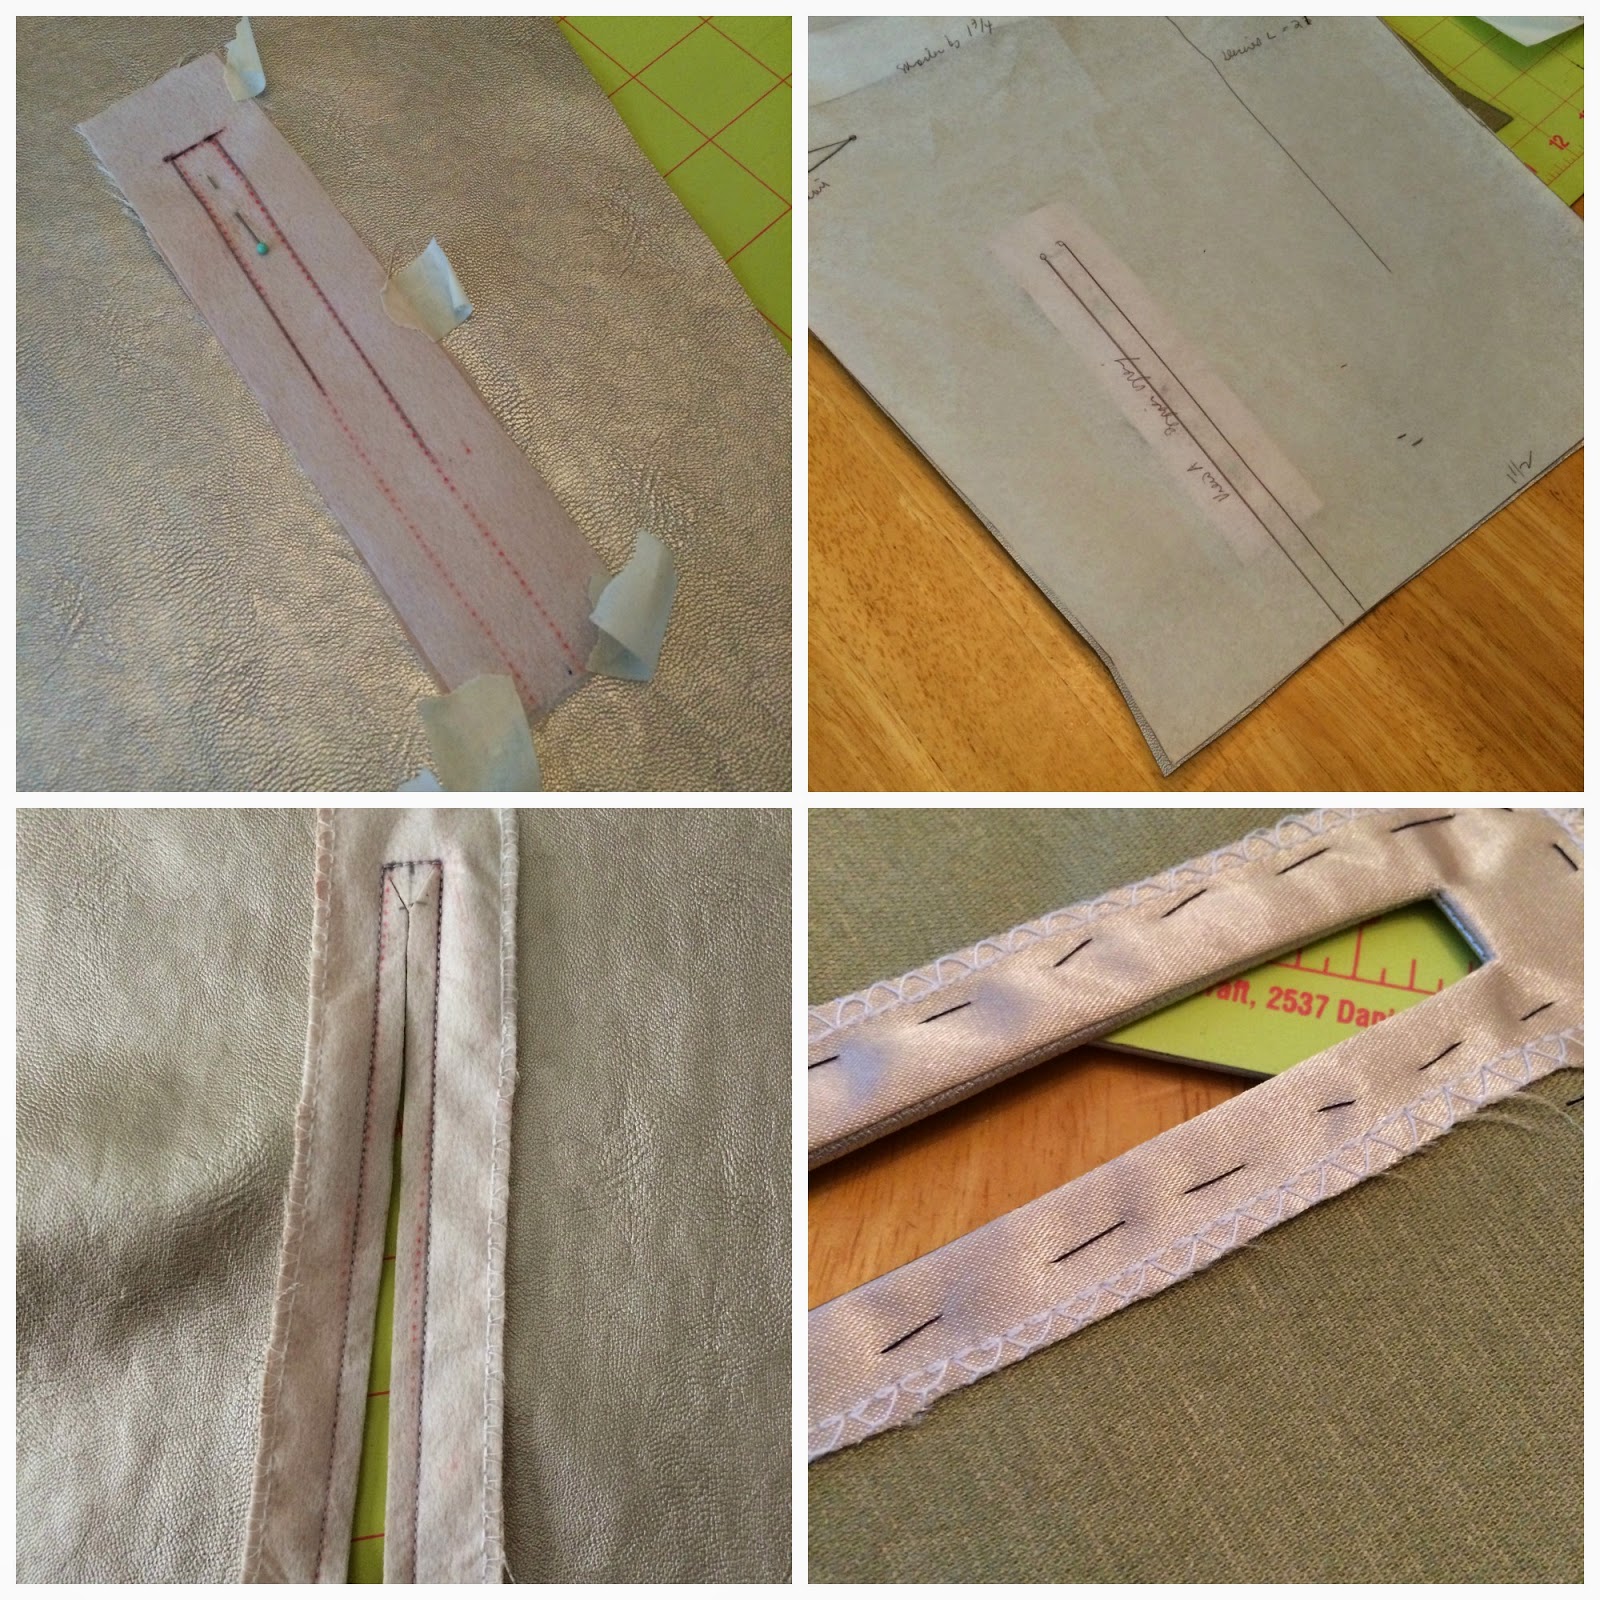
Masking tape to hold down fabric in areas where it was impossible to use the clips.
*Sew-in interfacing instead of fusible as heat and faux-leather do not get along well.
Here are some pictures of the sewing process:
Sewing the zipper to the front. I used brass metal zippers to bring out the gold tone of my fabric.
Since I was not able to iron my seams open or flat, I decided to topstitch them.
I used longer straight stitches and played around with the tension to make sure the stitches looked nice even when sewn from the wrong side.
I added a stay tape to stabilize the shoulder seams.
Sewing the zippered pockets. I used masking tape to hold down the pocket lining in place.
When sewing the sleeve gussets and zippers, I found that using very fine sewing needles for basting did not leave any unsightly pinhole marks.
In my opinion, it was worth to invest in good quality zippers.
Although I've seen versions of this pattern with self-drafted linings, I decided to leave it as is.
Without further ado, here is my first moto jacket.
I have my eyes on the Style Arc Ziggi jacket but have read about the scarcity of instructions. This Kwik Sew pattern is chock full of clear instructions and illustrations and is a good way to learn how to sew a moto jacket. I highly recommend it. Just be aware that this is not for a fitted snug motorcycle jacket and is roomy enough to accommodate medium weight long-sleeved tops underneath.