Sunday, July 9, 2023

Style Arc Kew Pants: The Pocket Construction Photo Tutorial

 For this photo tutorial, I skipped the coin pocket since I do not really need it for my linen pants. I labeled the cut fabric pieces with tape, legend below. Kindly refer to them as you read each step. You can click on the photos to get a larger view. 

R--right side of fabric

W--wrong side of fabric

3--pants front

5--pocket bag

6--pocket bearer

7--pocket facing

Steps:

1. Apply interfacing to wrong side of both #7.


2. Clean finish (serge or zigzag) the following edges beforehand:

Long curved edge of #7. 


Curved outer edge of #6. 


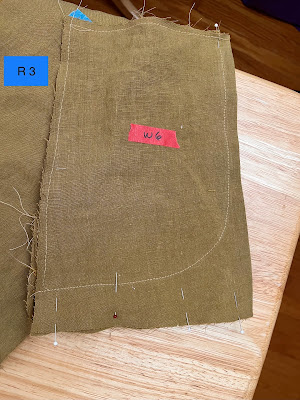
3. Lay #6 with its right side up over #5 matching the notches on the straight side. So the wrong side of #6 will be over the right side of #5. Sew along the curved edge of no. 6. Baste the top and sides. Set aside. 

See notch on straight edge of pocket bag. 


We will refer to this as the" assembled pocket bag."

View of the wrong side of the assembled pocket bag. 

4. Put no. 3 on flat surface with the right side facing up. Lay #7 over no. 3 right sides facing each other aligning the unfinished curved edge of no. 7 to the curve of no. 3. Hold in place with pin.


6. Lay the assembled pocket bag over the pinned pieces from step 5 with the right side of the pocket bag facing down. So the bottom layer will be the pants, middle layer the facing and top layer pocket bag. Both pocket bag and facing will be right sides over the pants' right side. Sew in place using the 1/4" seam allowance, then understitch. 


View of the pieces sewn together along the curved edge. Used 1/4" seam allowance. 


7. Sew the remaining free edge of the #7 (facing) to the pocket bag, making sure to keep pants front free. 


8. Fold pocket bag to the inside. Topstitch over the right side of pants front along curved edge. 


After topstitching. 

9. Fold pocket bag along the foldline (marked by the notches), so that right sides will be facing each other. Sew along the bottom edge to close the pocket bag. Baste along the top and side edges to prevent from shifting. 


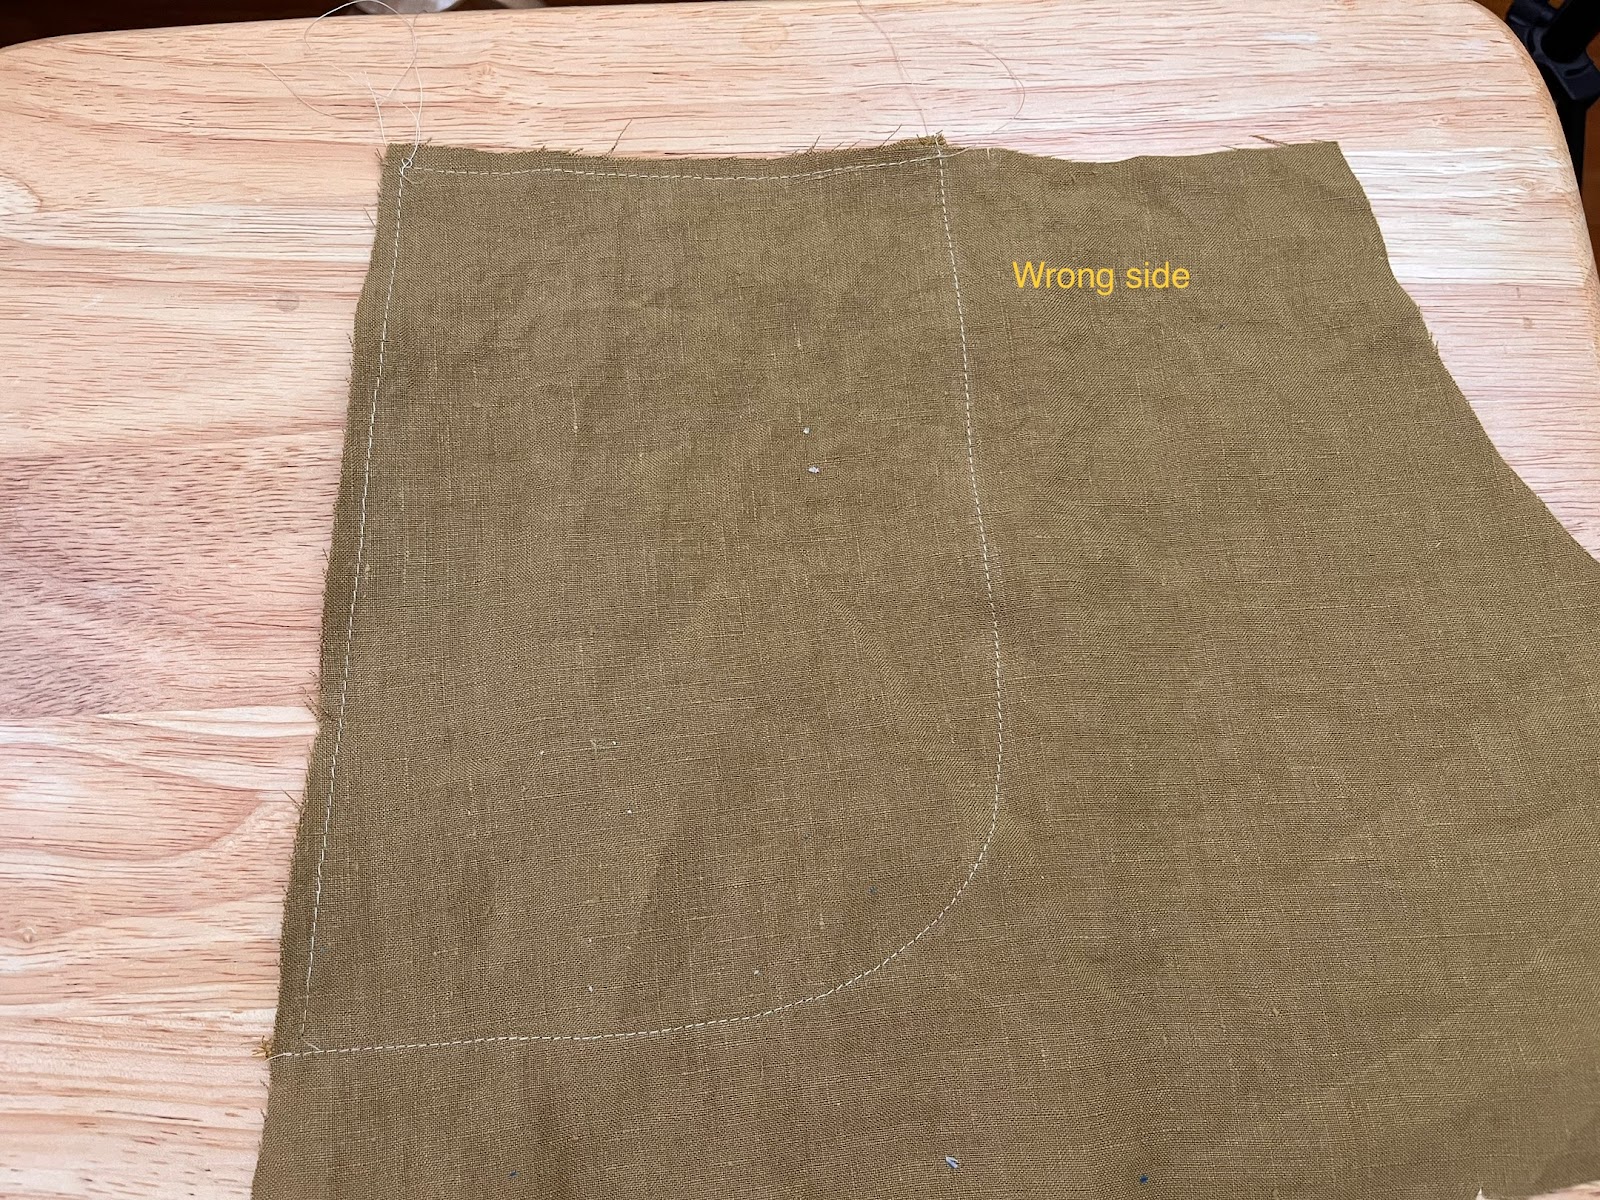
View from the wrong side with the pants front piece underneath. Make sure to get this out of the way as shown in next photo before stitching the bottom of the bag. 

Pants front piece out of the way.

Bottom of the pocket bag sewn and serged as seen on the wrong side. Note that I basted the top and side edges. 


10. Anchor the pocket to the pants front by sewing a 3/4" long stitch along the upper and lower corners of the pocket opening. 


~End of Pocket Construction.~


Thursday, January 26, 2023

Burda 6337 A Quilted Jacket

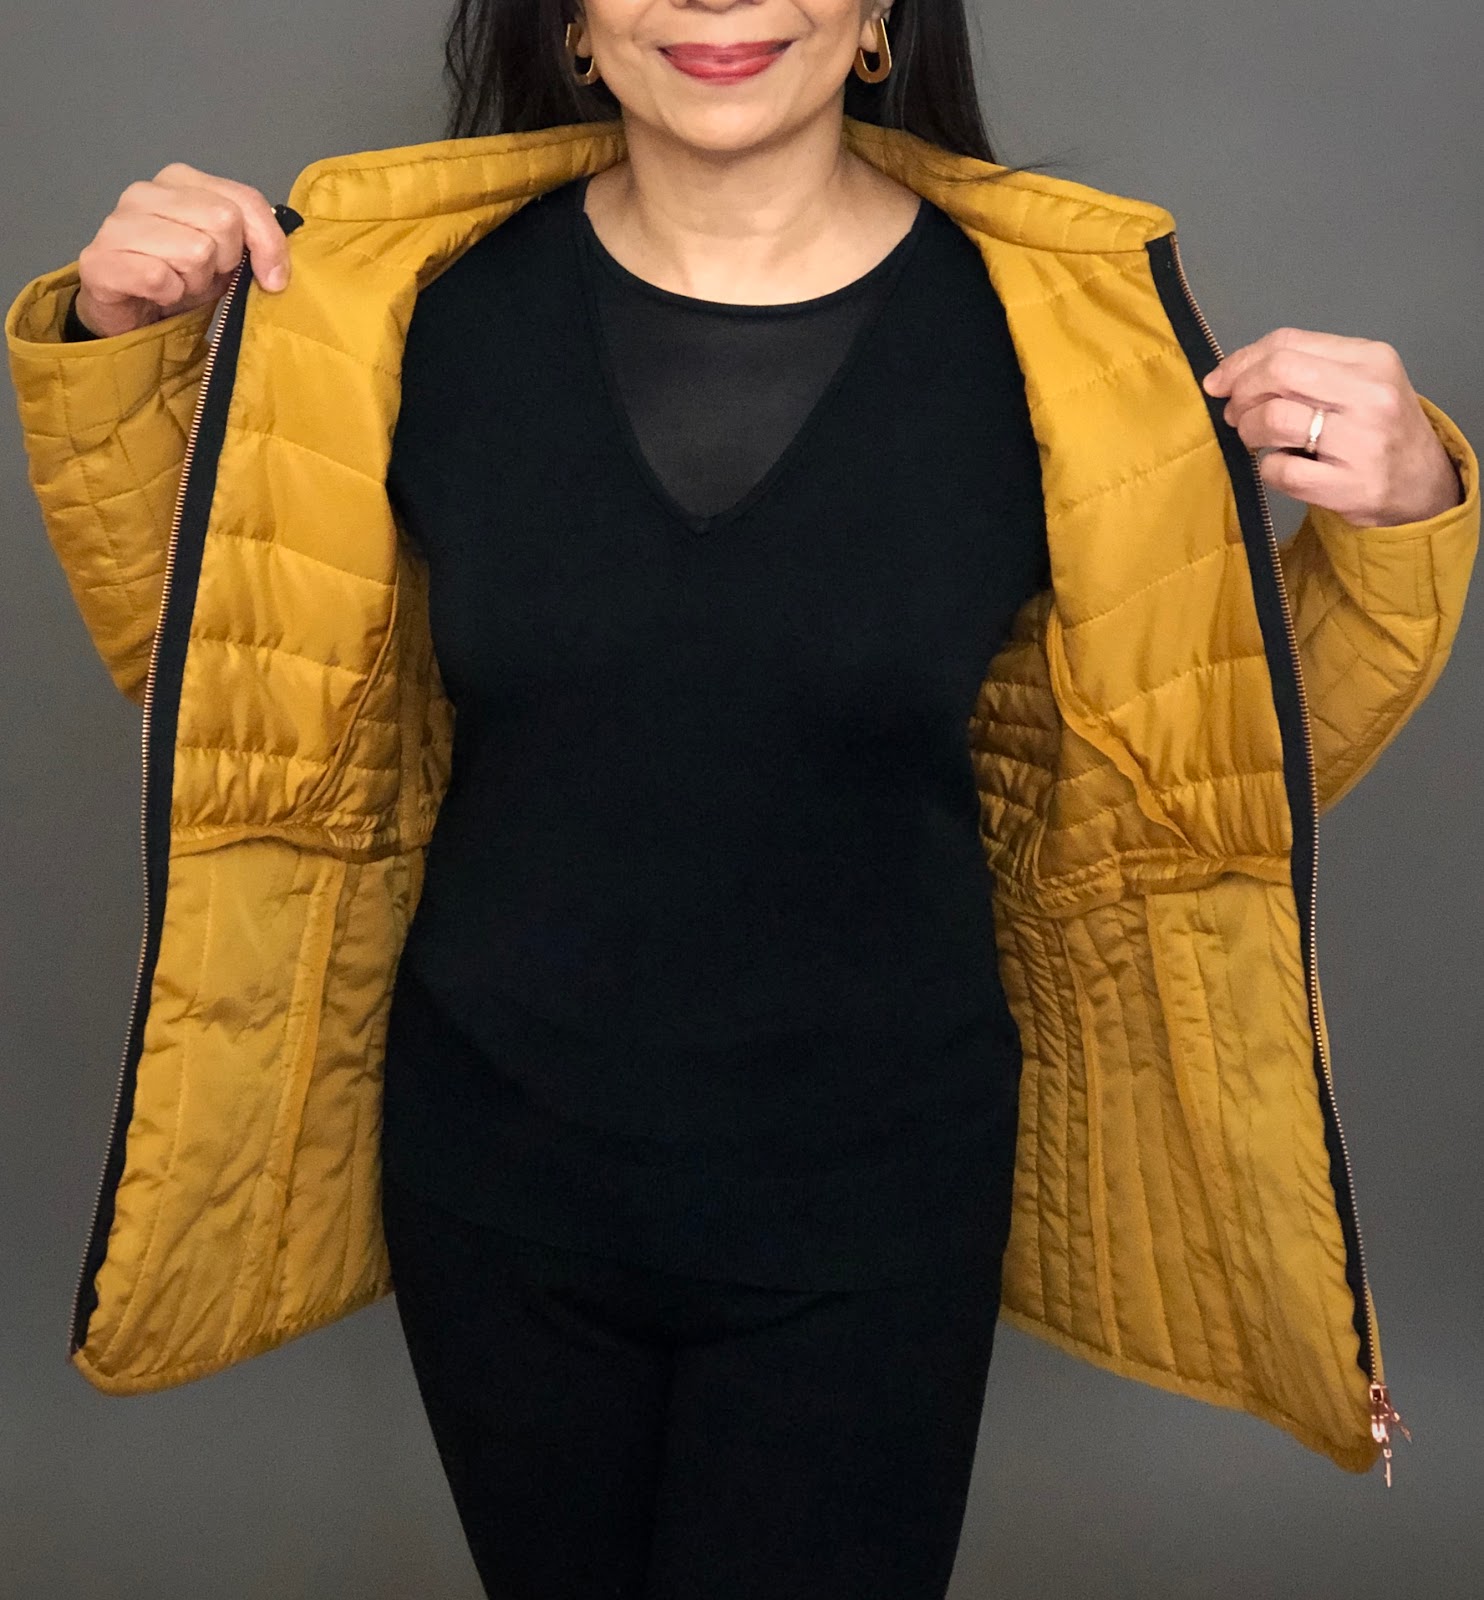
The latest addition to my me-made outerwear  collection is a quilted jacket inspired by my favorite RTW Bernardo jacket. 
Me-Made


Inspiration Jacket 

I have just published a comprehensive review of the pattern at Pattern Review which talks about  the fitting and design alterations I made. This post will focus mainly on the construction. 

Fabric

Mind the Maker Strip Thelma Quilted Coating Fabric

I used a pre-quilted outerwear fabric which I bought from Minerva.com. The fabric consisted of two layers of woven polyester sandwiching a layer of thin polyester wadding. There is no right or wrong side hence a lining was not essential. 

I was not really a fan of the wide vertical quilting lines as I preferred a more interesting quilting design.  But I was in love with the warm toned mustard color. So I decided to play around with layout and added some of my own quilting lines to the fabric. 


I used single layout to cut the pattern pieces and used the cut fabric as the pattern for the corresponding mirror piece. 


This is the side bodice piece with narrower quilting lines. 

I redrafted the original pattern so that the bodice would have a waistline. That allowed me to play with the direction of the quilting lines. As seen here, the lower part has vertical quilting lines as opposed to the horizontal ones on the upper part. 


The two-piece sleeves provided another opportunity for quilting design.  This time I sewed additional quilting lines perpendicular to the original, at 1" width. This not only added an interesting contrast but it also saved me the trouble of having to match the quilting lines at the seams. 

Because the jacket was not lined, it necessitated a nice finishing for the inside seams which was achieved by Hong Kong binding. This was the most time-consuming part of the construction. I made a continuous bias loop using fabric "harvested" from the quilted fabric. I have seen matching bias tapes from the  Mind the Maker but I did not have luck looking for an online retailer that carries it. 

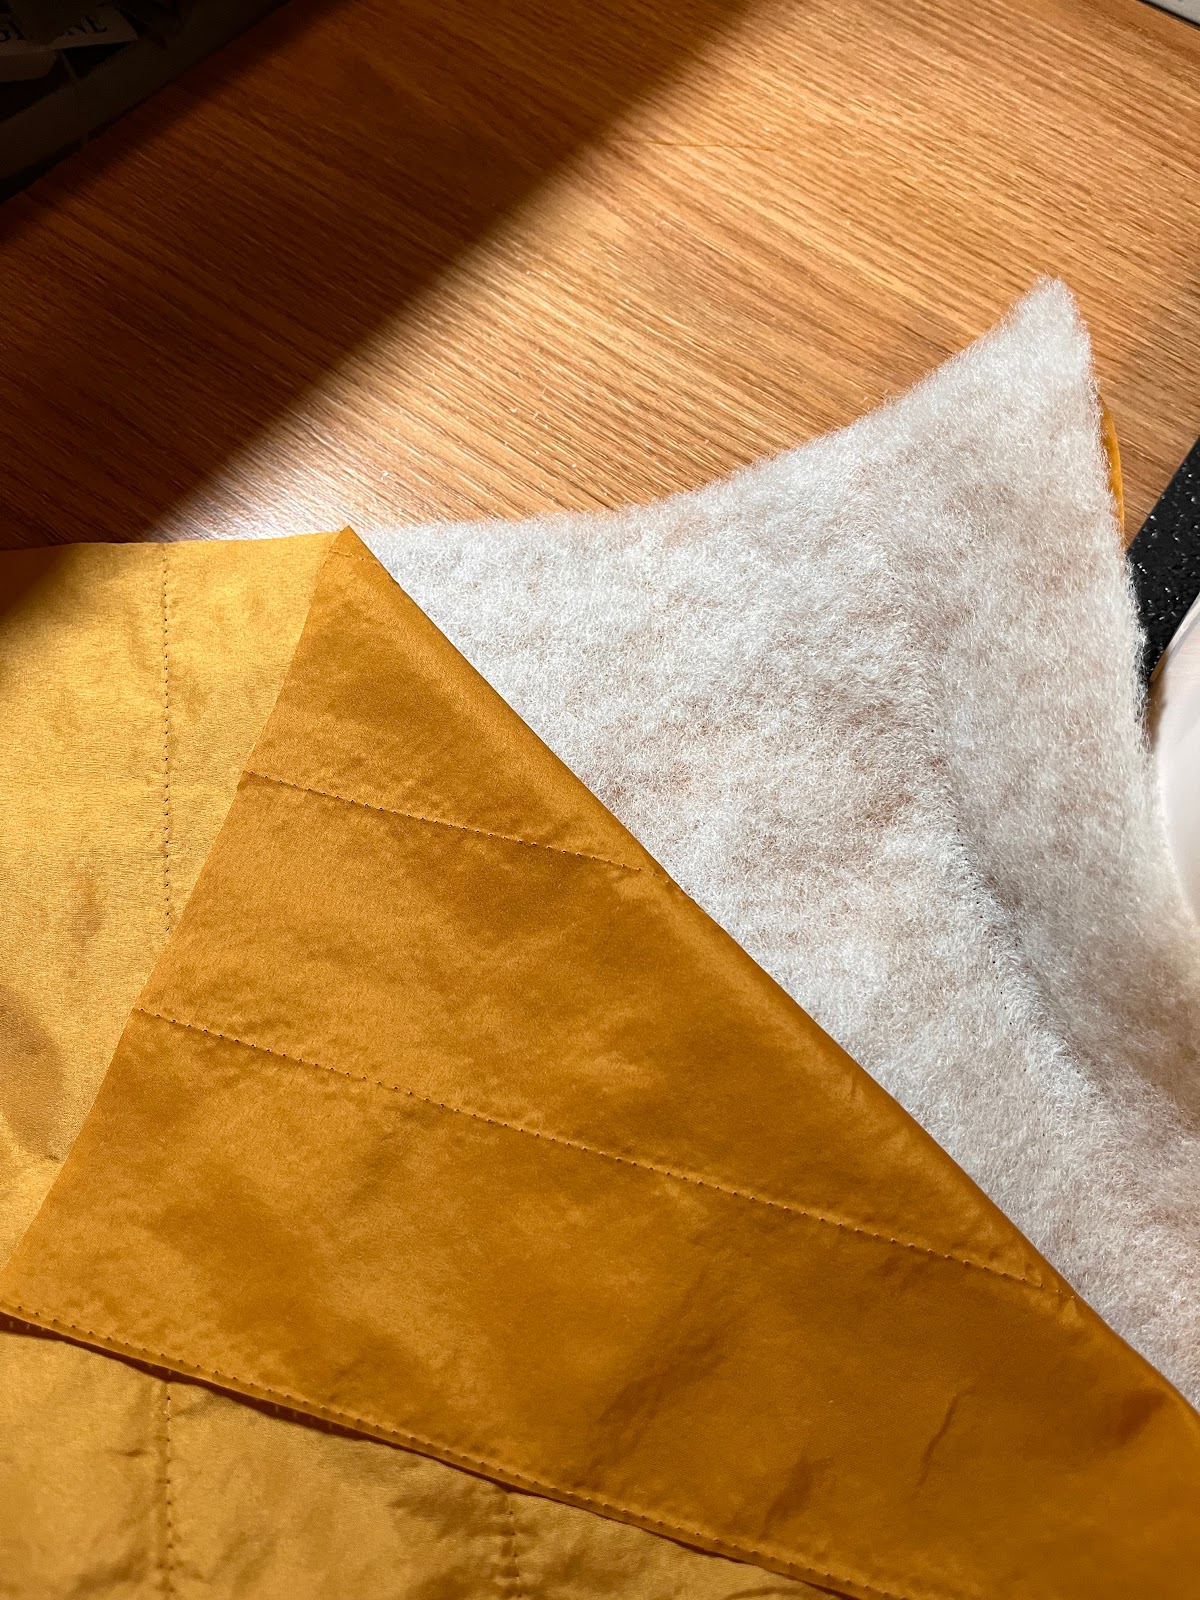
I cut a 12" square from the main fabric. 

It was easy enough to unpick the quilting stitches and remove the polyester wadding. 

I ended up with two perfectly usable piece of square fabrics to make my continuous bias loop. 

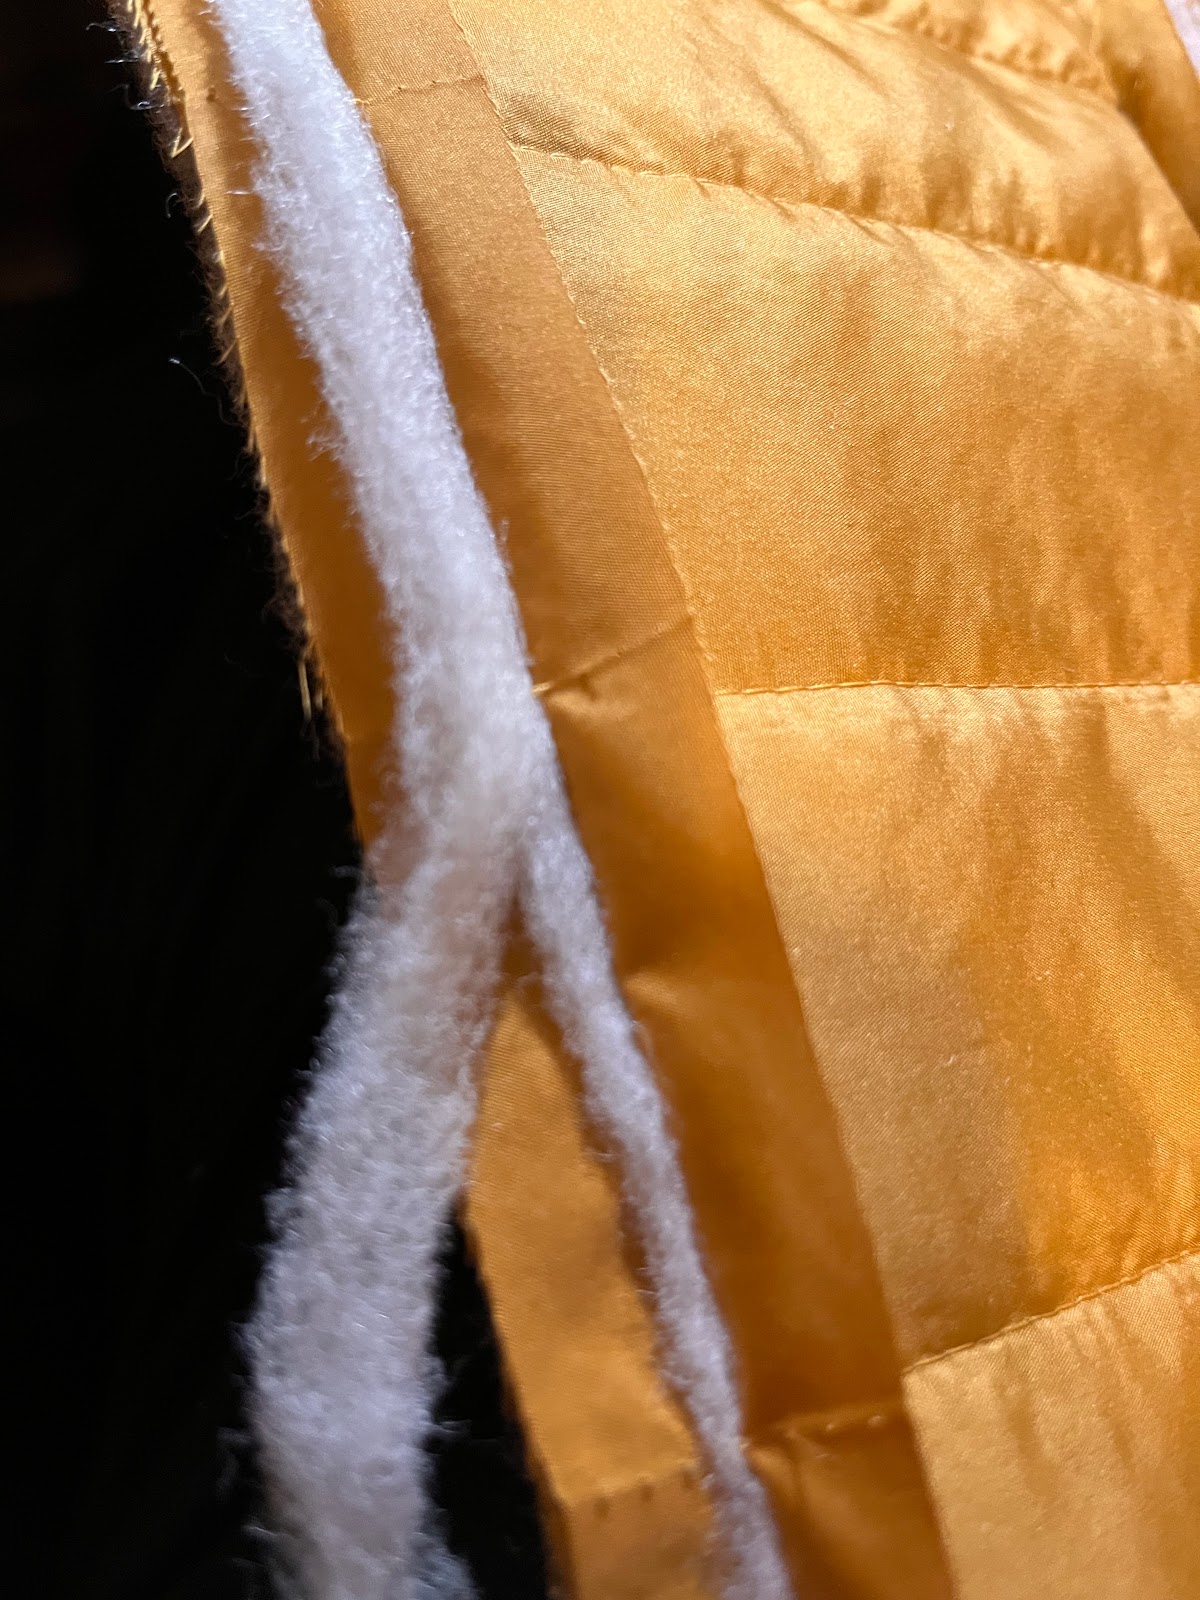
For the inside seams finishes, I used 1" wide bias strips. 

I trimmed some of the polyester wadding from the seam allowance so the bound seams would not be too thick. 

Here is a sample of the bound seams. 


 A look at the bound seams on the finished garment. 


Even though I have done Hong Kong binding and continuous bias loop before, I always like to refresh myself by referring to the wonderful tutorials at Itch to Stitch. 

All the outer edges (collar edge, front opening, bottom and sleeves) are finished by being enclosed in a bias tape. The seam allowances are first trimmed accordingly. For these I used a wider strip (1-1/2") so I could fold the strip on the inside. 

Collar finished with bias binding. 

Sleeve and bottom.


Zippers

One of the things I love about my RTW inspiration jacket is the rose gold zippers that are like jewels that brighten an otherwise basic jacket. So I used Riri zippers with shiny copper teeth for the pockets and front opening. 

Riri metal one-way zipper size M4 from Pacific Trimming. 


Riri two-way separating zipper in size M6. 

Although the pattern envelope specifies a specific length for the zipper to be used on the front opening, my advice is to wait until the jacket has been fully assembled before buying the zipper. That way, it can be customized to the correct length. Of course, one can always trim the zipper on the top and either reuse the metal stop (good luck with that) or stitch a heavy bar of buttonhole thread across the tape (again good luck with that!)

The extra zipper tape is just folded to the inside and sewn. The metal stop prevents the zipper pull from being accidentally removed. 

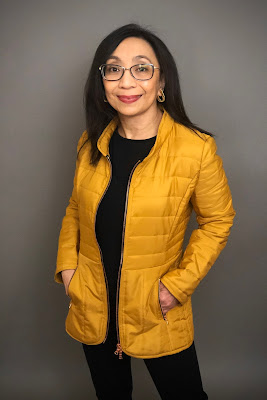
And now here are some photos of the finished jacket. I had a small amount of fabric left which I made into a matching bag That will be for another post.