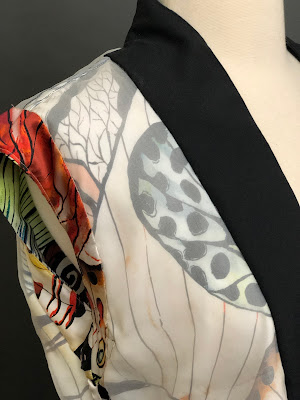
In celebration of my milestone birthday this May, I made myself a silk version of one of my favorite designer vintage patterns--Vogue 1693 by Issey Miyake. All my previous versions were sewn using linen. Unlike linen, silk requires some special handling. So I thought I'd share some of the techniques I used in the construction of this special garment!
 |
| OOP Vogue 1693 |
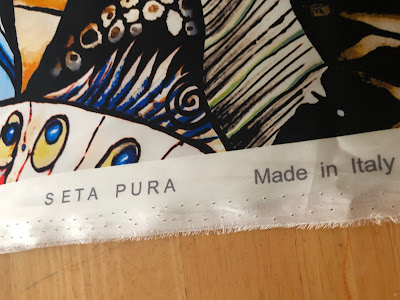 |
| Silk charmeuse digitally printed panel from Mood Fabrics. |
Fabric cutting.
The goal is to be able to handle silk's slippery nature:
*Stabilize.
 |
| I laid out tissue paper over my cutting mat to use underneath the silk fabric to be cut. |
*Immobilize.
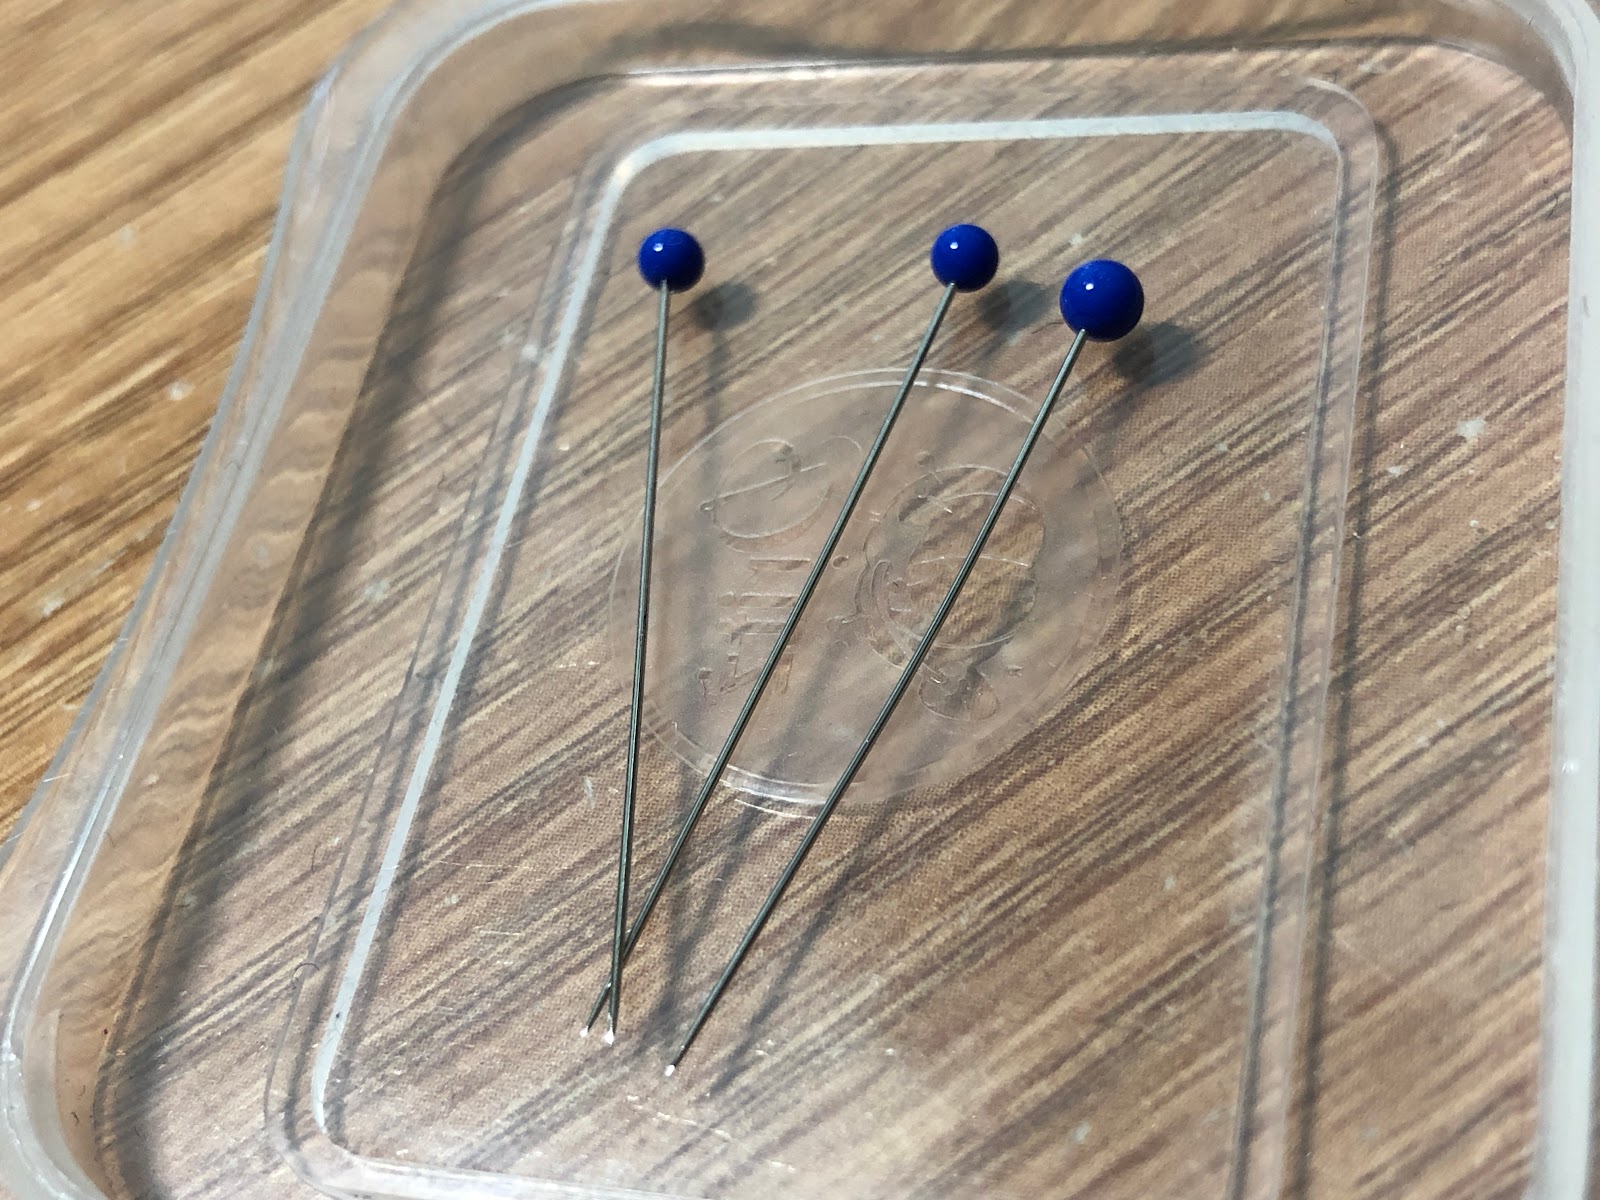 |
| Normally I am fine with just using pattern weights when cutting out my fabric but in the case of silk, I use lots and lots of pins to hold the fabric to both pattern paper and tissue paper. I also make sure to pin only within the seam allowance to avoid showing permanent holes in the fabric. |
*Cut. Be it rotary blade or shears, make sure the tools are sharp.
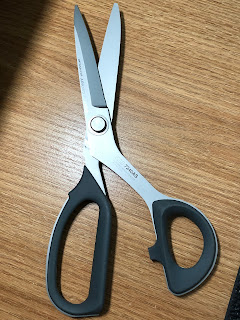 |
| This Kai (7240AS) shears have micro-serrated blades that really handle all kinds of fabrics very well including silk. A bit pricey but worth the investment.
|
Underlining.
Depending on the pattern, one may want to improve the body or drape of a silk fabric and in my case, I did so using silk organza. I followed the same principles to cut my silk organza and immediately hand basted the pieces to the main fabric pieces to minimize distortion with frequent handling.
Fabric prep.
Silk tends to fray a lot so to avoid this, I used overcasting stitches all around the raw edges of each cut fabric, catching the underlining with it. I decided not to use the serger because I thought this would add unnecessary bulk.
 |
The overcasting stitch style I used on my sewing machine.
|
 |
An exampled of the finished edge.
|
 |
| View from the underlining side. |
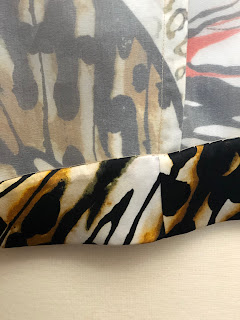
Fabric Sewing.
 |
| Visible underneath the white silk organza is the center back seam which I sewed using French seam. The pattern called for a flat felled seam but I thought French seam was more appropriate for my fabric. |


Beautiful blouse. Thanks for sharing. Eileen
ReplyDeleteThanks for stopping by! I appreciate the kind words!
DeleteThis is a delight Maria! Such lovely sewing and you always find the best prints!
ReplyDeleteThanks so much Diane! I always appreciate your kind words!
DeleteSuch a lovely blouse, the fabric is pretty and the pattern is great as well. The blouse looks good on you, the fit is perfect and it suits you well. Great job. Love it.<3
ReplyDeleteThanks so much!
Delete