Wednesday, October 26, 2011

Think Pink


My first attempt at sewing a winter coat was inspired by the "Think Pink" contest of Pattern Review.com. I've always pined after Natalie Portman's pink wool coat in "Black Swan." Hers was a double breasted peacoat but I prefer the classic cut so I used Burda pattern 8292. This is my first time using a Burda pattern and the only thing I don't like about it is the lack of detailed instructions and illustrations. But sewing a muslin eliminated the need for any seam ripping later on. That would have been disastrous as the fabric I used for the coat frayed easily.

I didn't want to splurge on my first attempt for a wool coat so I purchased a dusty wool coating fabric that went on sale at Fashion Fabrics Club.

This is no Italian wool coating. It is a bit rough and has a basketweave like finish.
 For the price I could not complain.

For the lining I used a flannel-backed satin. This was a pleasure to work with as the backing eliminated much of the slipping and sliding one encounters with regular satin linings.

 Kasha satin in mink purchased from Vogue Fabrics.com.

Since the smallest size on the Burda pattern was 36,
I had to do some adjusting on the pattern before
cutting the fabrics.

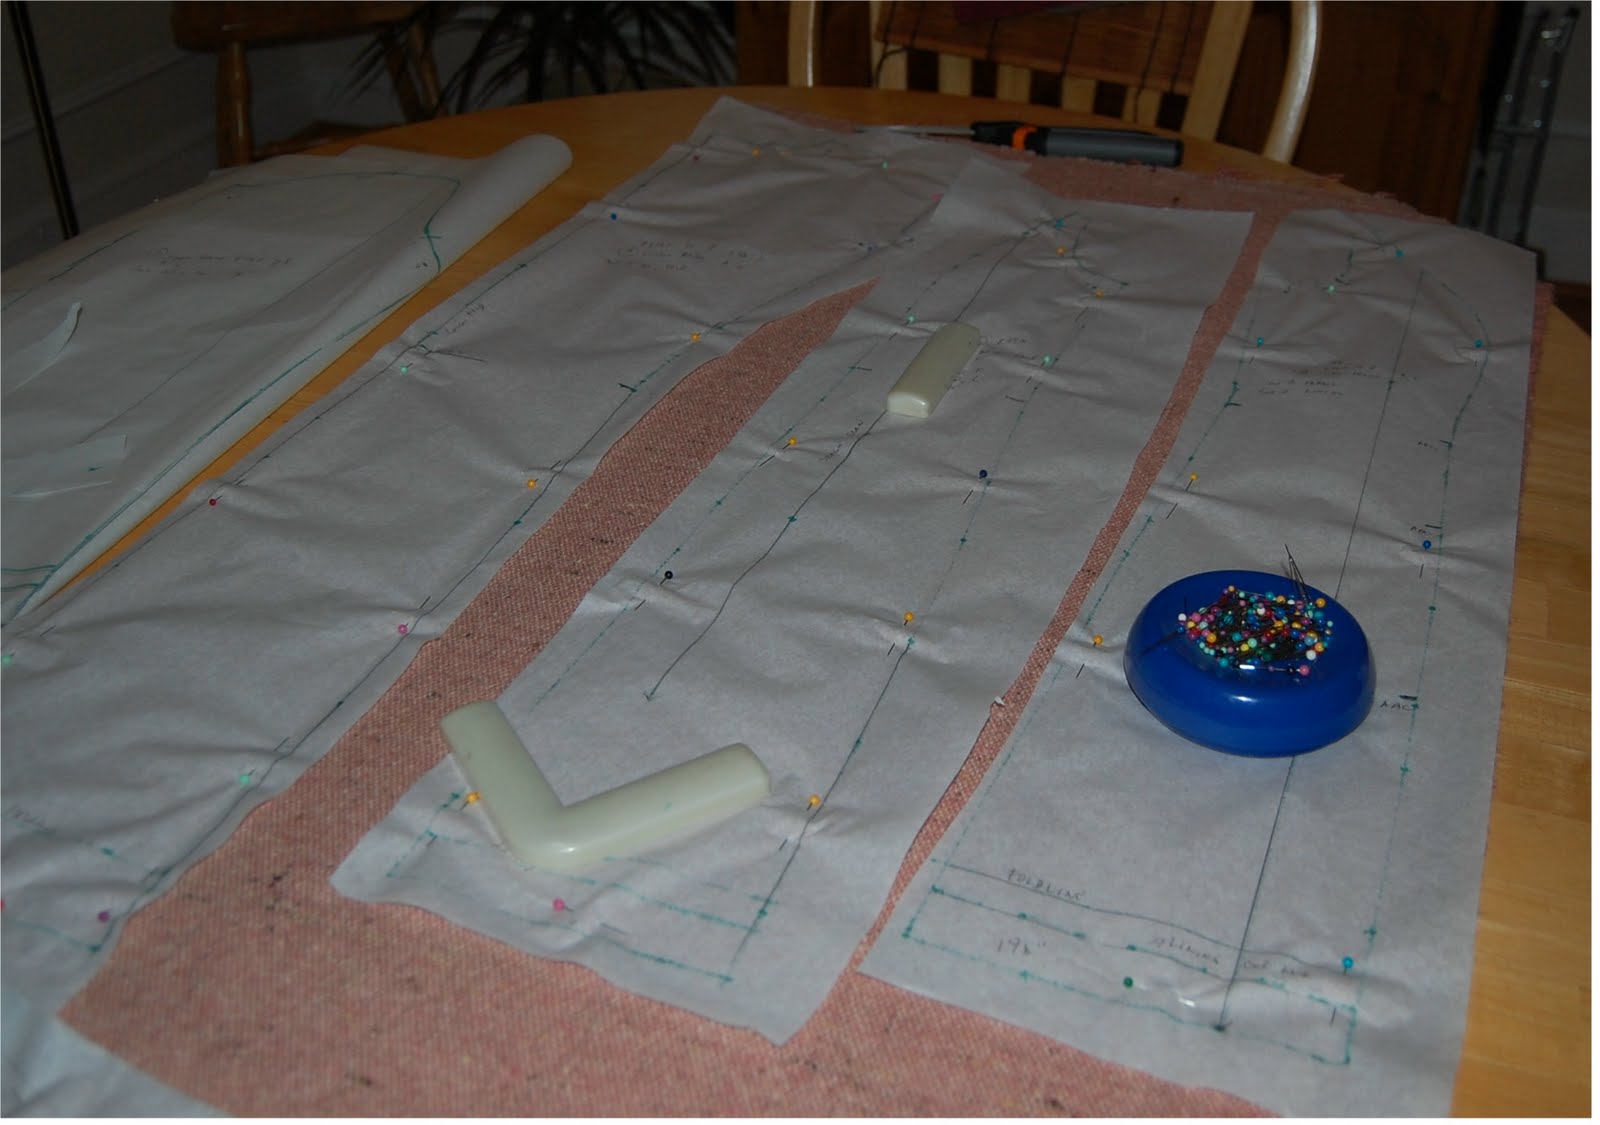


I used Pro-Weft fusible interfacing on the fronts, collars and hems. I was so glad this brand of interfacing did not require any pre-treatment at all!


Before I show the finished product, here are some more pics illustrating some of the steps in the sewing process. To me, the only confusing part was the collar section. I found out that by pressing the seams open after each step, it was easier to figure out how the undercollar and collars attach to each other.

Attaching the pocket and pocket facing.


Sewing the front seams.


Sewing the back side seams.


 Sewing the front self facings.


Sewing collars.


Basting undercollar to collar.


Finished collar.


Collar attachments to be sewn together.


Bottom hem.


Sleeves


Lining assembled.


Lining attached.


 Hemming the lining.


Buttonholes finished


Attaching the buttons.


I attached smaller buttons on the wrong side of the coat to anchor the outside buttons.

Overall I am happy with this project. But I think my daughter is happier as she ended up with the coat. Although I originally intended this challenge to come up with something I could wear, I decided to let her have it as it fitted her better.




Thursday, September 29, 2011

My Crescent Skirt

Hot off the sewing machine is my latest sewing project.
 I started off sewing this skirt for my favorite client (my daughter) but after trying it on, I fell in love with it and decided to sew one for myself!


Typical of my "fabriholic" ways, I purchased this polka dot cotton twill stretch fabric from Gorgeous Fabrics after falling in love with the colors of the dots even though I had no particular project in mind. As fate would have it, the website had a pattern suggestion and one thing led to another. I ended up buying the Crescent Skirt pattern from Tasia of Sewaholic.


The pattern was multisized from 0-16 and I traced two sizes, one for me and one for my daughter. I decided to sew the version with the least amount of gathering.


Attaching the single-piece side pocket to front skirt.


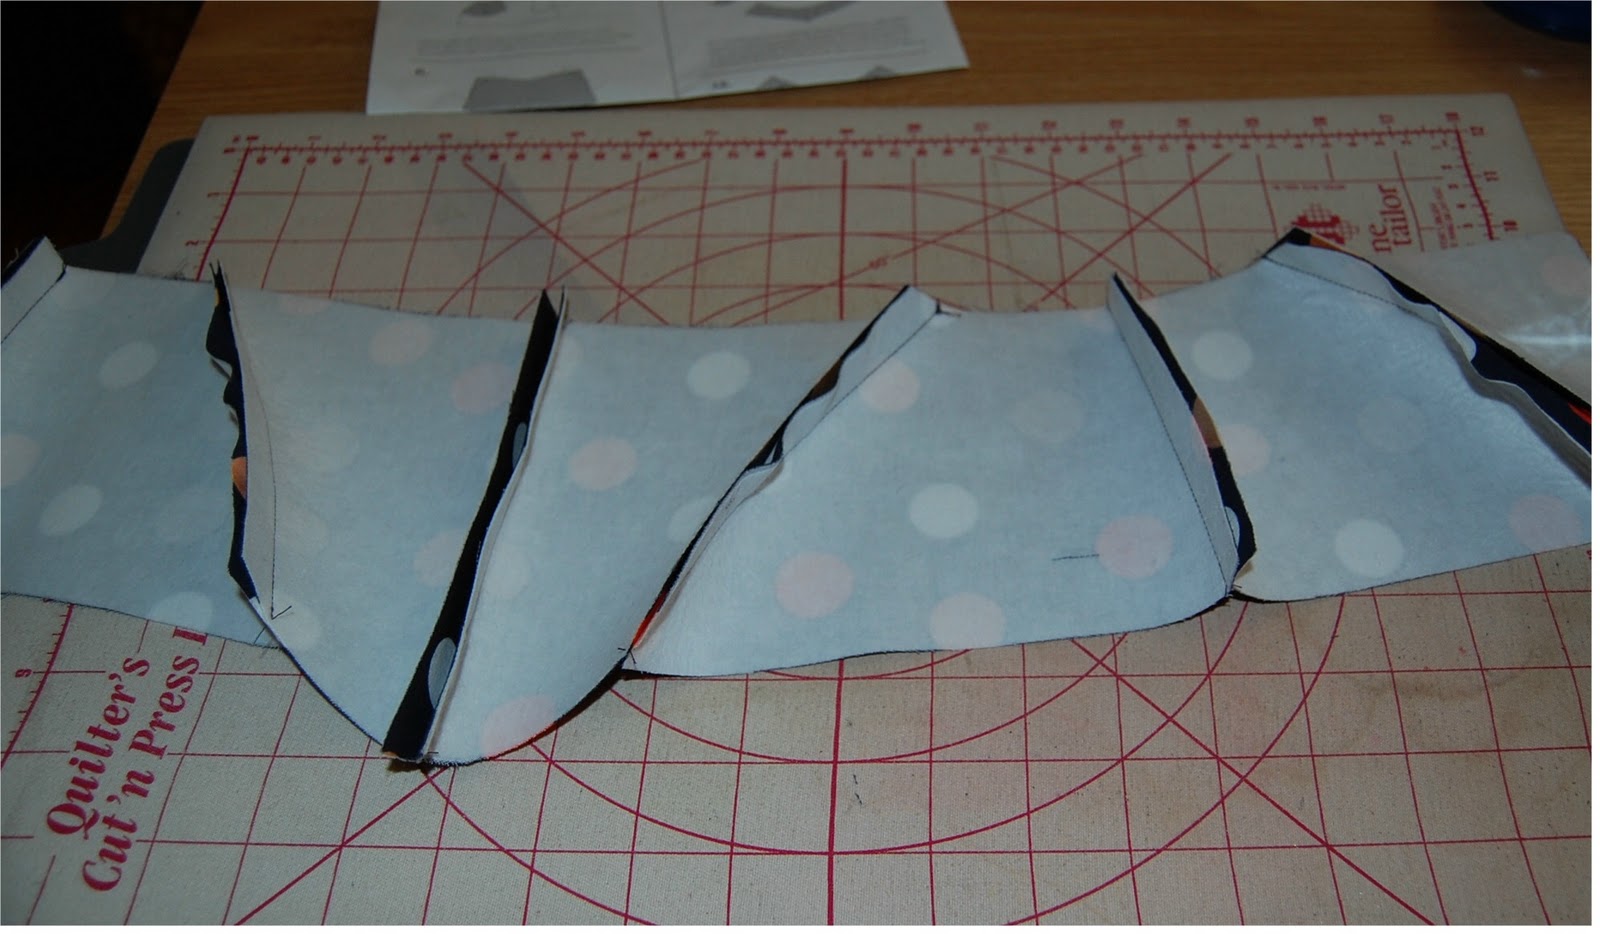
Assembling the yoke front and back.


Topstitching on yoke.


Yoke attached to the skirt.


Zipper attachment.


Twill tape applied to seam.


Back view of finished skirt.


Close-up of side pocket. Love the pockets!


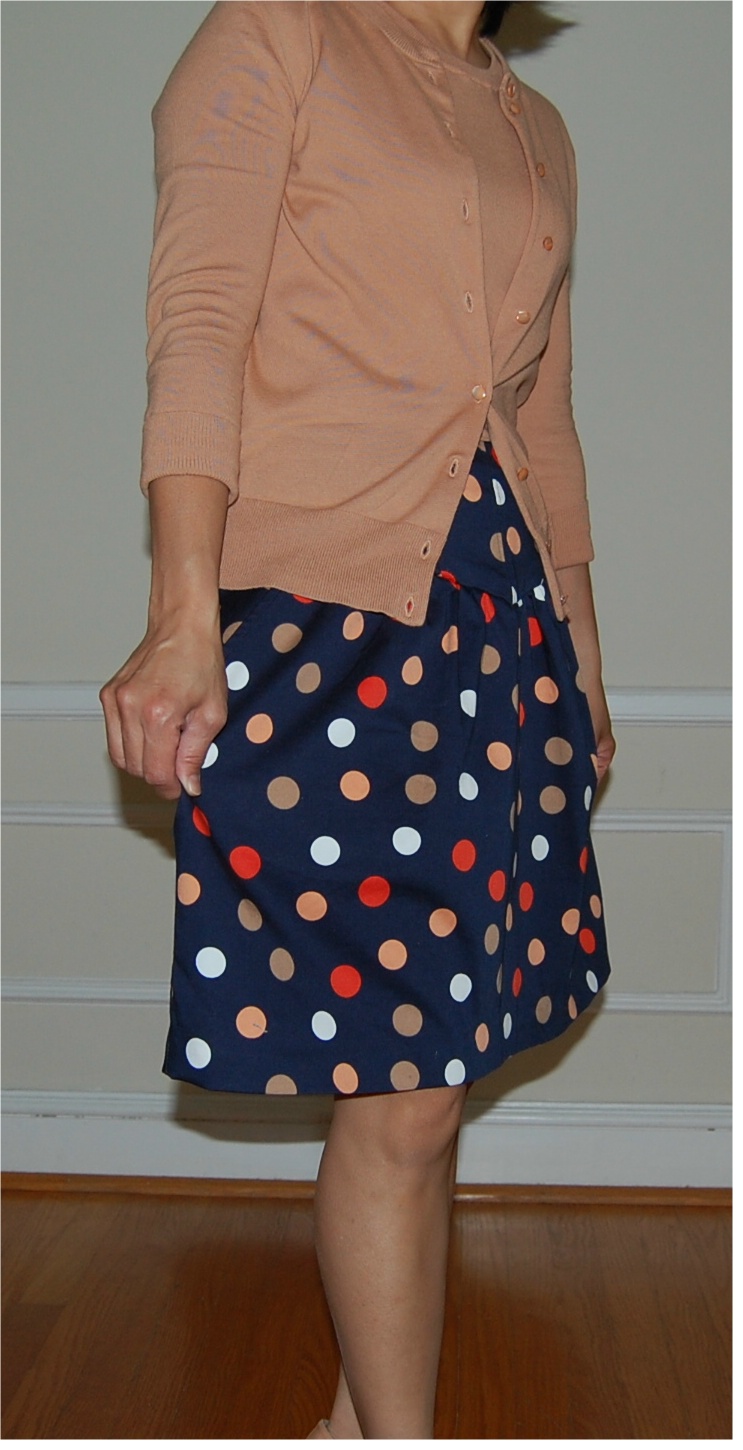
Stylin' my skirt with J. Crew Jackie cardigan and shell and Stuart Weitzman "Blog" pumps.


 Skirt worn with sweater shell tucked out.


With shell tucked in to show off the yoke.


 Back view of skirt.


 Side view of skirt.

This pattern is definitely worth its price. Sewing the skirt is a breeze and the techniques included make for a professional looking end product. You will probably see more of this silhoutte from me in the future!


Tuesday, September 27, 2011

The Monique Dress

I haven't posted for such a long time! Visiting relatives and son going to college got me distracted. I still managed to sew several outfits for my daughter but just did not get the chance to post them here. So let me introduce "The Monique Dress."


I loved sewing this dress. The pattern was so simple, yet it gave me the option to be creative and mix several different fabrics to make a unique, one of a kind dress. I’m sure the chances of my daughter bumping into somebody wearing the same outfit are nil!


 Fabrics and pattern (Boutique Chic by Serendipity Studio) were purchased from Jackman's Fabrics.


Thursday, April 28, 2011

The One-Hour Top (Jali 2444)


After hours of toiling on the prom gown, I needed to work on something easier to give me time to recover and restore balance (sort of yin and yang). So I decided to finally bring my collection of knits out of storage and put them to good use.

For the past six months, I have been alternating two L.L. Bean activewear tops for my three-day a week workout. Needless to say, they are now both worn out from frequent trips to the washing machine and dryer. Every time I see a pretty workout top from the store or online, I am tempted to buy it but I don’t because: 1) it probably won’t fit me (usually too long), 2) it is too flimsy and 3) I am not willing to shell out $35.00 or more on something I can easily whip out myself. In my search for moisture-wicking fabrics, I learned that duo-dry, dri-fit, dry-flex, and performance fabric all refer to the same thing.

   I was lucky enough to find some really pretty prints from Fabric.com on sale. I only needed half a yard for a top but the minimum purchase was one yard. I used Jalie pattern 2444 which is now out of print but still available online for download. This was a quick project. The only delay was figuring out the right size. I constructed two tops from some scratch knit fabrics using two different sizes and determined which one worked best for me. Once I decided on the right size, it was pretty much like assembly line sewing. One can easily finish this top in an hour without any interruptions. But alas, people in this household have to eat. So I have to cook!


I love this pattern as it allowed me to mix and match fabrics. I used twin needle stitching on the first one. On the last two I just topstitched with a single needle as I noticed that the fabric tended to bunch up in between the two lines of stitches.
Next time, I will try to extend the armhole and see if I can make a cap sleeve. As for now, I have one outfit for each workout day of the week.