New Look Skirt 6345 in Max Mara Heritage print panel
I loved that fabric so much and I still have some leftovers. However for me it is the hardest fabric to work on because of the way the the whimsical prints are laid. I knew I wanted to make a wearable top out of it and after waiting and searching, I think I found the perfect pattern to go with it.

Meet Dixie, a woven Style Arc top!
As always a detailed review of this top can be found here at Pattern Review. So in this post, I am just highlighting some construction details that hopefully will be helpful to anyone using the pattern or sewing with similar fabrics. If you want to see modeling shots of the top, scroll to the bottom of this post.
This Style Arc Dixie pattern has been drafted for soft woven fabrics like silk, crepe or rayon. After testing a muslin in my regular SA size (6), I thought there was enough ease to go down one size and combine a jersey fabric with woven.


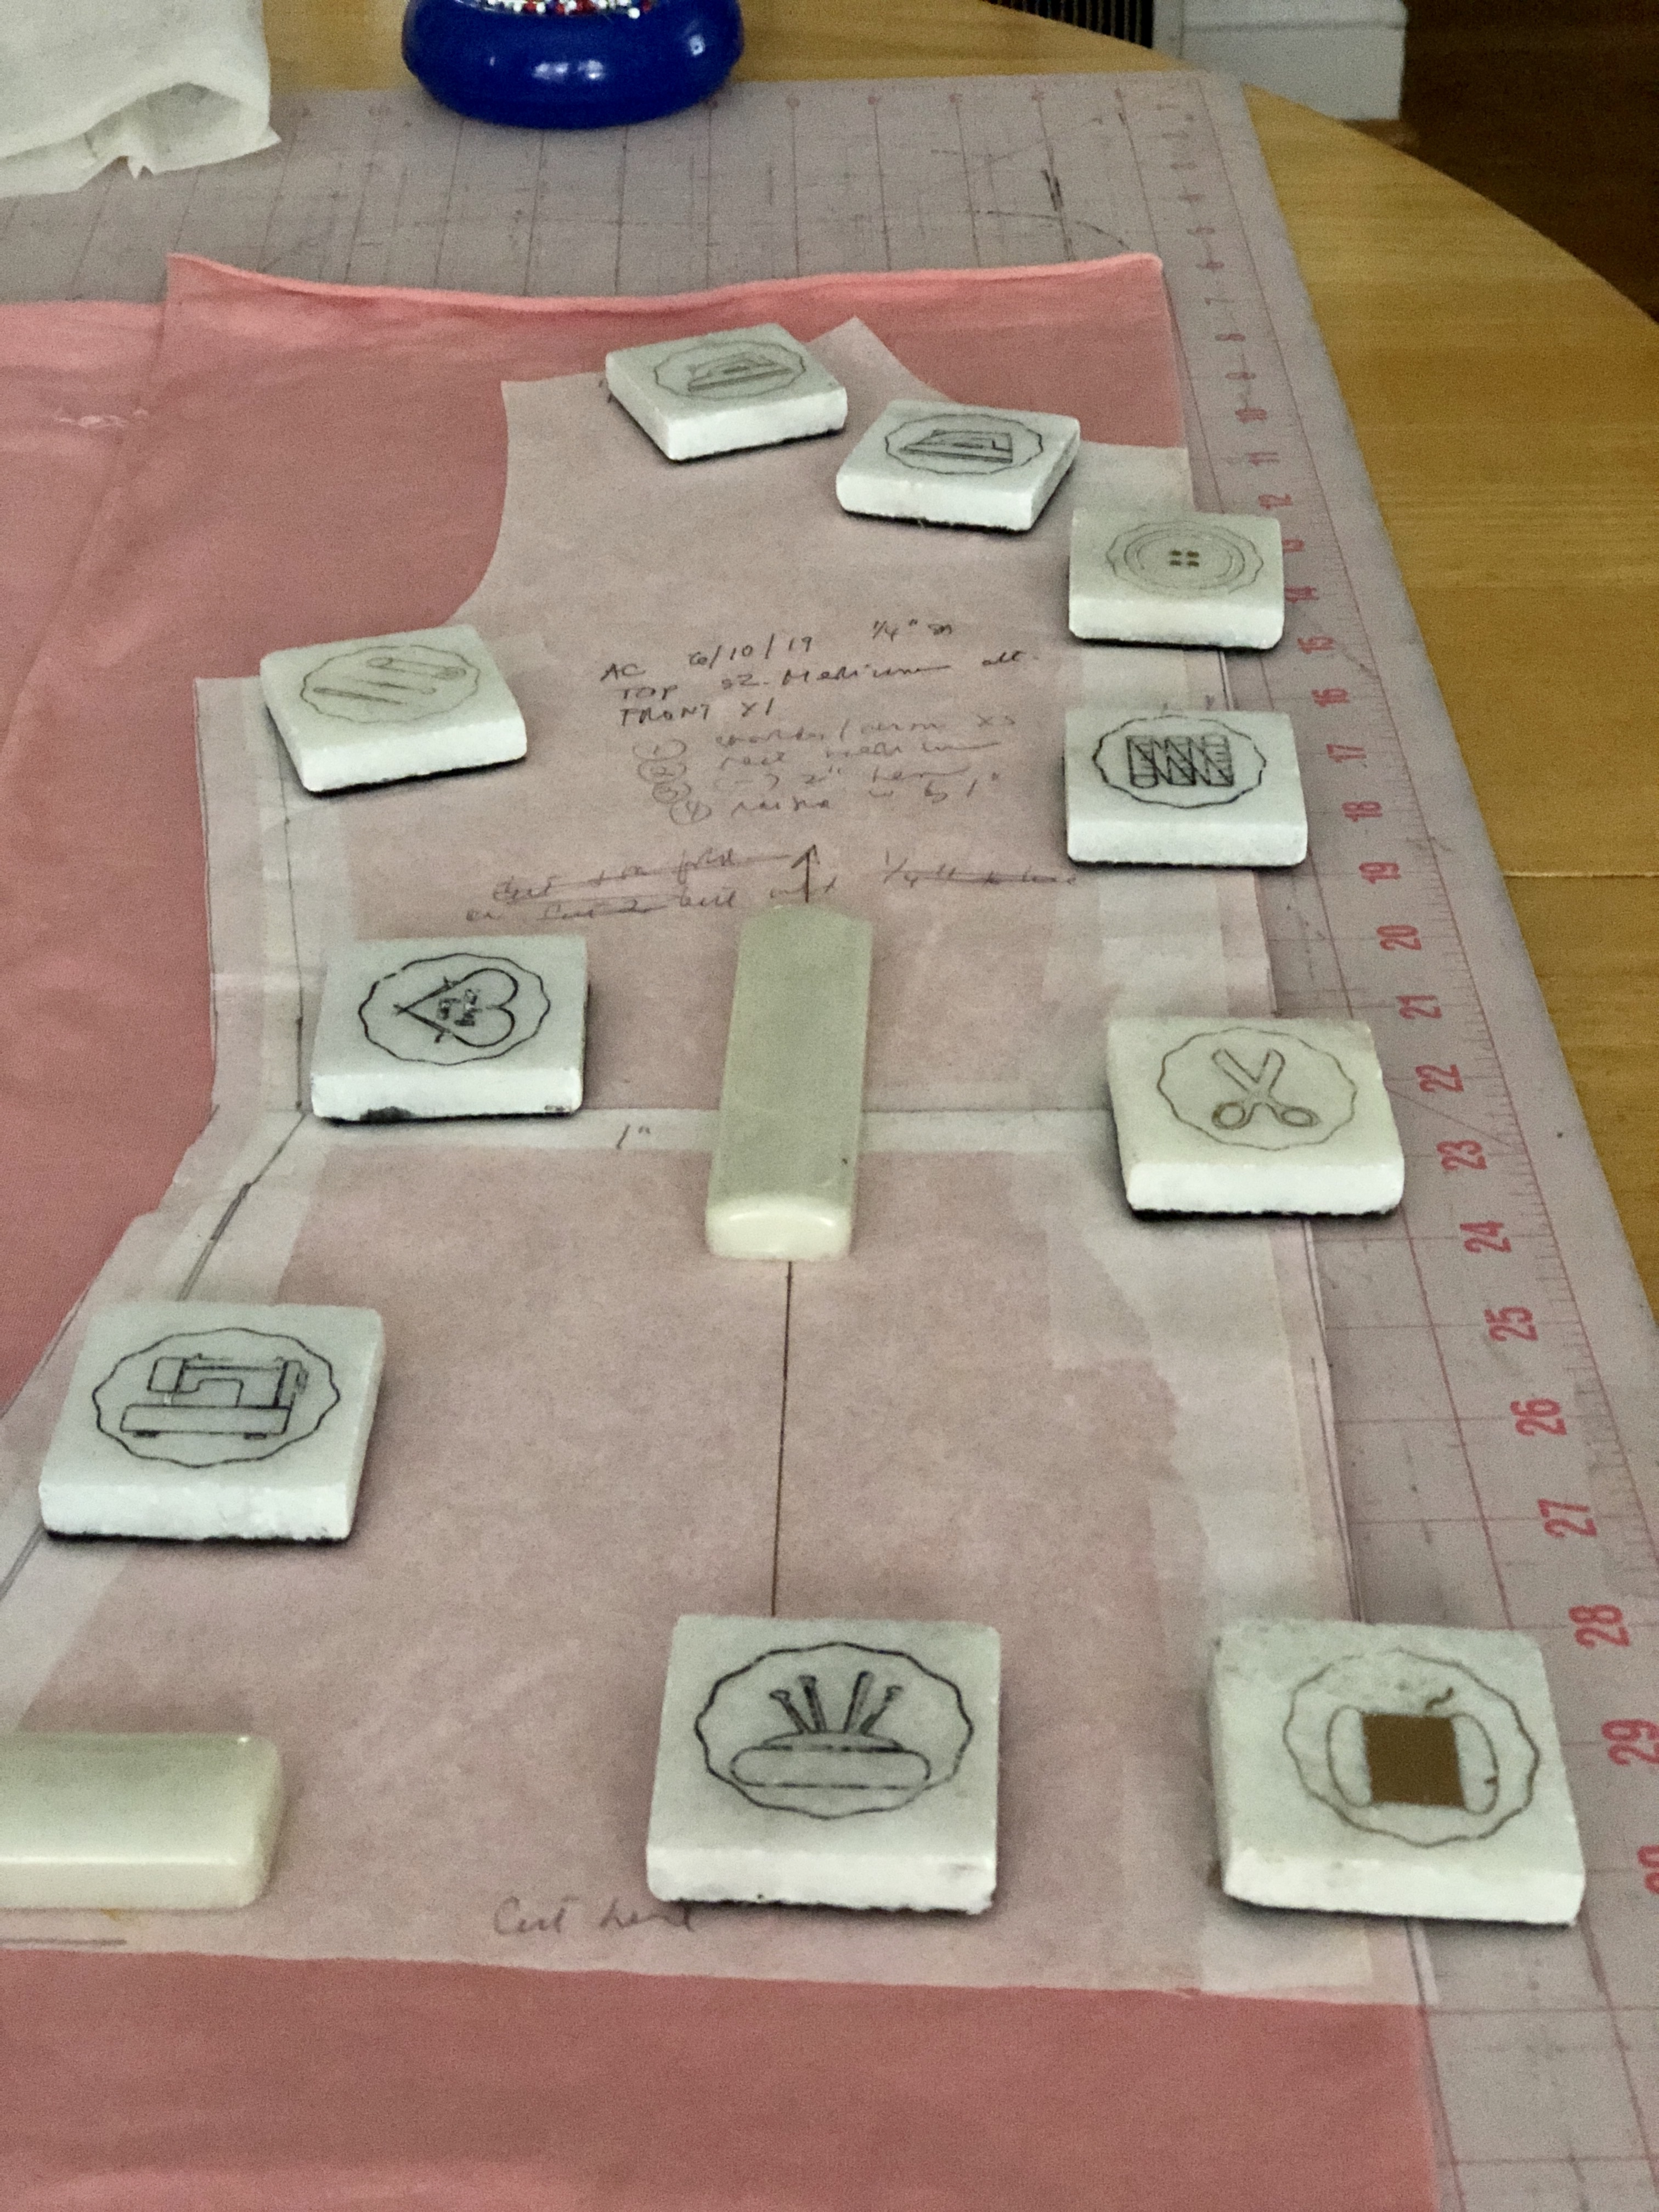
To facilitate handling of the slippery silk twill fabric, I laid down a piece of tissue wrapping paper under the fabric before cutting. I also made sure to replace my rotary blade with new sharp ones and I avoided using pins. Instead I used a lot of pattern weights.

To prevent stretching of shoulder seams and slit openings on the jersey fabric, I use this fusible knit stay tape and ironed it on the wrong side of the seamline. One can also use elastic or some other lightweight fusible knit interfacing that is cut to size. I find it more convenient to have a ready made notion like this. I also have one in white. I bought them from Amazon.

Although I have a serger, I did not use it to finish any of the inside seams because I did not want any bulk to show through my lightweight fabrics. So I experimented with the overcast stitches on my sewing machine and settle for this one.

Sorry if it's a bit hard to see this but it just shows the overcasting stitches on the edge of the rayon jersey.

Here is a better picture showing the overcasting stitches.
The trickiest part of the sewing the pattern was the neckline binding because it involved a front gap.

This is the neckline binding that has been pressed along one edge before applying.

This is the front gap that requires a bit of precision during application to maintain the correct length of the opening.

The short edges of the neckline binding are folded into itself by 1/4" before being sewn to the back opening.


The instructions suggest stitching in the ditch to finish the neckline but I opted for hand sewing using slipstitches for better control.
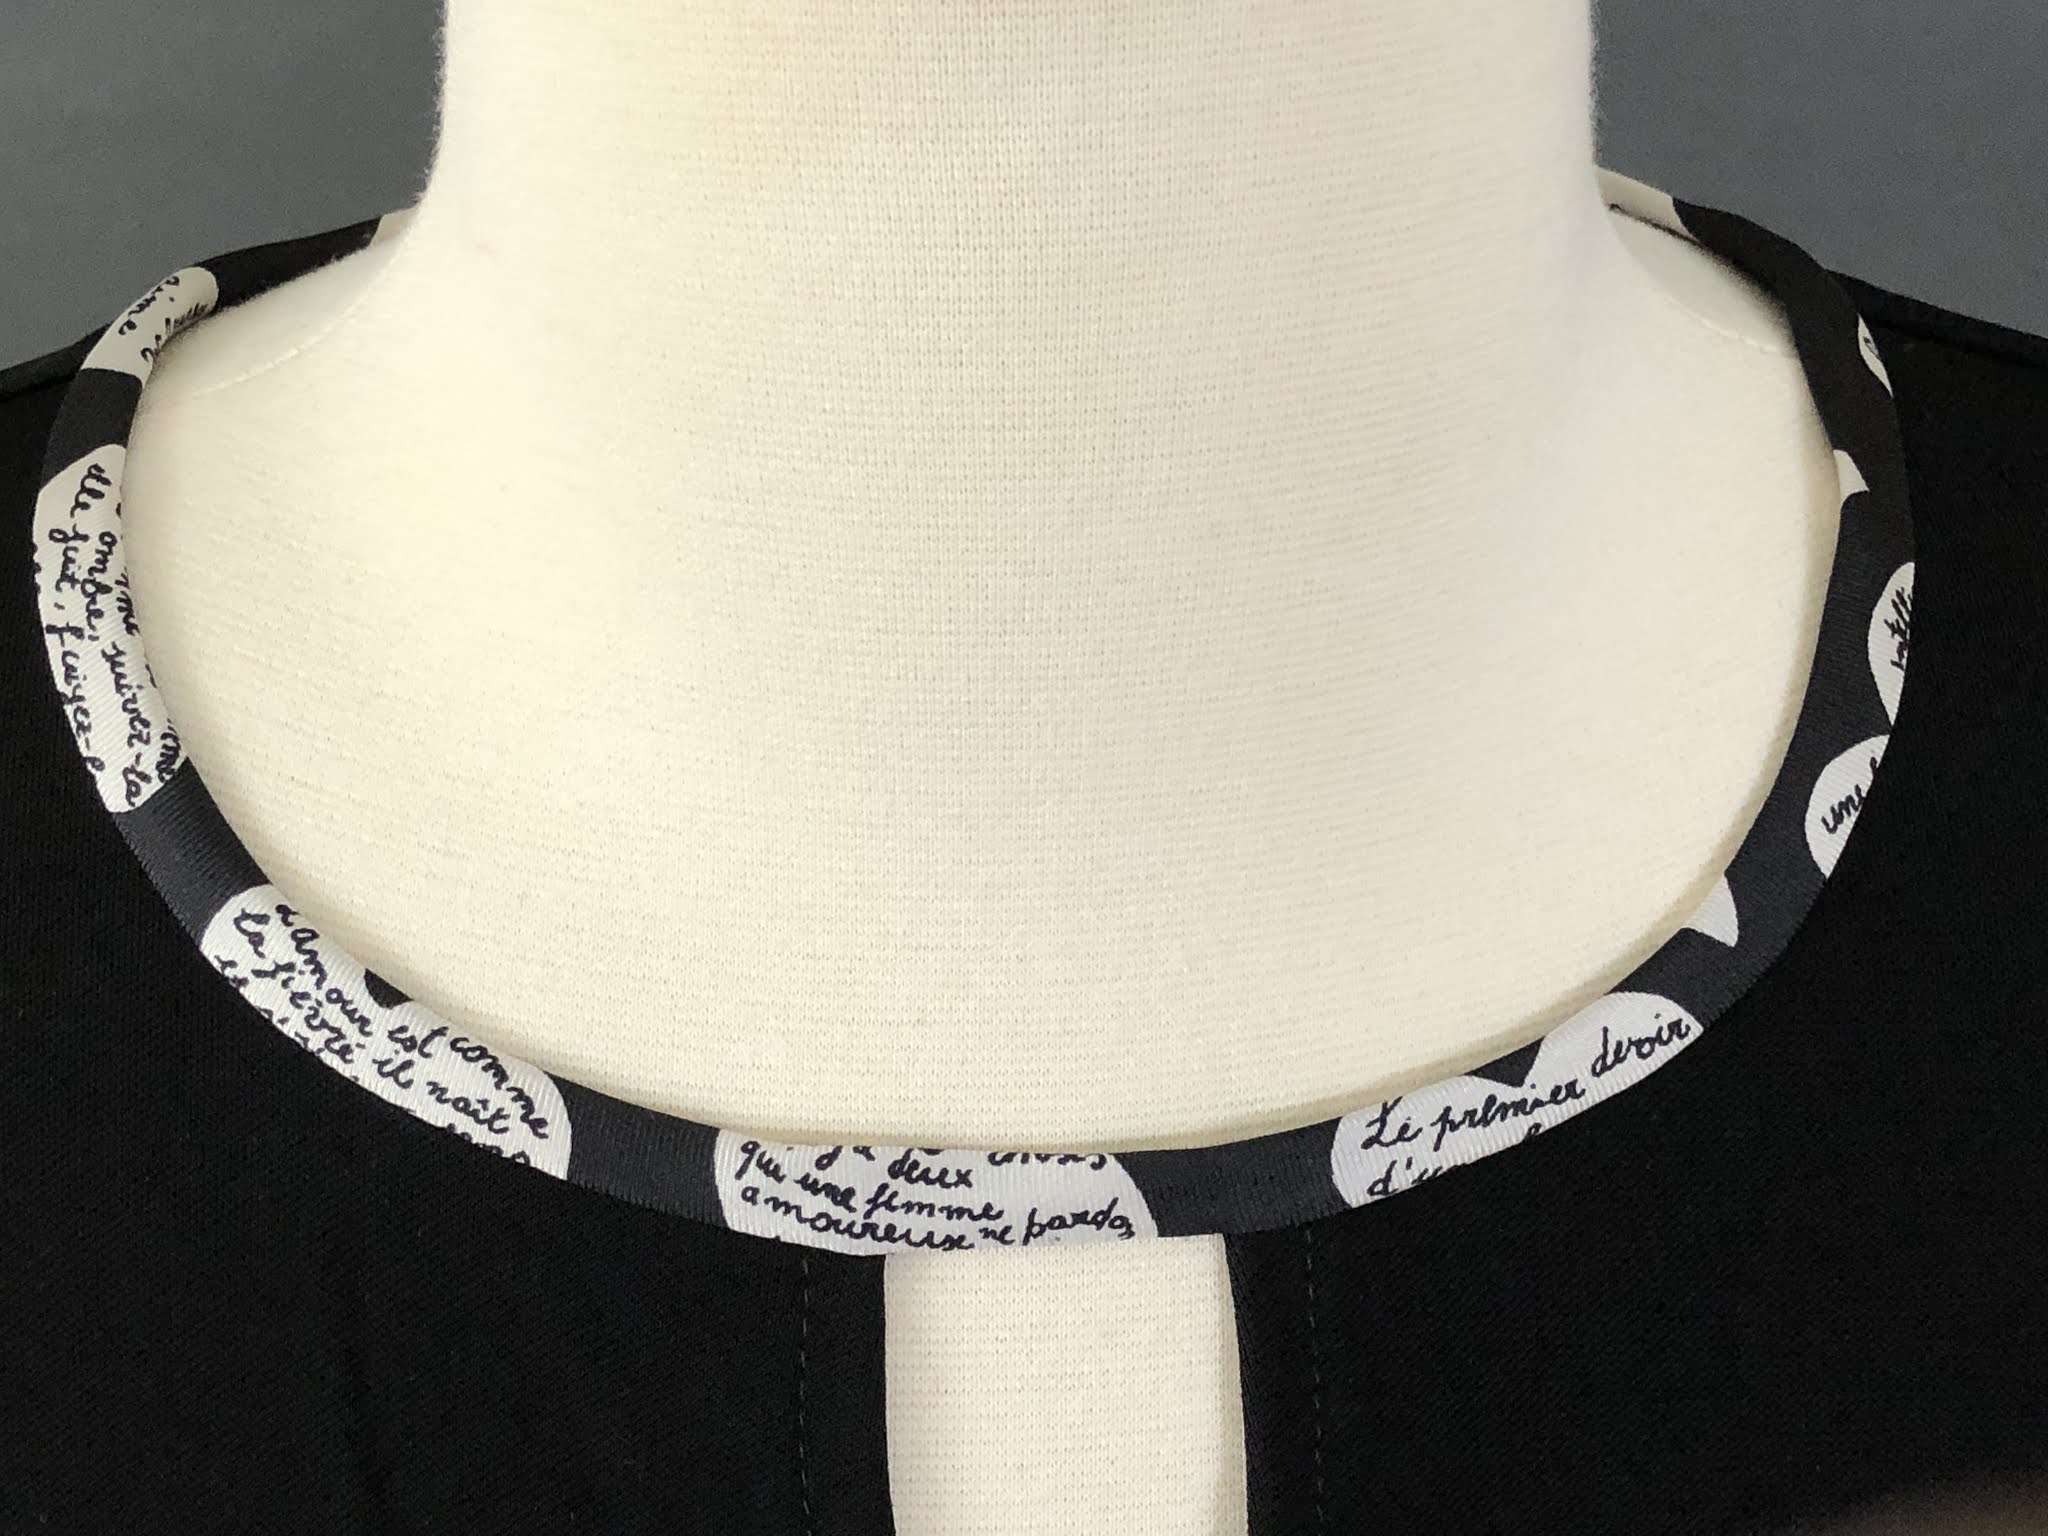
And here is what it looks like after sewing.

Note the topstitching details on the slit and yoke.


And this is the back slit opening.

Another area worth paying attention to while sewing is the side seams. I basted them first to make sure the front and back yoke seams matched. It is worth taking time to do this to avoid unnecessary unpicking of stitches.

For the bottom edges, I used narrow hem and I followed the tutorial from Threads Magazine which can be found here.

Here is the inside view of the finished top.
And now for some modeling shots!


Thanks for dropping by!