Thursday, June 24, 2021

A Tale of Two Cardigans

 A long time ago when I used to sew only outfits for my kids and not for myself, I relied on store bought clothes and my favorite outfit was a twinset paired with denim jeans. I was particularly enamored with the classic J. Crew cardigans labeled Jackie--crew neck with buttoned front opening, ribbing on the sleeve cuffs and bottom hem. I had a small collection in different colors that worked for different seasons of the year. Then when kids left the nest, I started sewing for myself and it opened up my wardrobe to a wonderful world of uniquely me items. I hardly wear those RTW cardigans anymore, preferring to don my me-made ones. 

In this post, I'd like to highlight a pair of cardigans I recently sewed. These two are the total opposite of each other. One is really long, what one would call a duster cardigan and the other really short, what one would call shrug. 


This is the Blackwood cardigan from Helen's Closet patterns. I used a panel print sweater knit purchased from Marcy Tilton and used a solid contrast sweater knit purchased from Emma One Sock. 


This one is the Marcy Tilton shrug pattern Vogue 9190 and I used a cotton/lycra panel print also from her store. 


They're the total opposite in length yet somehow I thought they worked well for my petite height. 
If you'd like to read more details about the patterns, check them out at Pattern Review.com. 


How to Install Aglet on Drawstring

 I recently posted a review of a cropped cardigan I made using a Marcy Tilton pattern Vogue 9190 which you can read at PatternReview.com. I received a few inquiries about the aglet I used to secure the ends of the drawstring that I used shown below:


So I thought I would post a simple quick photo tutorial on it. 

But first what is an aglet? I first learned about the term when I was searching for something to secure the ends of my shoelaces. Back then I didn't know what it was called. Aglet may be made of plastic or metal. It is a hollow sheath that is used to encase the ends of a drawstring or shoelace to prevent it from unraveling. 

1. Where to buy? 
    
Nowadays it is easy to find a source for notions such as this just by the simple act of browsing online. The one I used for my recent project was purchased from Amazon and it was available in bulk. It was not expensive but as the saying goes, you get what you pay for. I have a couple of aglets purchased a long time ago from Botani Trimmings and it was sold by the piece. A little more pricey but the quality was way better than the bulk ones from Amazon. See comparison photos below.


The one on the left was from Botani Trimmings and the right from Amazon. 
The former was longer and more substantial in thickness. The latter was really thin and easy to bend and deform. 

View of the open side. 

2. To use the aglet, just insert the end of the drawstring or lace through the opening.  If your aglet is a bit narrow, you can always gently pry it open with a hemostat. 


3. When you have inserted the drawstring to the closed end of the aglet, gently clamp the open edges together. 


4. Some like to secure the drawstring further by sewing a thread through the holes in the aglet. 


There you go, a quick and easy way to secure the raw edges of a drawstring or ribbon. One can always just  tie a knot but with the different colors of aglets available, it's a nice finishing touch!

Sunday, March 7, 2021

Pattern Review's 7th Annual Sewing Bee: Round 1

                                        2021 Sewing Bee Round 1

The highly anticipated annual sewing contest at PatternReview.com is back! I have been participating in this online sewing contest since its inception in 2014. I skipped the 3rd one because I was tapped to be the contest manager. I also skipped last year, deciding to take a break after winning it in 2019. But I'm back this year! 

If you are not familiar with the PatternReview Sewing Bee, it involves four sewing challenges. For each round, participants are usually given a week to complete it. After each round, a panel of judges pick the entries which move on to the subsequent rounds. Usually the number of entries is cut in half and by the final round only a handful remain to compete. 

For this year's first round, the challenge was to sew a pajama top and bottom that is unique to the one who will wear it. 

I wrote a comprehensive review which you can read here. It details my sewing process and talks about the two patterns I used. In this post, I am sharing detailed  photos of the finished PJ bottom and some construction photos, too. I'll talk about the PJ top in a separate post.


For the pants I used Simplicity 8922 which is a pants pattern with various bottom leg options. I chose a view which had a front lower leg band that had a drawstring in the hem. This allowed me to tighten the bottom hem to look like harem pants. I love that feature as I frequently battle with my current PJs when I'm in bed, always pulling down the legs of the pants when they'd ride up. I added a gold corded piping to accentuate the lower band. 


Here are close-up photos of the nifty details.
View of the front band on lower leg. 

Topstitching on either side of center front seam on leg band. I used wide triple stitches with contrast thread. 

View of the drawstring on elasticized waistline. I just added the drawstring to make waistline more adjustable. I sewed a pair of buttonholes for the opening. 


Hem relaxed.


Hem drawstring tightened. 

I love that no two sides are alike!


View of the inside.

My pj bottoms received couture treatment--underlining, flatlining, hand sewing! The silk organza not only improved the drape of the fabric (which was very clingy to the skin), it also finished the side seams very neatly and allowed me to catch stitch the seams open. 


Some prep pictures.

My fabric was an Italian silk jacquard from Marcy Tilton. It was very slippery and drapes so I used tissue paper underneath before cutting. 


View of fabric layout. Pattern pieces were cut on single layer. 


Vie of the flatlined edges. 


Catchstitching in action.


Using a 1/4" masking tape as sewing guide for the topstitching on center. 

Close-up of the triple stitching. 


Making of the corded piping. I used gold crepe satin from stash. 


Finished piping. 

I love my new luxe sleepwear! Time to updgrade the bedsheet and pillowcases!


Oh, and check out my handmade coordinating footwear!


Monday, February 22, 2021

A Tale of Three Sweatshirts: Sinclair Nova Pattern

As I was writing a review of the Sinclair Nova Raglan pattern for Pattern Review, I realized I never blogged not only about the specific pattern itself but also the Sinclair pattern in general. I have sewn four different patterns from said company and have a couple more in my stash and I really love everything I have made. Not only is the sizing spot on, Sinclair patterns cater to regular, tall and petite figures. I'll have to do better next time! For now, I am focusing on one of my favorite sweatshirt makes using the Sinclair Nova Raglan pattern. 

The pattern itself is easy to sew and since the instructions are detailed, even beginners will be able to tackle it without much difficulty. 

My first and third versions took advantage of the raglan style to colorblock and highlight some one of a kind fabric panel prints. 

This was my first Sinclair Nova sweatshirt. I used a Marcy Tilton rayon jersey panel print for the front. 
For the rest (back, sleeves, cuffs, binding and band) I used cotton jersey from stash. 

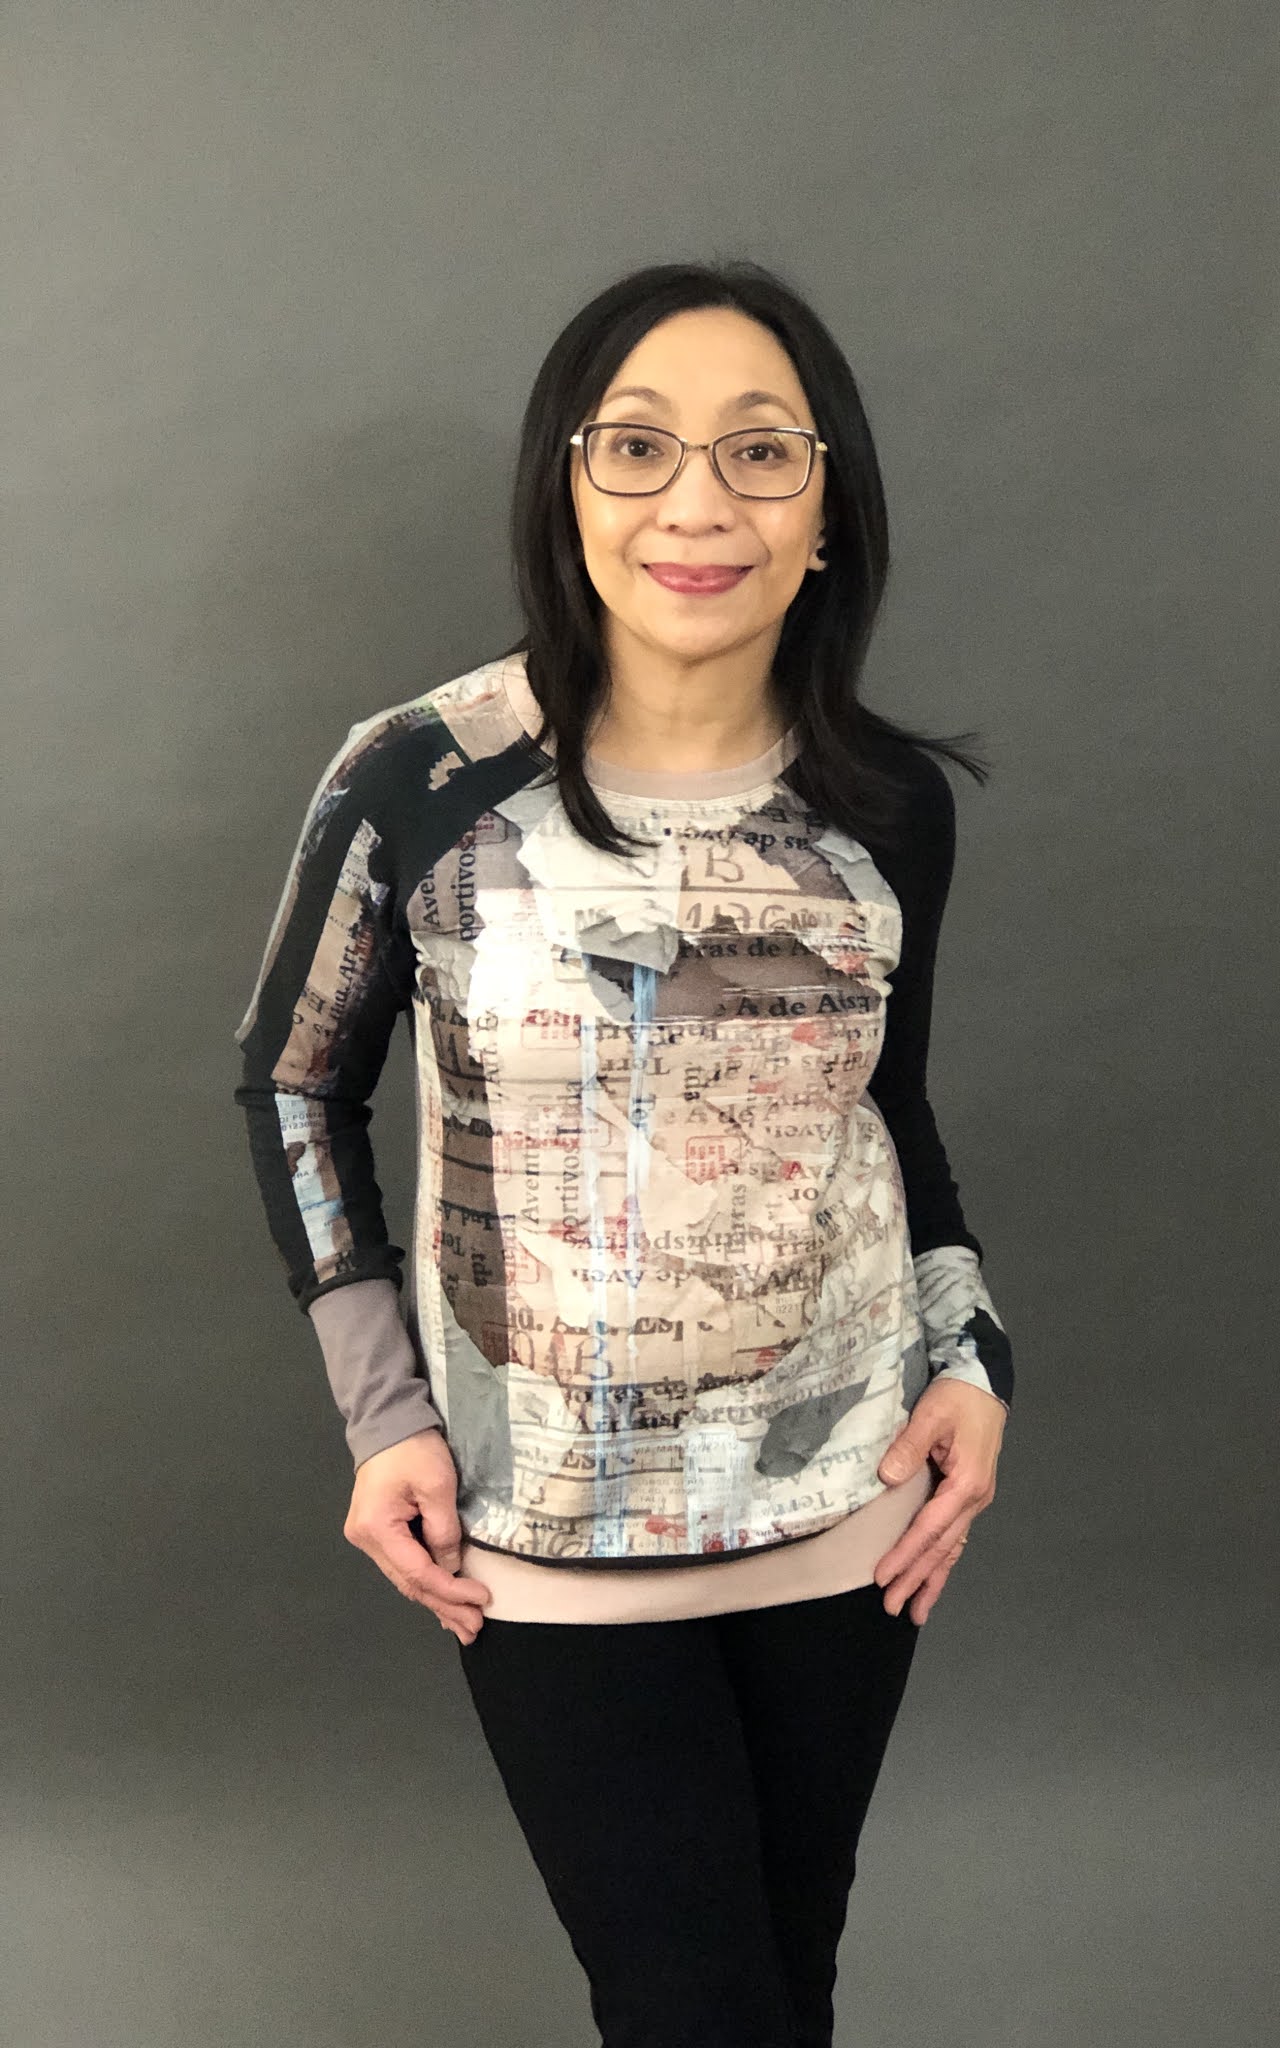
In this more recent version, I also used a Marcy Tilton panel for the front.

Then I had some fun combining prints and solids, some from my stash. 


For this second version, I used an animal print knit. To highlight the raglan cut, I added a solid colored binding along the raglan seams. 

What's amazing about this pattern is I didn't have to do any fitting alterations, not even the bodice length or sleeves! There are other neckline options included in the pattern (cowl and hood) and also the option to use drawstring on the bottom hem. I'll probably give one of those views a try next time because I'm sure there'll be a next time!

And now a look at the details on the most recent make:

Front view

Back view

I paired a printed cuff with the solid left sleeve. 

For the printed right sleeve, I opted for the solid cuff which was the same fabric used in the back. 

I used a blush pink cotton knit for the neckline binding and the bottom band. 


A closer look at the neckline. I used a triple cover stitch to topstitch. 

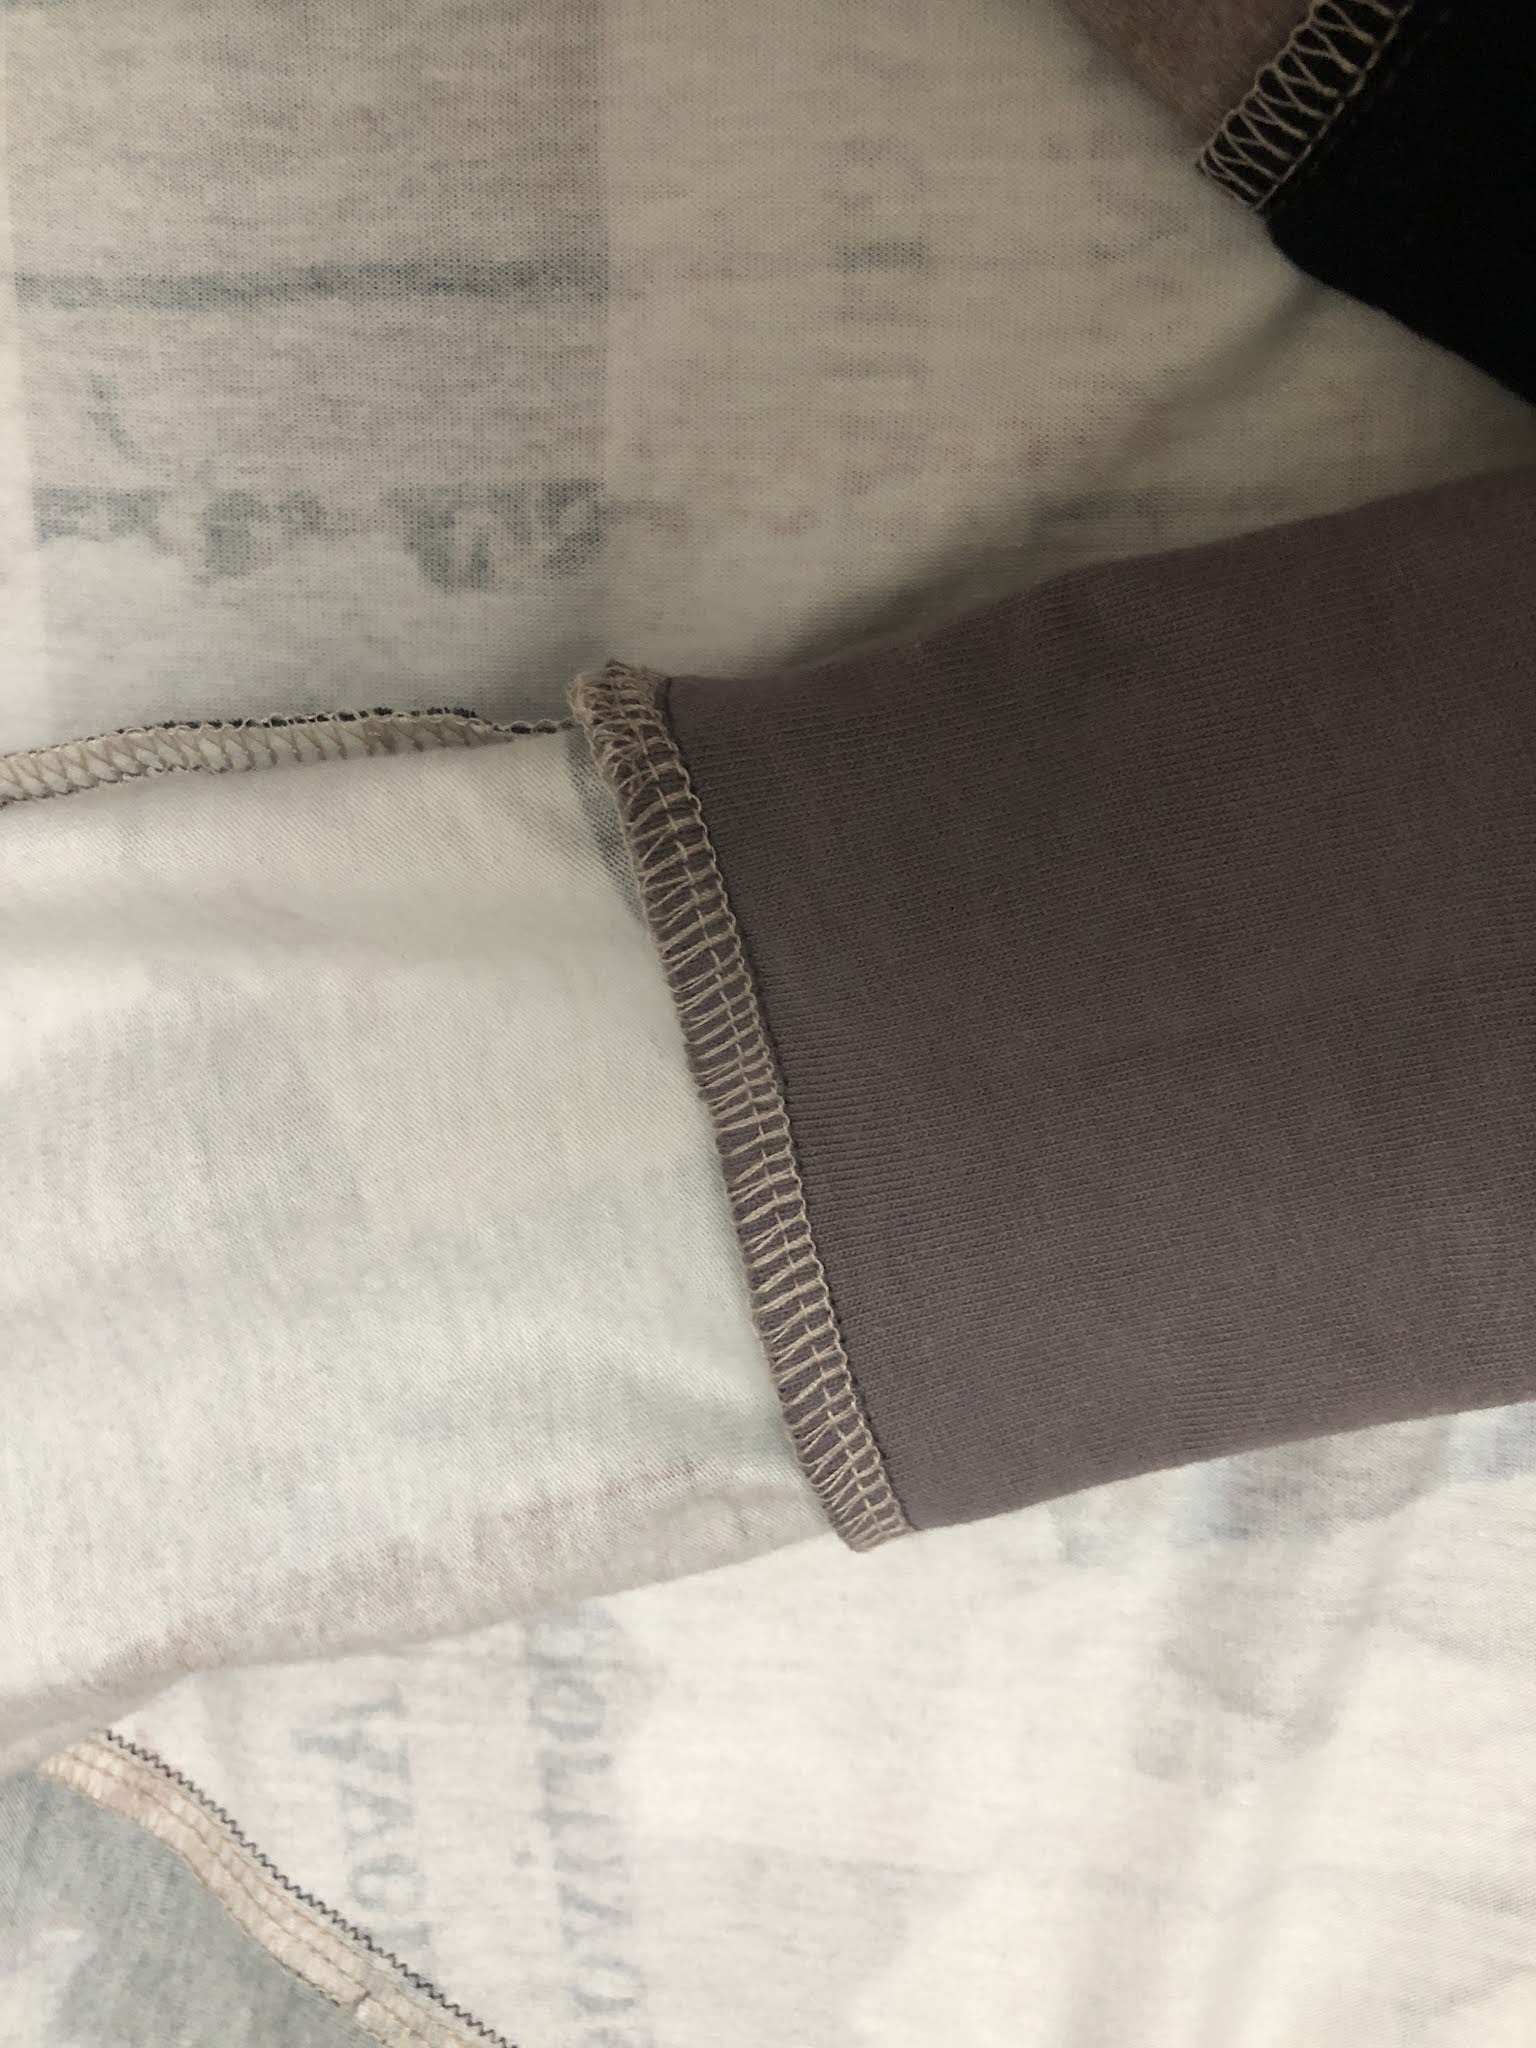
Serged cuff seam. 

Serging on the shoulder seam. Coverstitching on the neckline binding. 

Serging on the bottom band. 

I love the resulting asymmetry and the colors in this sweatshirt! I think right now, this is my favorite!

If you are interested in a more detailed review of the pattern, check out my reviews here and here.