
McCalls 7360 is designed for medium-weight fabrics like chambray, poplin, linen or crepe de chine. My fabric is more lightweight but after testing on a lightweight muslin, I decided that it could work.
There are several options offered in the pattern and I combined the different views to come up with a pullover sleeveless henley style top. It has a yoke at the back that extends to the front shoulder and because I only had one yard of fabric that wasn't enough, I used a contrast lace for the yoke.
 |
| This blush colored lace was purchased from Emma One Sock. |

I thought they looked great together!
 |
| This fabric is a lightweight semi-sheer cotton with a somewhat shiny finish and I believe it could be cotton lawn. |


This pattern was really easy to construct once I got the fit nailed. That part is always the most time-consuming aspect of sewing for me. As most often the case, I had to shorten the front and back bodice by 1.5" along the provided shorten/lengthen lines. I also adjusted for some swayback problems.
During construction, I deviated a bit from the instructions to achieve a cleaner finish on the inside:


I used the same method to finish the lace. I didn't serge because it would have added bulk on the seams which would be visible through the semi-sheer lace.


To trace the lines for the bust darts, I used my own method to avoid marking on a lightweight sheer fabric. Details of that method can be found on this post.
When it was time to sew the yoke part, the instructions asked to handsew the yoke facing in place. I decided to use the "burrito" method for a cleaner machine-sewn finish.
Here are the steps that follow after the outside yoke piece and yoke facing have already been attached to the back bodice piece.
 |
| Baste or pin the outside yoke piece only to the front bodice piece at the shoulder seam. Note the yoke facing is kept free. |
 |
| This is what it looks like on the right side. |
 |
| Another view showing the back bodice. The yoke facing is underneath the yoke and is not visible here. |
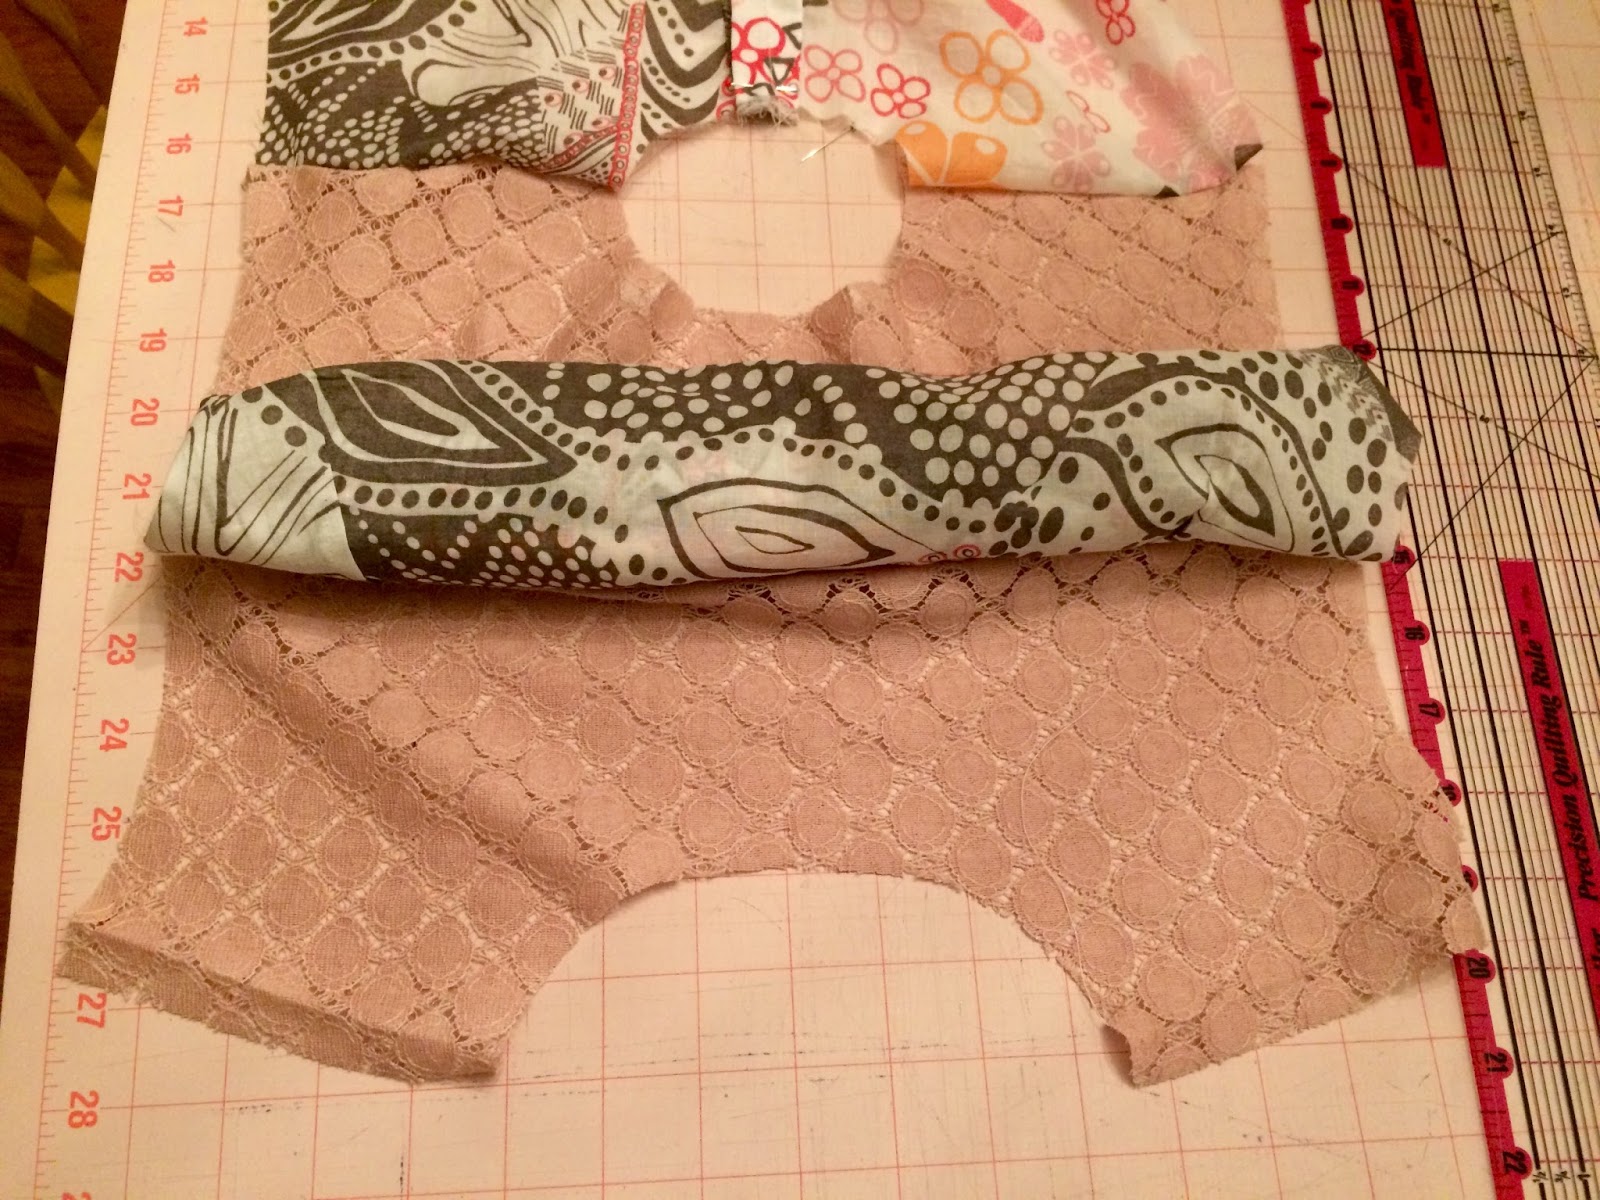 |
| Roll the back bodice like a burrito. Now you can see the underlying yoke face. Same thing will be done to the front bodice. |
 |
| The front bodice is also rolled like a burrito. |
 |
| Now that both front and back bodice pieces are rolled, it is now possible to bring up the yoke facing and meet the shoulder seams. |
 |
| Pin the yoke facing to the shoulder seams (consisting of the pinned yoke and front shoulders). There will be three layers of fabrics to sew in place. |
 |
| After sewing both right and left sides, turn inside out and this is what it will look like. |
I think I'm happy with the end result of this top. I'm definitely keeping this pattern in my TNT stash and might sew some more using rayon or chambray.
Many nice tips! I somehow managed to mess up the burrito method, and misalign the facing and fashion fabric so there was a big bulge. I will have to try again. Your top looks great!
ReplyDeleteThanks! Good luck with your project!
Delete