Here is another garment I made for the #SewJapanaseInJanuary Instagram challenge. And I must say, this has go to be my favorite, not only because of how it turned out but because the whole sewing process was so much fun!

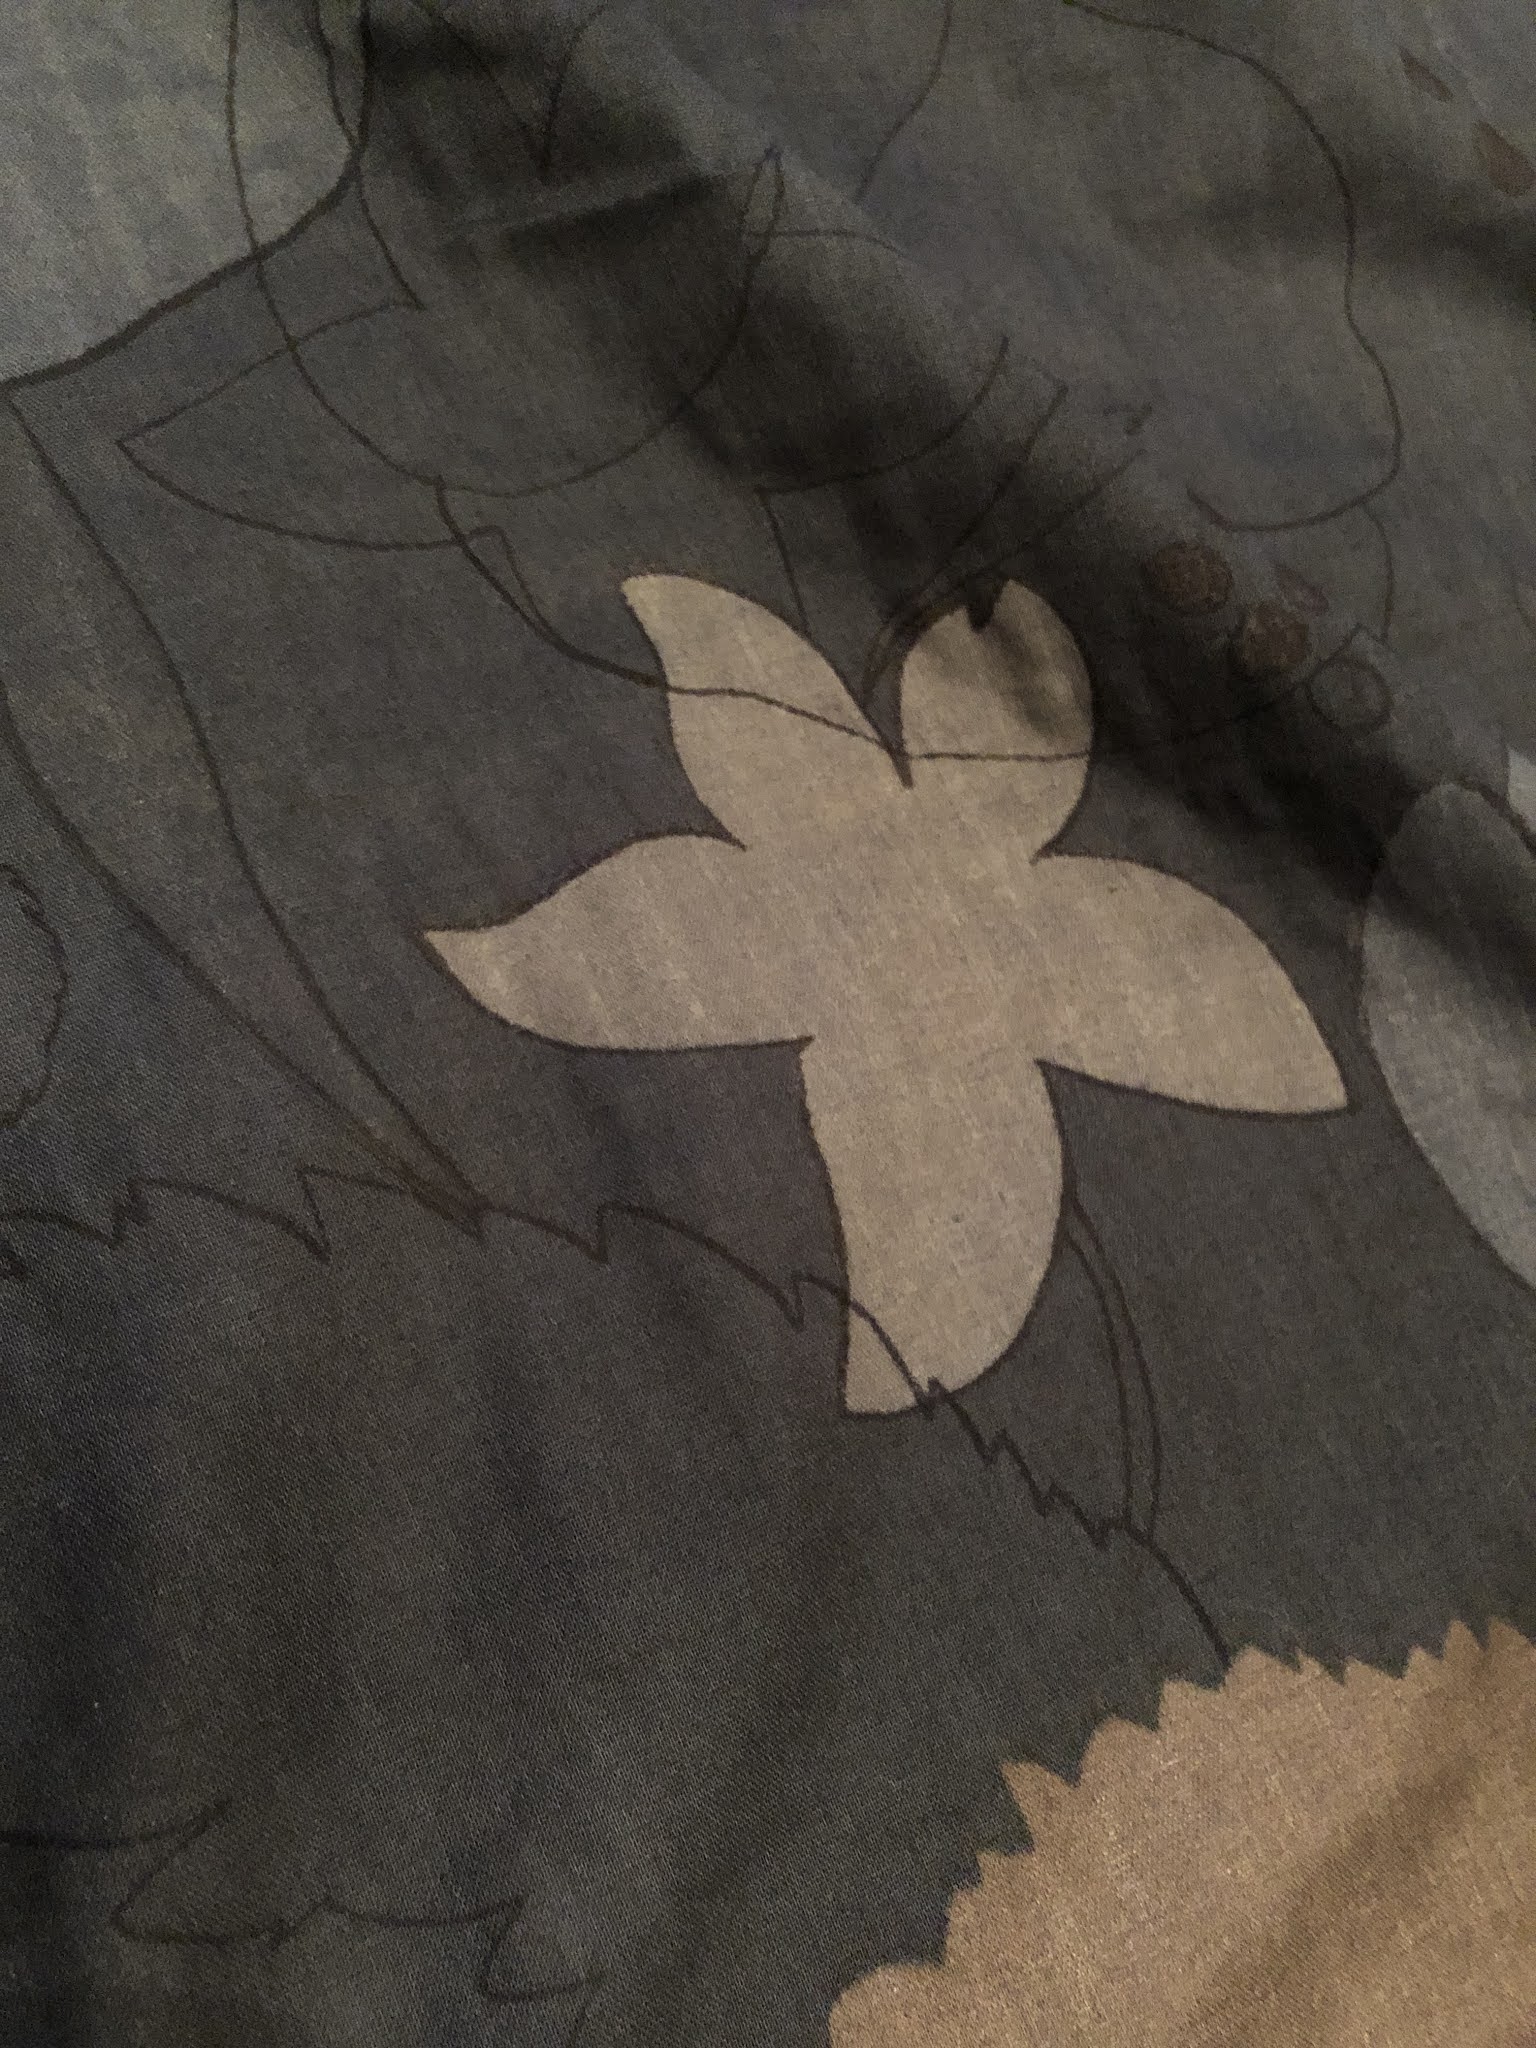
It all started with the fabric--heavenly soft and hauntingly beautiful Japanese cotton double gauze from the 2020 Nano Iro line. This iteration is called "Waltz" and features floral themed print in muted dark tones of black, blue, gray and brown. Being double gauze it is made of two layers of very fine fabric.


 |
| Although I loved this first version, I thought there was room for improvement in terms of fit and method of construction. |
Here are the construction modifications I made:
 |
| I added a facing to the collar. The pattern only used a single collar piece and had one finish the top edge by narrow hem. I thought it looked better this way especially when the wrong side shows when the top is worn with unbuttoned neckline. |
 |
| Instead of sewing the center front facing over the collar, I sewed the collar over the facing. |
 |
The pattern uses a 2" wide bias binding which was supposed to be folded in half then sewn to the armhole and then folded over. For my fabric, that method would not have worked well so instead I used a 1" bias binding and sewed it the way I knew how. I also tweaked the fit.1. The first time I made this pattern, I did not alter anything and found the top had way too much ease. I removed a total of 1-1/2" from both sides starting from the hemline tapering to nothing at the armhole. I had to make the same changes to the peplum. 2. I made a 5/8" narrow shoulder adjustment. Design DetailsI added some decorative contrast stitching in the following areas:  Off-center back seam 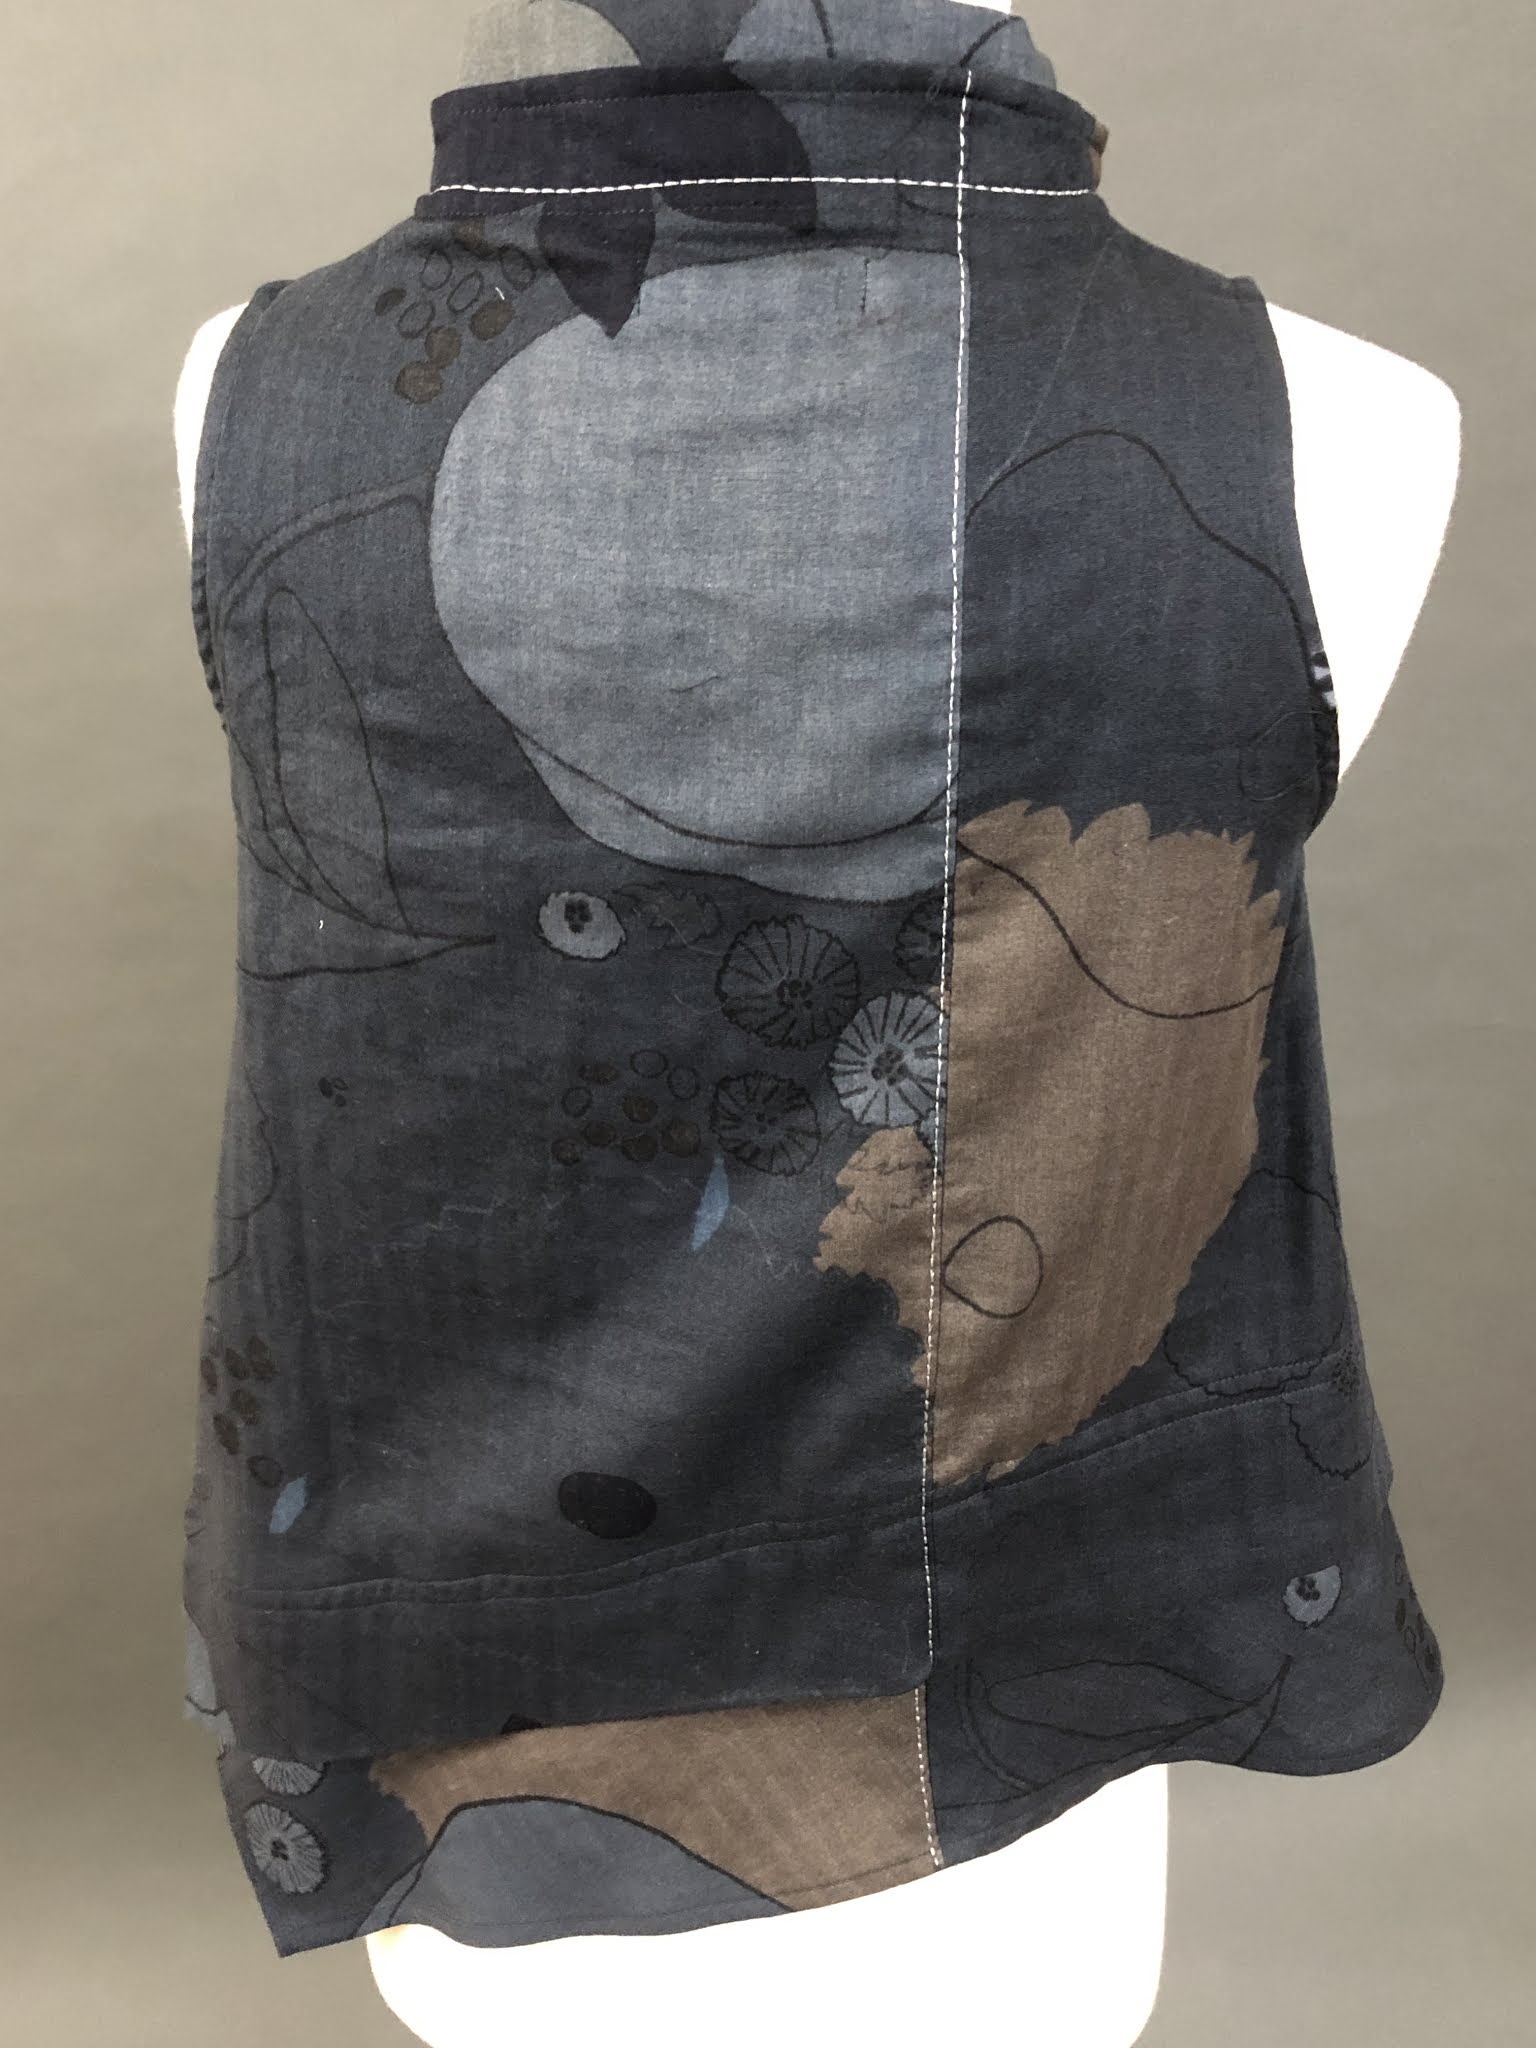 Around the Mandarin collar following the attachment line of the other collar.  Double topstitching where the peplum was attached to the bodice.  This time I followed the addition of pleats on the peplum. In my first version I skipped them.  I played around with silver toned metal buttons, mixing and matching the different shapes. |


Love seeing all the amazing details in your garment.
ReplyDeleteThanks so much for stopping by!
DeleteBeautiful! Especially love the topstitching and mixed buttons.
ReplyDeleteThanks so much! This fabric just inspired me so much!
DeleteBeautiful! You have an incredible mastery of embellishment and balancing it's use and variety. Just so well done, Maria. I love how you used various threads and also improved on the original design. Outstanding!
ReplyDeleteThanks so much Bunny! I truly appreciate your kind words. They encourage me and inspire me to keep on sewing!
DeleteI have had this pattern for a couple of years without making it. Your versions (on my Pinterest feed) have inspired me to do it!
ReplyDeleteSo delighted to have inspired! Thanks for dropping by!
Delete