Monday, October 18, 2021

Oki Style Story Jacket

This is my second time trying out an Oki Style pattern and I am smitten! There is something about bringing to life a pattern that screams "designer!" The Oki Style Story jacket is such a unique almost sculptural piece of garment. I think I'll let pictures do the talking!


There are so many ways to wear it and the look changes depending on how I play with the front opening.

To have an idea of how the jacket was constructed, take a look at the main pattern pieces below: 


There are no separate front and back pieces but one continuous piece of pattern. That means there are no shoulder seams. It was tricky but not impossible to get acquainted with the pattern itself. It was easy enough to identify the center back and sides. 


Similar to Burda patterns, I had to trace the facings that are drawn inside the main pattern pieces themselves. 


This is the front facing after it was traced. The main pattern piece had a slashed dart that was not transferred to the facing pattern. 


And these are the back facings. 

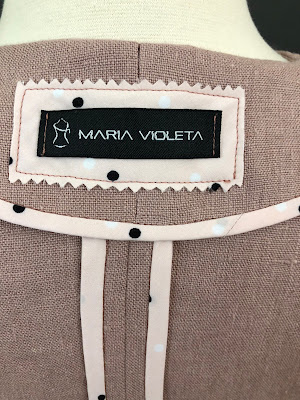
The reason for all those facings is the jacket is not lined. To make the inside look pretty I used Hong Kong binding to finish all visible raw edges. 


I used a lightweight polka dot lining fabric to make the bias strips for the binding. 


A 17" square cut of fabric yielded a continuous loop of 1" bias strip that was enough for the project. 

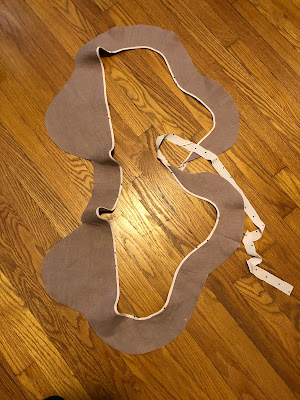
Here are some photos of the Hong Kong binding application in action. 


There were some errors in the labeling of some pattern pieces. I wrote about that in detail at Pattern Review. I have just emailed  the designer about it and she said she will look into it. But there are more positives about this pattern that more than make up for the errors. 

Aside from the wonderful unique design, the pattern is well drafted. All notches and markings matched. The sleeve cap was well drafted with just the right amount of ease. 

Here is a photo of the sleeves being eased into the garment. After it was sewn, a simple pressing resulted in a very smooth sleeve cap!


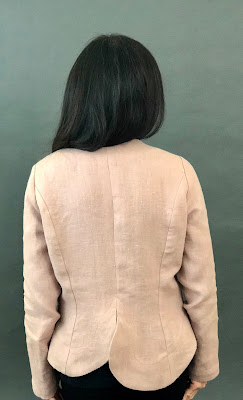
And now more photos of the finished garment. Pardon the wrinkled sleeves, it's the nature of the fabric I used which is a heavyweight rustic linen. 


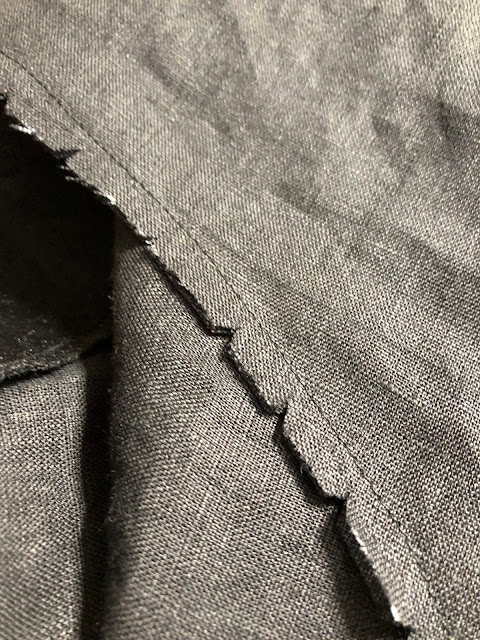
Back showing uneven hem and topstitching. 


View of the front dart. 

View of the non-existent shoulder seam. 


For a more detailed review of the pattern check out my latest review at PatternReview.com.


Monday, August 30, 2021

Creating My Oki Style Antwoord Top

While browsing Etsy for some indie patterns, I recently discovered this gem of a designer Oki Bukhuu. She creates and sells her sewing patterns under the name OkiStyle. I was drawn to her unique style which she describes as "experimental and alternative." I decided to take a plunge and give her pattern a try. 

The Antwoord Top features an asymmetrical collar with cut-out half-round neckline and extended shoulders. I have posted a detailed review of the pattern at PatternReview.Com. This post will focus on the construction aspect of the garment focusing on the trickiest part which is the neckline. 


The top itself is very simple to make. It has only three pattern pieces--the bodice (which is a single piece that include both front and back already), the neckline facing and the collar. 

Pattern Pieces


The bodice piece is such a clever design.  It is cut on fold and that is how the front and back are created. There is no shoulder seam, no hole for neckline, no sleeves. 


This is the neckline facing which is cut as a single piece and interfaced.  It helps to mark the front and back corners as they are asymmetrical. The front has a curved edge to it as opposed to the back which is more pointed. 


This is the collar piece and it is cut twice. I only interfaced one of the pieces. The photo is that of the muslin version I made.  Next photo is the actual contrast fabric I used which is left over from a previous project. 


Transferring Markings

This part may be a bit confusing. The single pattern piece which is laid out on the fold of the garment does not have any specifications as to front, back, shoulder, etc. The only markings included are for the neckline facing attachment and although one is labeled front and one labeled back, they are both located on the same piece. 


The trick is to trace the front marking to one side of the fabric while folded and then turn the fabric over and trace the back marking. The resulting marking should be a smooth curved one when fabric is unfolded. That will be used to match with the outer marking on the neckline facing. 


Some useful tips

Reinforce the corners with tiny stitches and square piece of silk organza prior to slashing. 


Mark the center of the markings to serve as guide for cutting. 


Clip curves before turning facing out. 

Here is a view of the half round neckline after facing has been turned. 


For the hem, I used narrow hemming following my favorite technique which you can read about here.

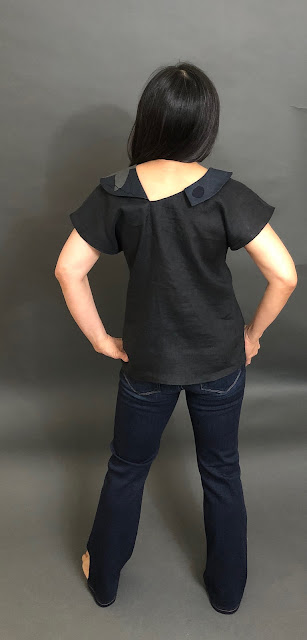
And now for some photos of the finished garment.