This time I used a very lightweight cotton blend knit that feature "designer holes!"
I got this fabric from Marcy Tilton and bought only one yard. That was not enough to include the sleeves on the pattern so I paired it with a black cotton knit jersey from my stash. I made sure both had similar weight and stretch characteristics.
I will be posting a review of this pattern at PatternReview.com soon. The thing that needs addressing about this pattern is the way the back neckline and front edges are finished. Merely turning them inside won't work because it is inevitable that the wrong side will show with the way the front cascades.
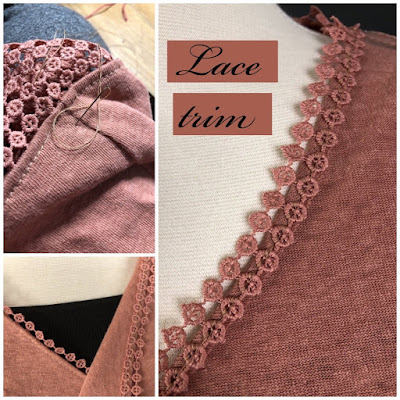
Let's look at my first version where I addressed the issue by sewing a reversible trim along the entire front opening edge.
For this current one, I left the front edges unfinished because the fabric looked good from both sides.
The unfinished edge was also in keeping with the deconstructed nature of the fabric.
However, the back neckline was a weak point so in addition to fusing a knit stay tape, I also bound it with knit fabric.
Hard to see clearly but I sewed the edges of the binding with triple zigzag.
Here's a better view.
A view of the wrong side which also shows the serged edges of the armsyce.
One modification I made was to add ruching to the sleeves.
It was quite easy to do this. There are lots of tutorials online and I found Pamela's Patterns video on sleeve ruching very clear and helpful. Here is the link to her YouTube video.
In a snippet, I just cut a 10" piece of 3/8" wide elastic and triple zigzagged it to the sleeve. I had to do it several times though until I was happy with the final length of the ruching. So if you are like me and unsure, do some machine basting first before finalizing with zigzag stitches.
I am quite happy with how this cardigan turned out. It is less overwhelming than my original version and is just the perfect topper for a summer shell.
Thanks for stopping by!


Nice blog...
ReplyDelete