~~~~~~~~~~~~~~~~~~~~~~~~~~~~~~~~~~~~~~~~~~~~~~~~~~~~~~~~~~~~~~~
Many times in the midst of a sewing project, I would remember
a technique I wanted to use but not having used it often enough, I would end up
searching the internet for a “refresher course.” Sometimes I forget the term to
use so it takes me longer to find what I need especially when I have forgotten to
bookmark a site. Since I have this sewing blog, I thought “why not write about
those techniques so it’ll be easier to search for them next time?” So I will be
posting a series on my favorite sewing techniques and filing them under “My Best
Practices!”
~~~~~~~~~~~~~~~~~~~~~~~~~~~~~~~~~~~~~~~~~~~~~~~~~~~~~~~~~~~~
Since discovering this technique from Pattern Review several years ago, I have employed it several times in my sewing projects but it was only very recently that I found out the technical term for it was "Flatlining" thanks to Kathryn Brenne, a sewing guru I follow at Emma One Sock and Instragram.
What is it?
Flatlining in sewing is a technique used to underline and
finish seam in one step. It can be used as a way to underline a garment or
treated as a lining in itself. It works best on vertical seams like the sides seams
of a skirt or pants or the princess and center back seams of a blouse or dress.
How to do it?
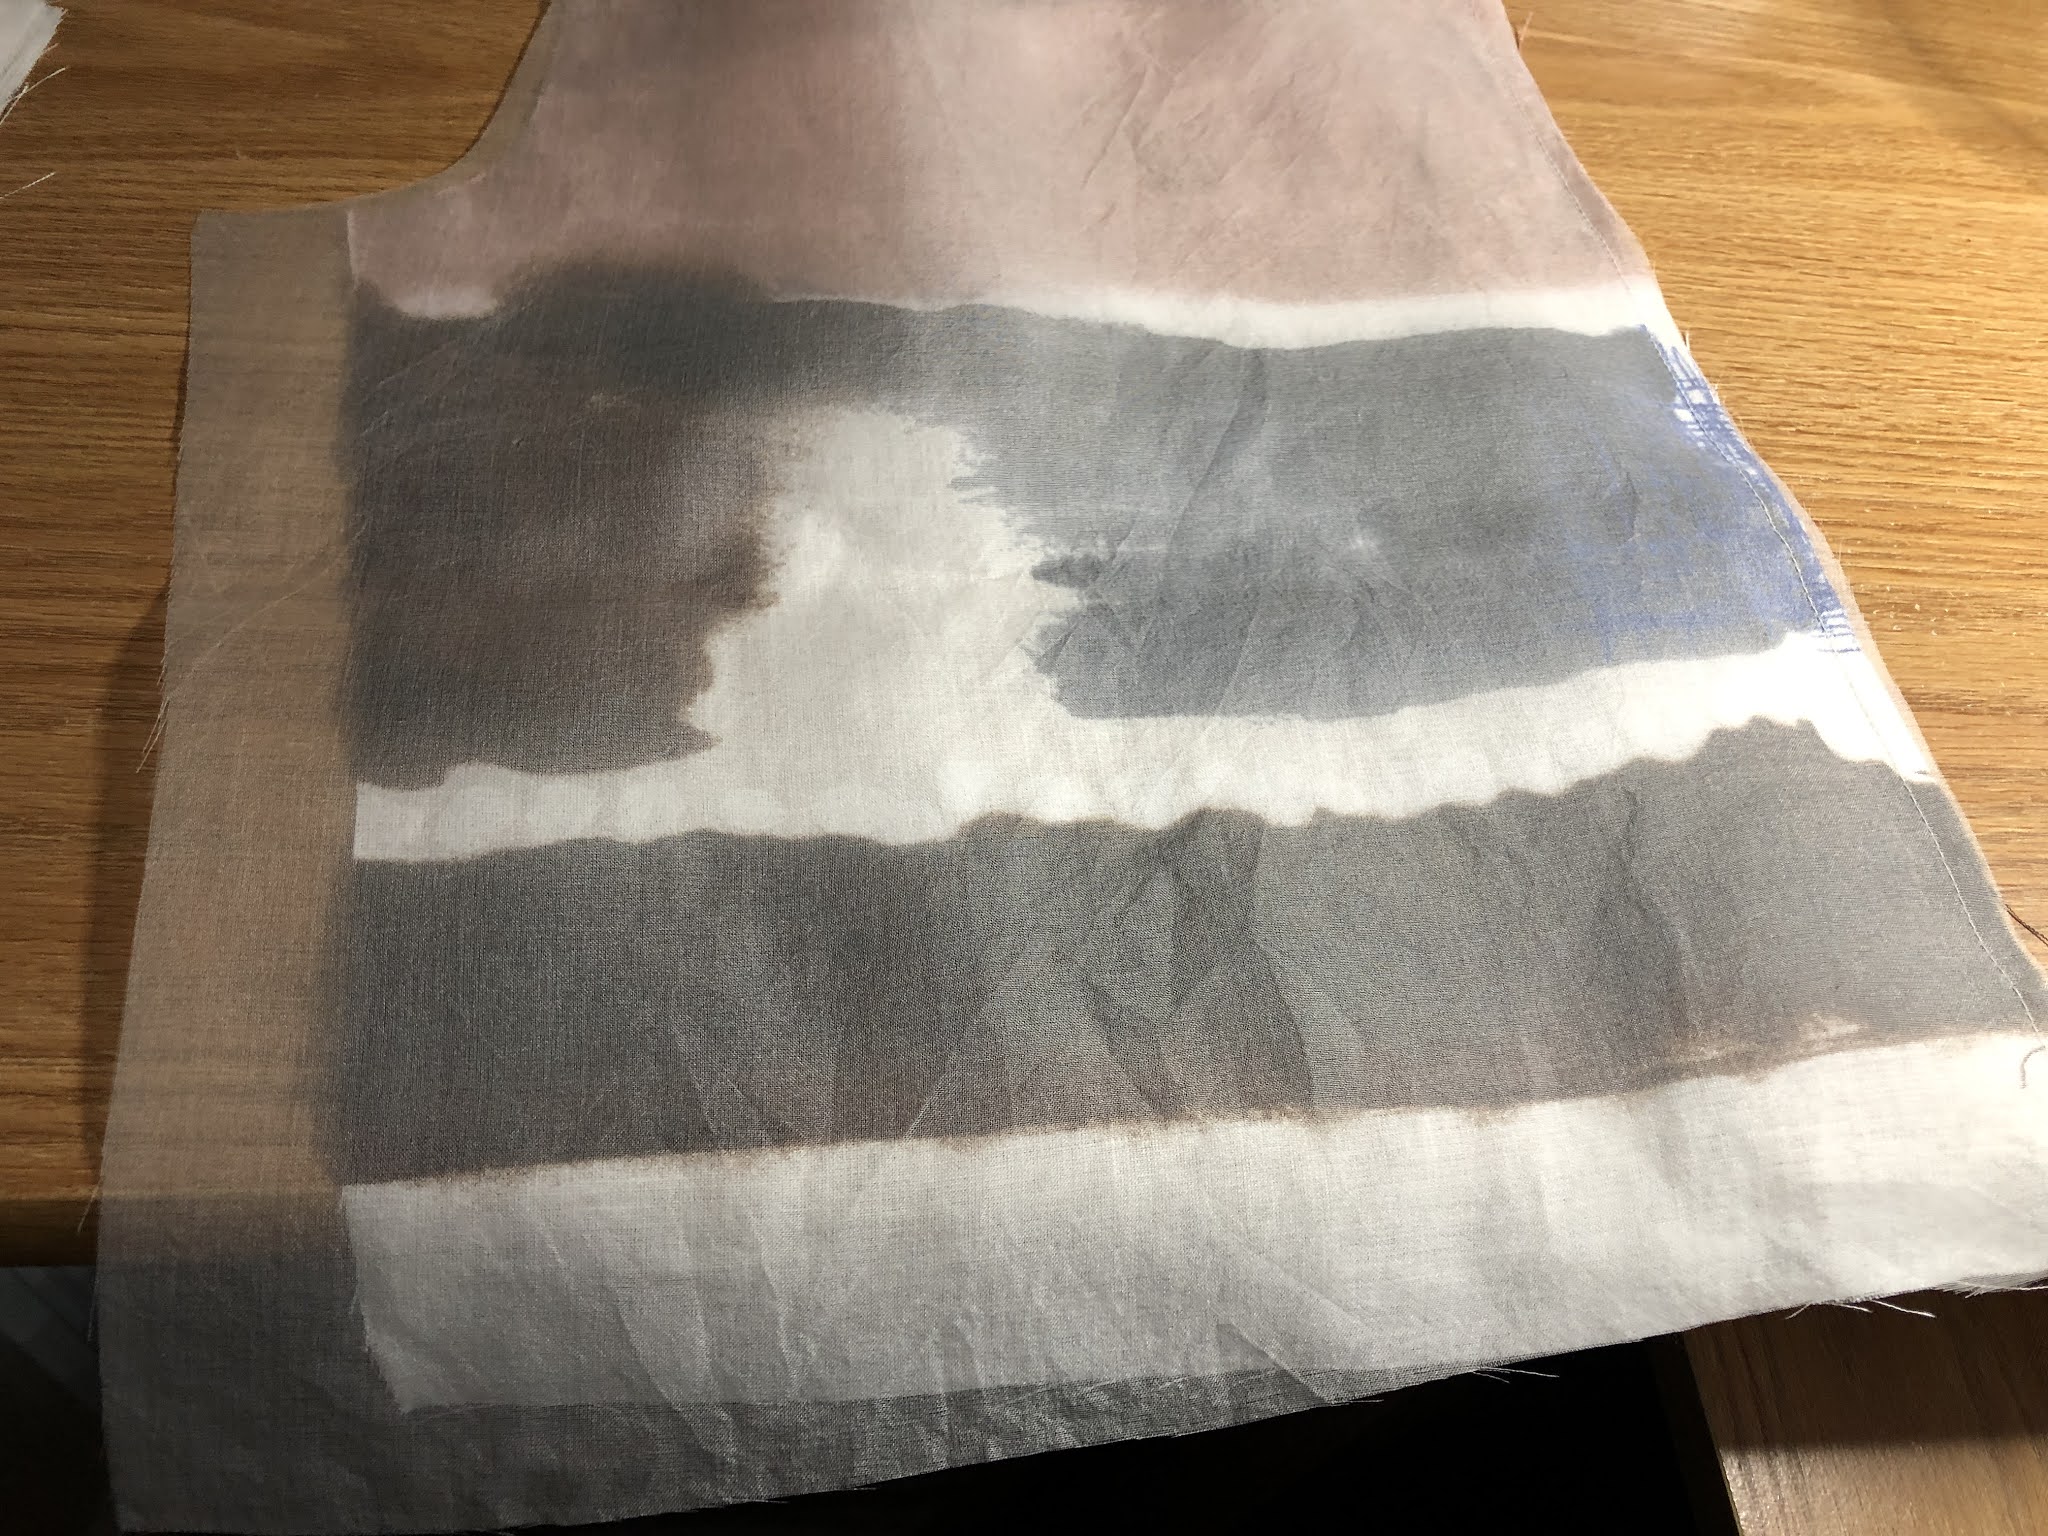
1. Cut the underlining fabric using the same pattern piece as
the main fabric but double the seam allowance on the vertical seams only.
 |
| In this example, I am cutting one bodice piece from the main fabric which is linen. |
 |
| I laid out the same pattern piece over my underlining which is silk organza. |
 |
| The seam allowance on the pattern is 5/8" as shown by the pencil marking. |
 |
| I am working on the vertical edge and in this case, it is the center back seam of a back bodice. I will do the same on the side seam. |
 |
| I am adding an additional 5/8" to the vertical seam only. Using a 5/8" curved ruler makes marking easier. |
 |
| It was easy to mark with a pencil on the silk organza. |
 |
| The underlining has been cut with the additional seam allowance. The rest of the seam allowances follow the original pattern. |
2. Do this step one vertical edge at a time. Lay out the underlining and main fabric right sides together. Sew the vertical seams in a 1/4" seam allowance.
 |
Notice that the underlining is wider than the main fabric.
Align them on one vertical edge first. |
 |
| Sew the vertical seams together in a 1/4" seam allowance. |
3. Turn right side out The underlining piece will wrap around the edge of the main piece because the former is cut wider. Smooth the layers then press.
 |
| Notice that the underlining has more excess than the main fabric. |
 |
| Smooth out the excess towards the side edges so the underlining wraps around the main fabric. |
 |
| A closer view from the right side. |
 |
| Another closeup of a flatlined seam, this time on the center back of a shrug. |
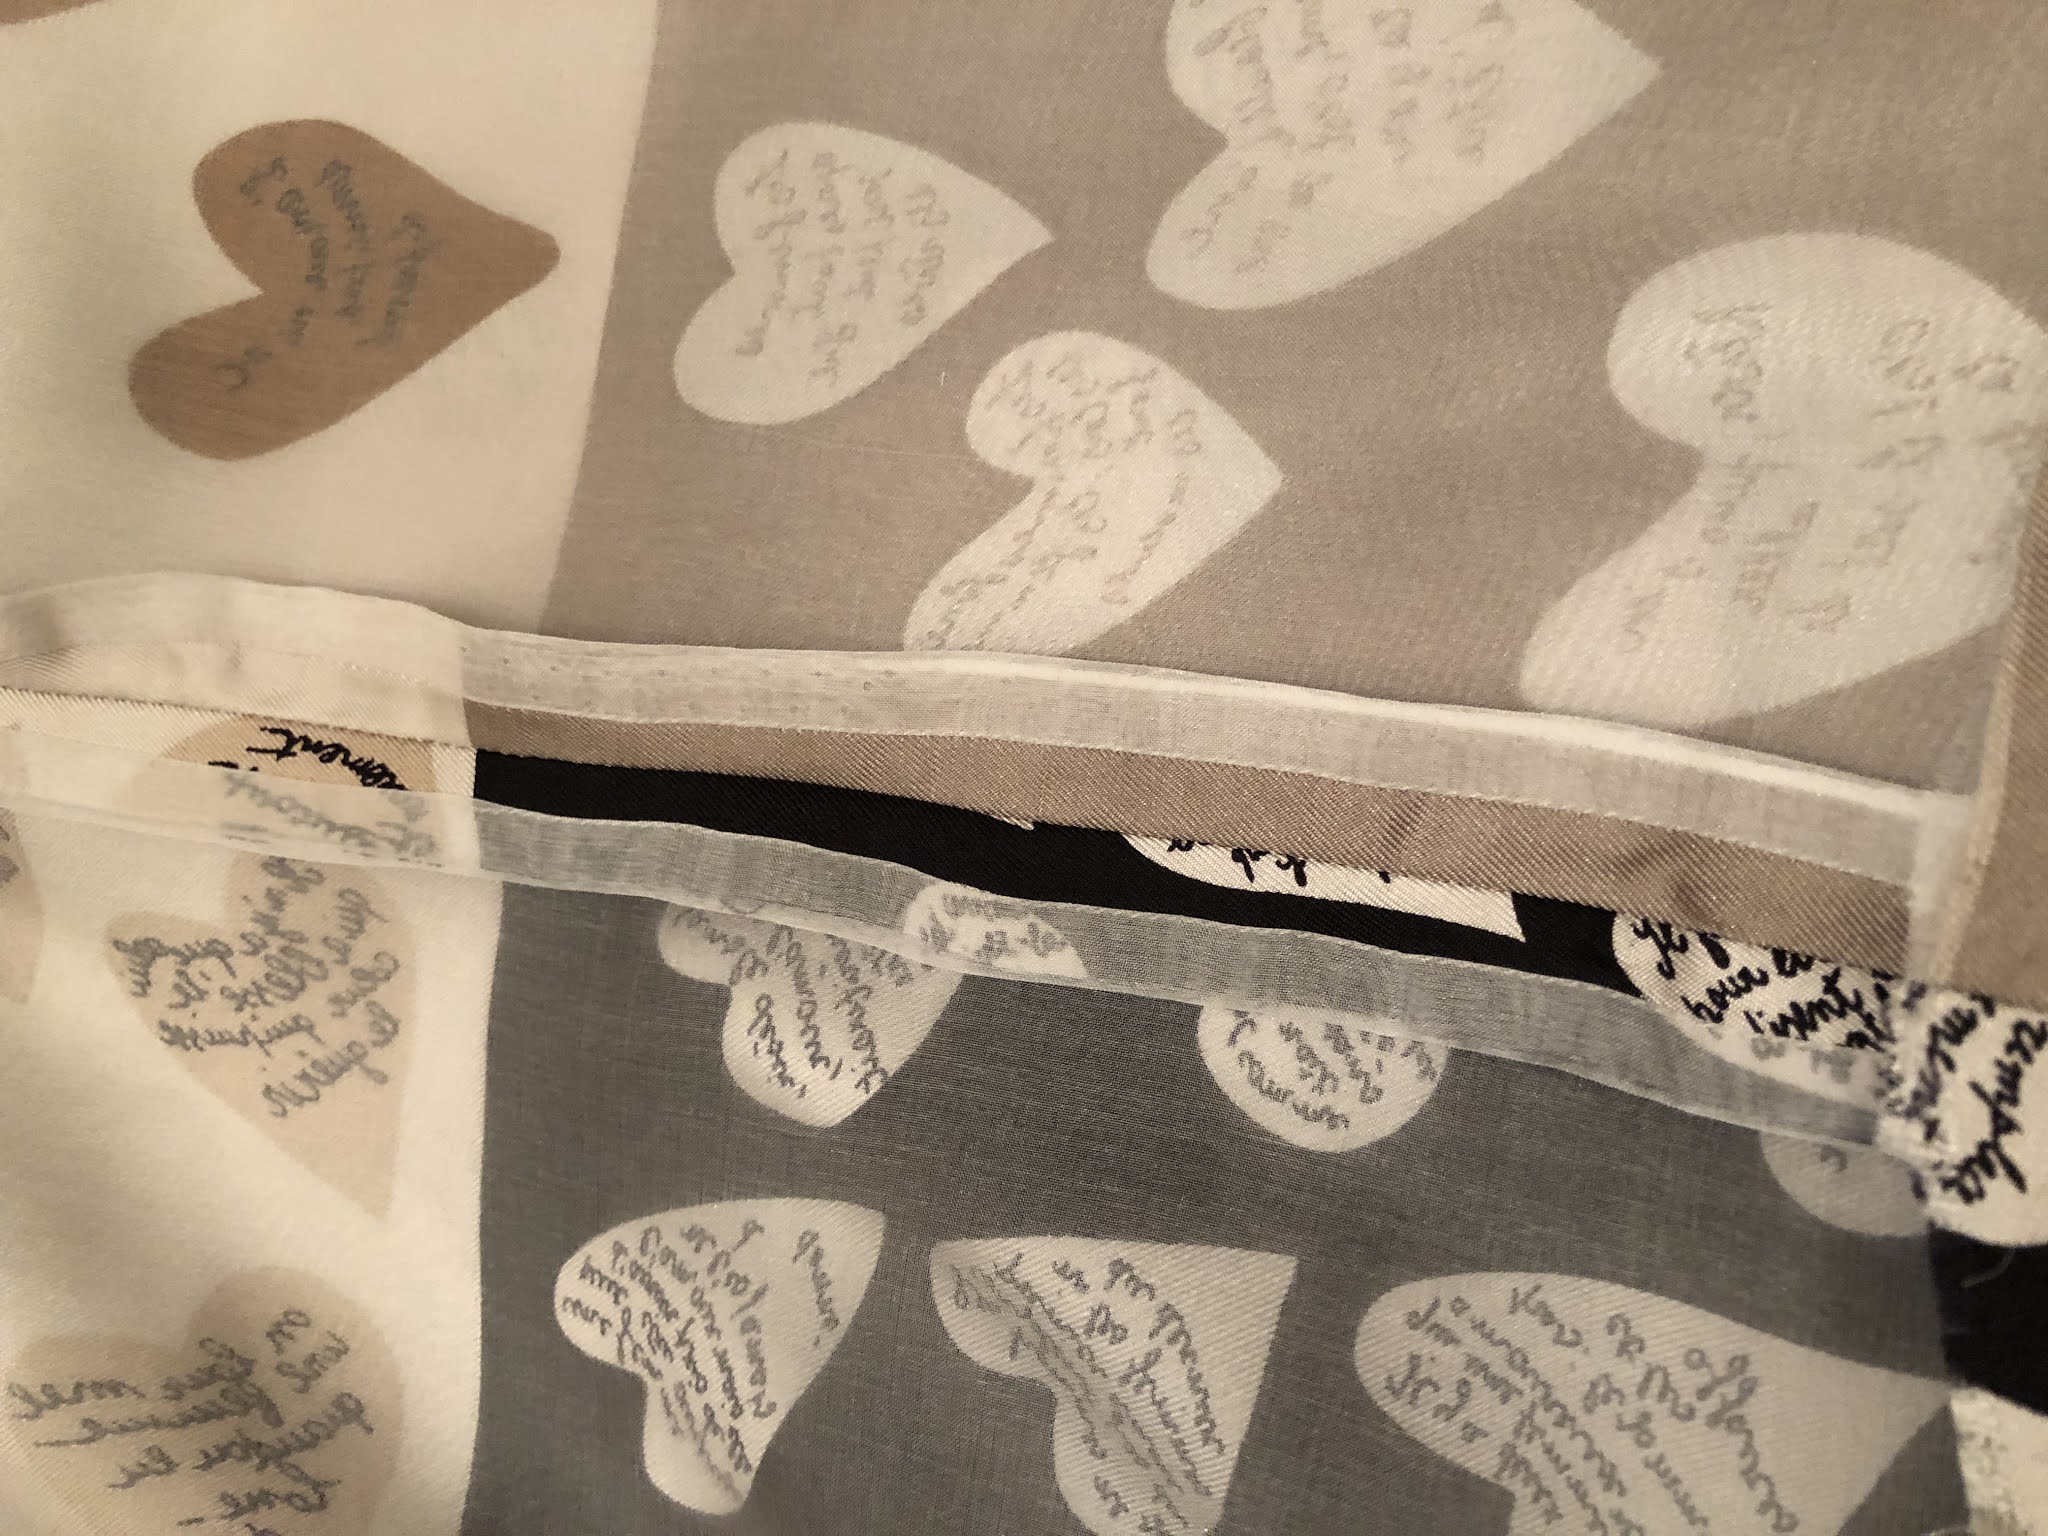
A couple of finished projects using flatlining:

|
| This is a Marcy Tilton shrug (still have to post about that garment) where I underlined the lower back using the flatlining method. I did not add any other lining and left it as is. I thought the effect of the pretty fabric showing through the sheer organza was quite lovely! |
i
 |
| This one is a skirt which underlined using the flatlining method but I also added a separate lining. If you are interested in reading more about the skirt (New Look 6345), check out the post I wrote about it more than a year ago here. |


Great explanation and beautiful photography. This is one of my favorite seam finishes. Thank you for spreading the word and your knowledge. Many of our newer sewists are sorely lacking in this area and this is a big help.
ReplyDeleteThanks so much for the kind words Bunny! I'm glad you think this post will be helpful. I know what you mean:)
DeleteThank you for sharing this technique. I have been sewing for decades and this is the first time I have seen this method. I am new to your blog and am loving it.
ReplyDeleteThank you for visiting and I'm glad you found this post helpful! I hope you get the chance to try this technique!
DeleteI’ve not seen this before, but I love the way it finishes out! Great technique; I will definitely be trying this!
ReplyDeleteThanks Kathy! Oh, you'll love how polished it looks when it's all done!
DeleteWhat a wonderful and very succinct explanation of the technique! Your photography is gorgeous in showing the details. Thank you.
ReplyDeleteThank you for the kind words! Hope you'll find use for this technique in one of your projects!
DeleteMaria - I just tried this technique for a project I am working on and it is so exciting! I am using black rayon instead of silk organza which makes it hard to see through! And I cut it out a bit jagged - oops - and so was worried it would be too small, but it turned out. I presume it is not necessary to finish the edges first? So thank for this blog, and for your various mentions of this technique at Pattern review.
ReplyDeleteYay! I'm so excited for you! It is such a wonderful technique that deserves to be shared. Although I have used it countless times, I am still amazed when I see the final result because it is like magic:) There is no need to finish the edges first because they will be enclosed. Thanks for taking time let me know!
DeleteHI Maria, I have another question about flatlining. If my seam allowance is different than 5/8 inch (in this case it is 1cm), does it make a difference? I can still sew the underlining and main fabric at 1/4 inch? Also, the fabric I am going to use is a loose weave; I am worried a 1/4 inch seam might not be stable... what do you think? Thanks!
ReplyDeleteHi Danielle, so sorry I missed this question! I'm supposed to receive email notification when there is a new comment but somehow I did not get one for this. You probably figured it out already but just in case, the answer it doesn't have to be a 5/8" seam allowance. Just double the seam allowance of the vertical edges of the underlining.
Delete