
As with the previous tops I have made, I used the Alabama Chanin t-shirt pattern included in the book "Alabama Chanin Studio Sewing + Design." I used the round neckline and cap sleeves.
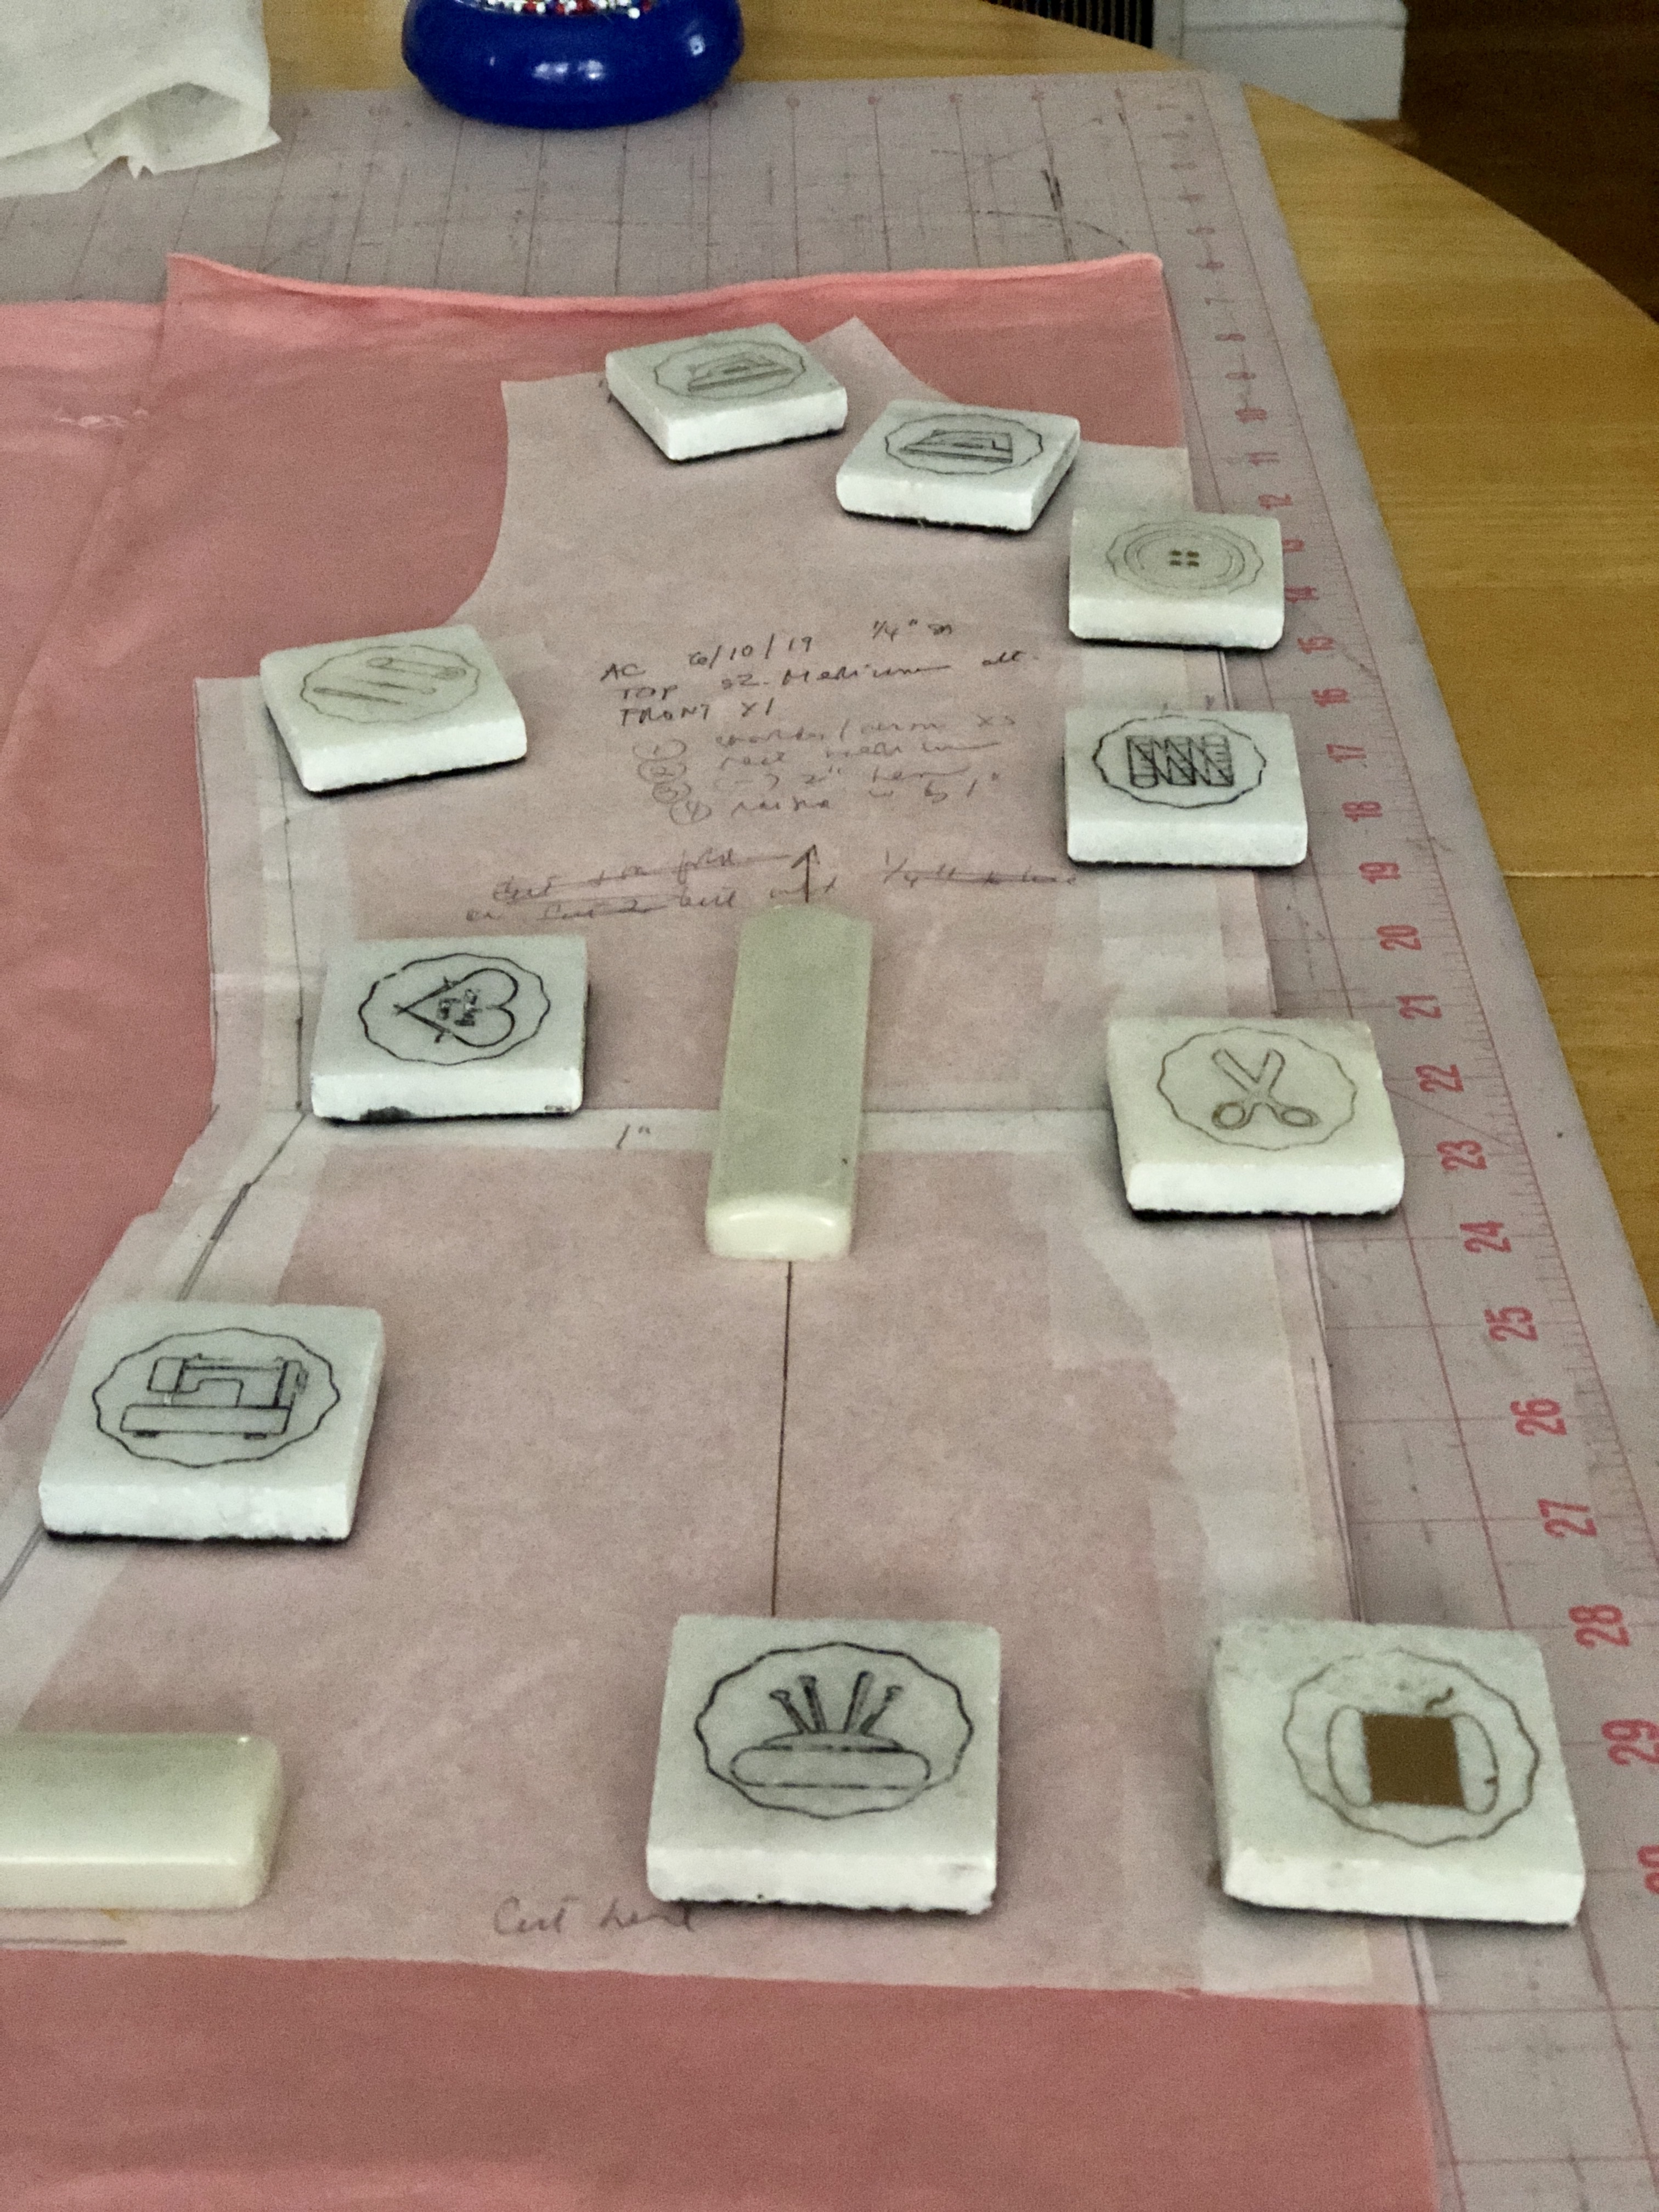
I have always used the reverse applique method but this time I tried the negative reverse applique method for the first time.

The top layer is stenciled with the chosen design.
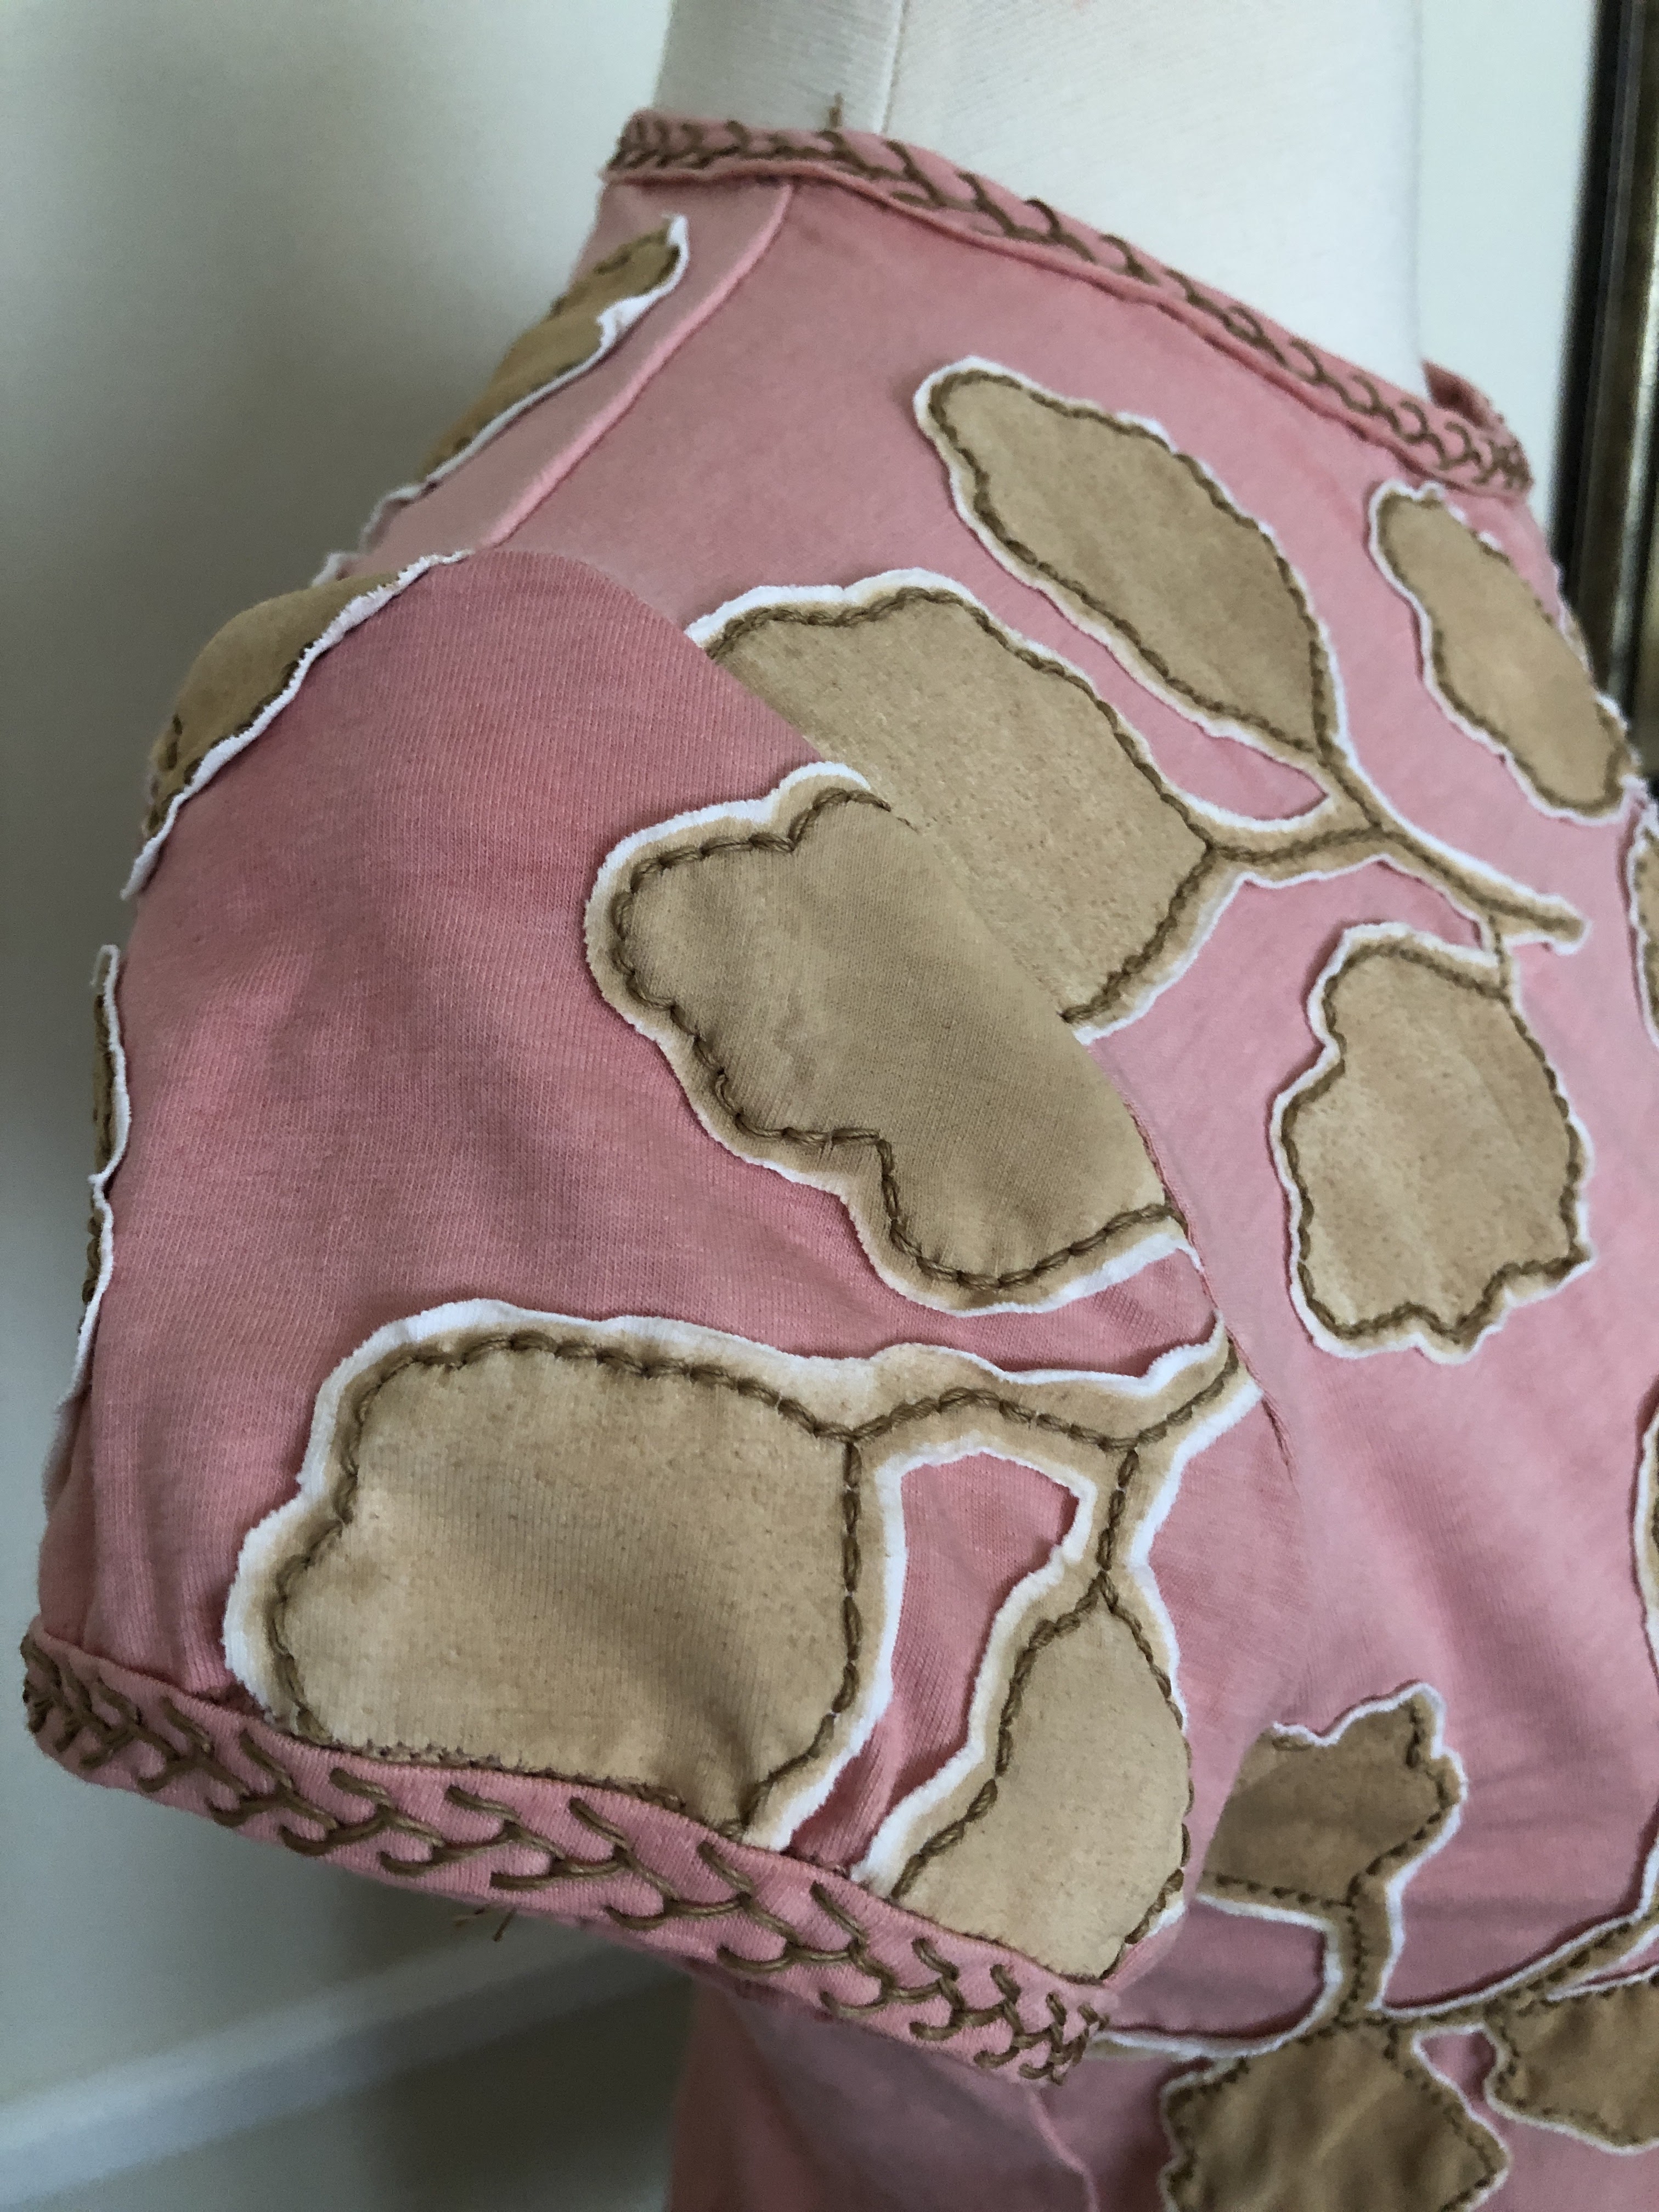
I used "New Leaves" stencil and airbrushed with "Sand" Createx Fabric Paint.

Here you can see the bottom layer underneath the stenciled fabric.
*A note about the bottom fabric. I was inspired by an AC top I saw in Pinterest and I wanted to recreate it. However I didn't have the exact same cotton jersey so I had to dye mine.

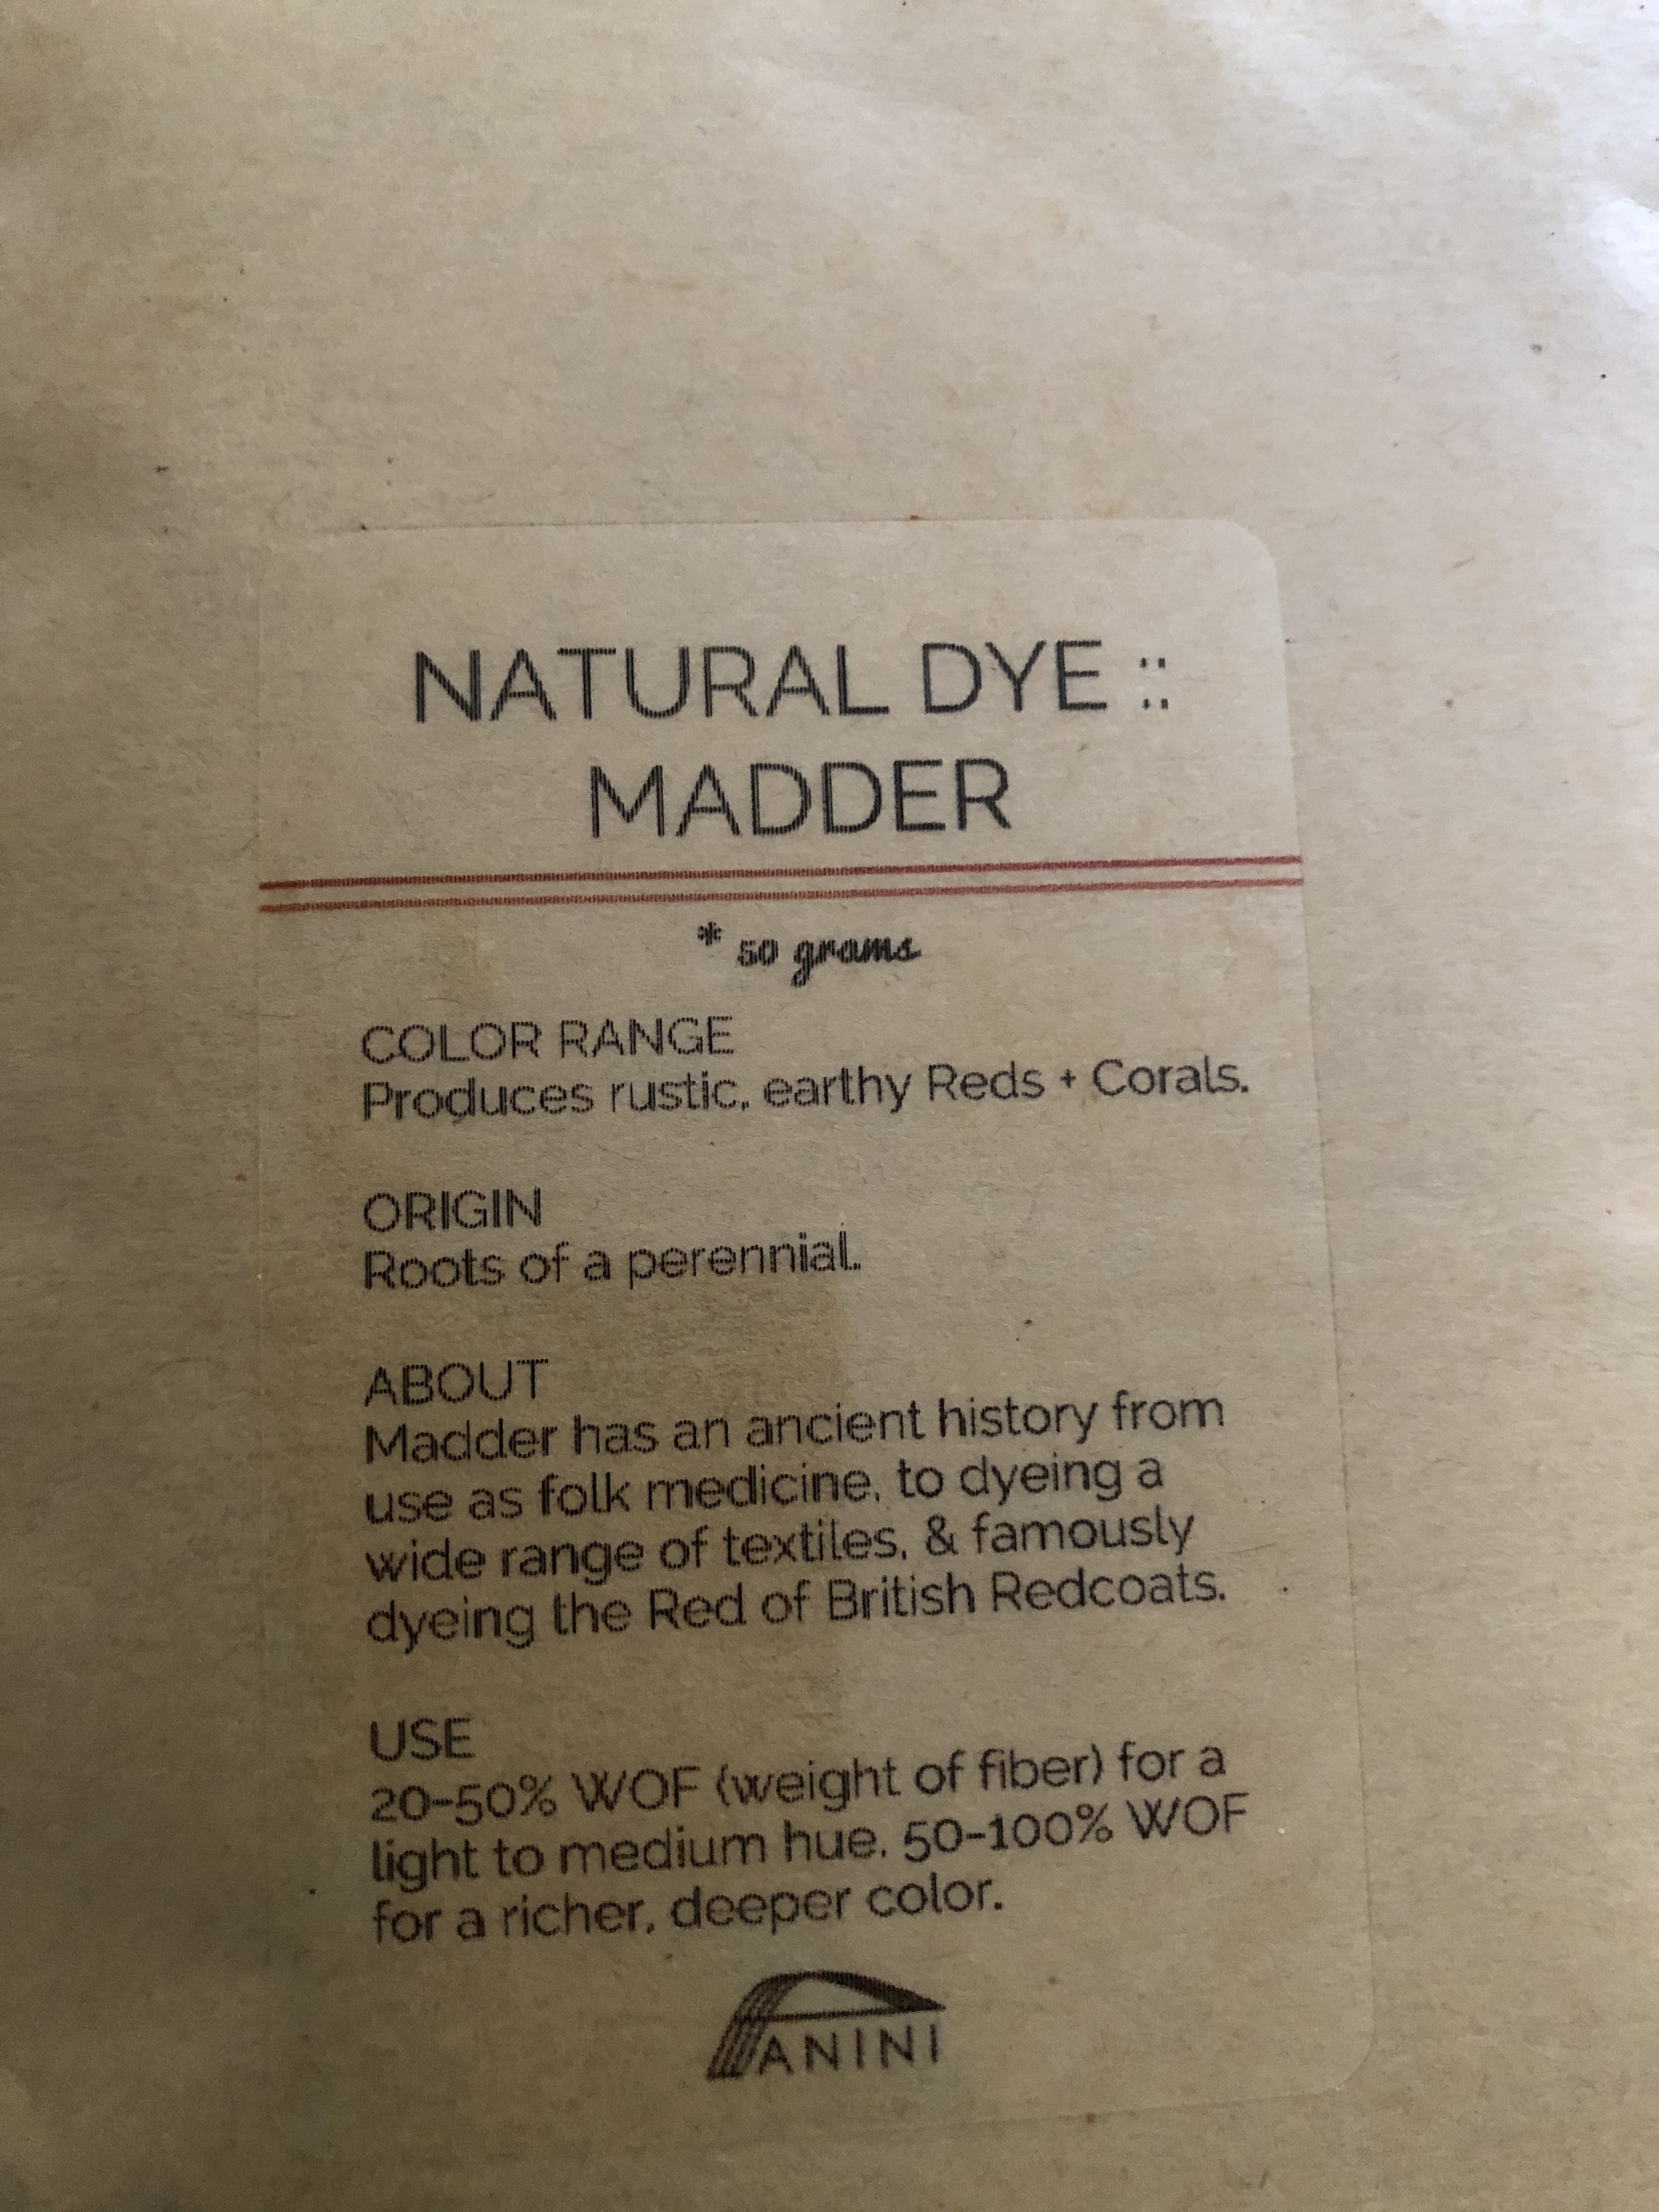

I used the natural plant Madder Root to dye my white cotton jersey.

Back to the negative reverse method: I sewed the two layers together by using backstitches 1/8" inside the appliqué shapes.

Here you see the stitches in progress.
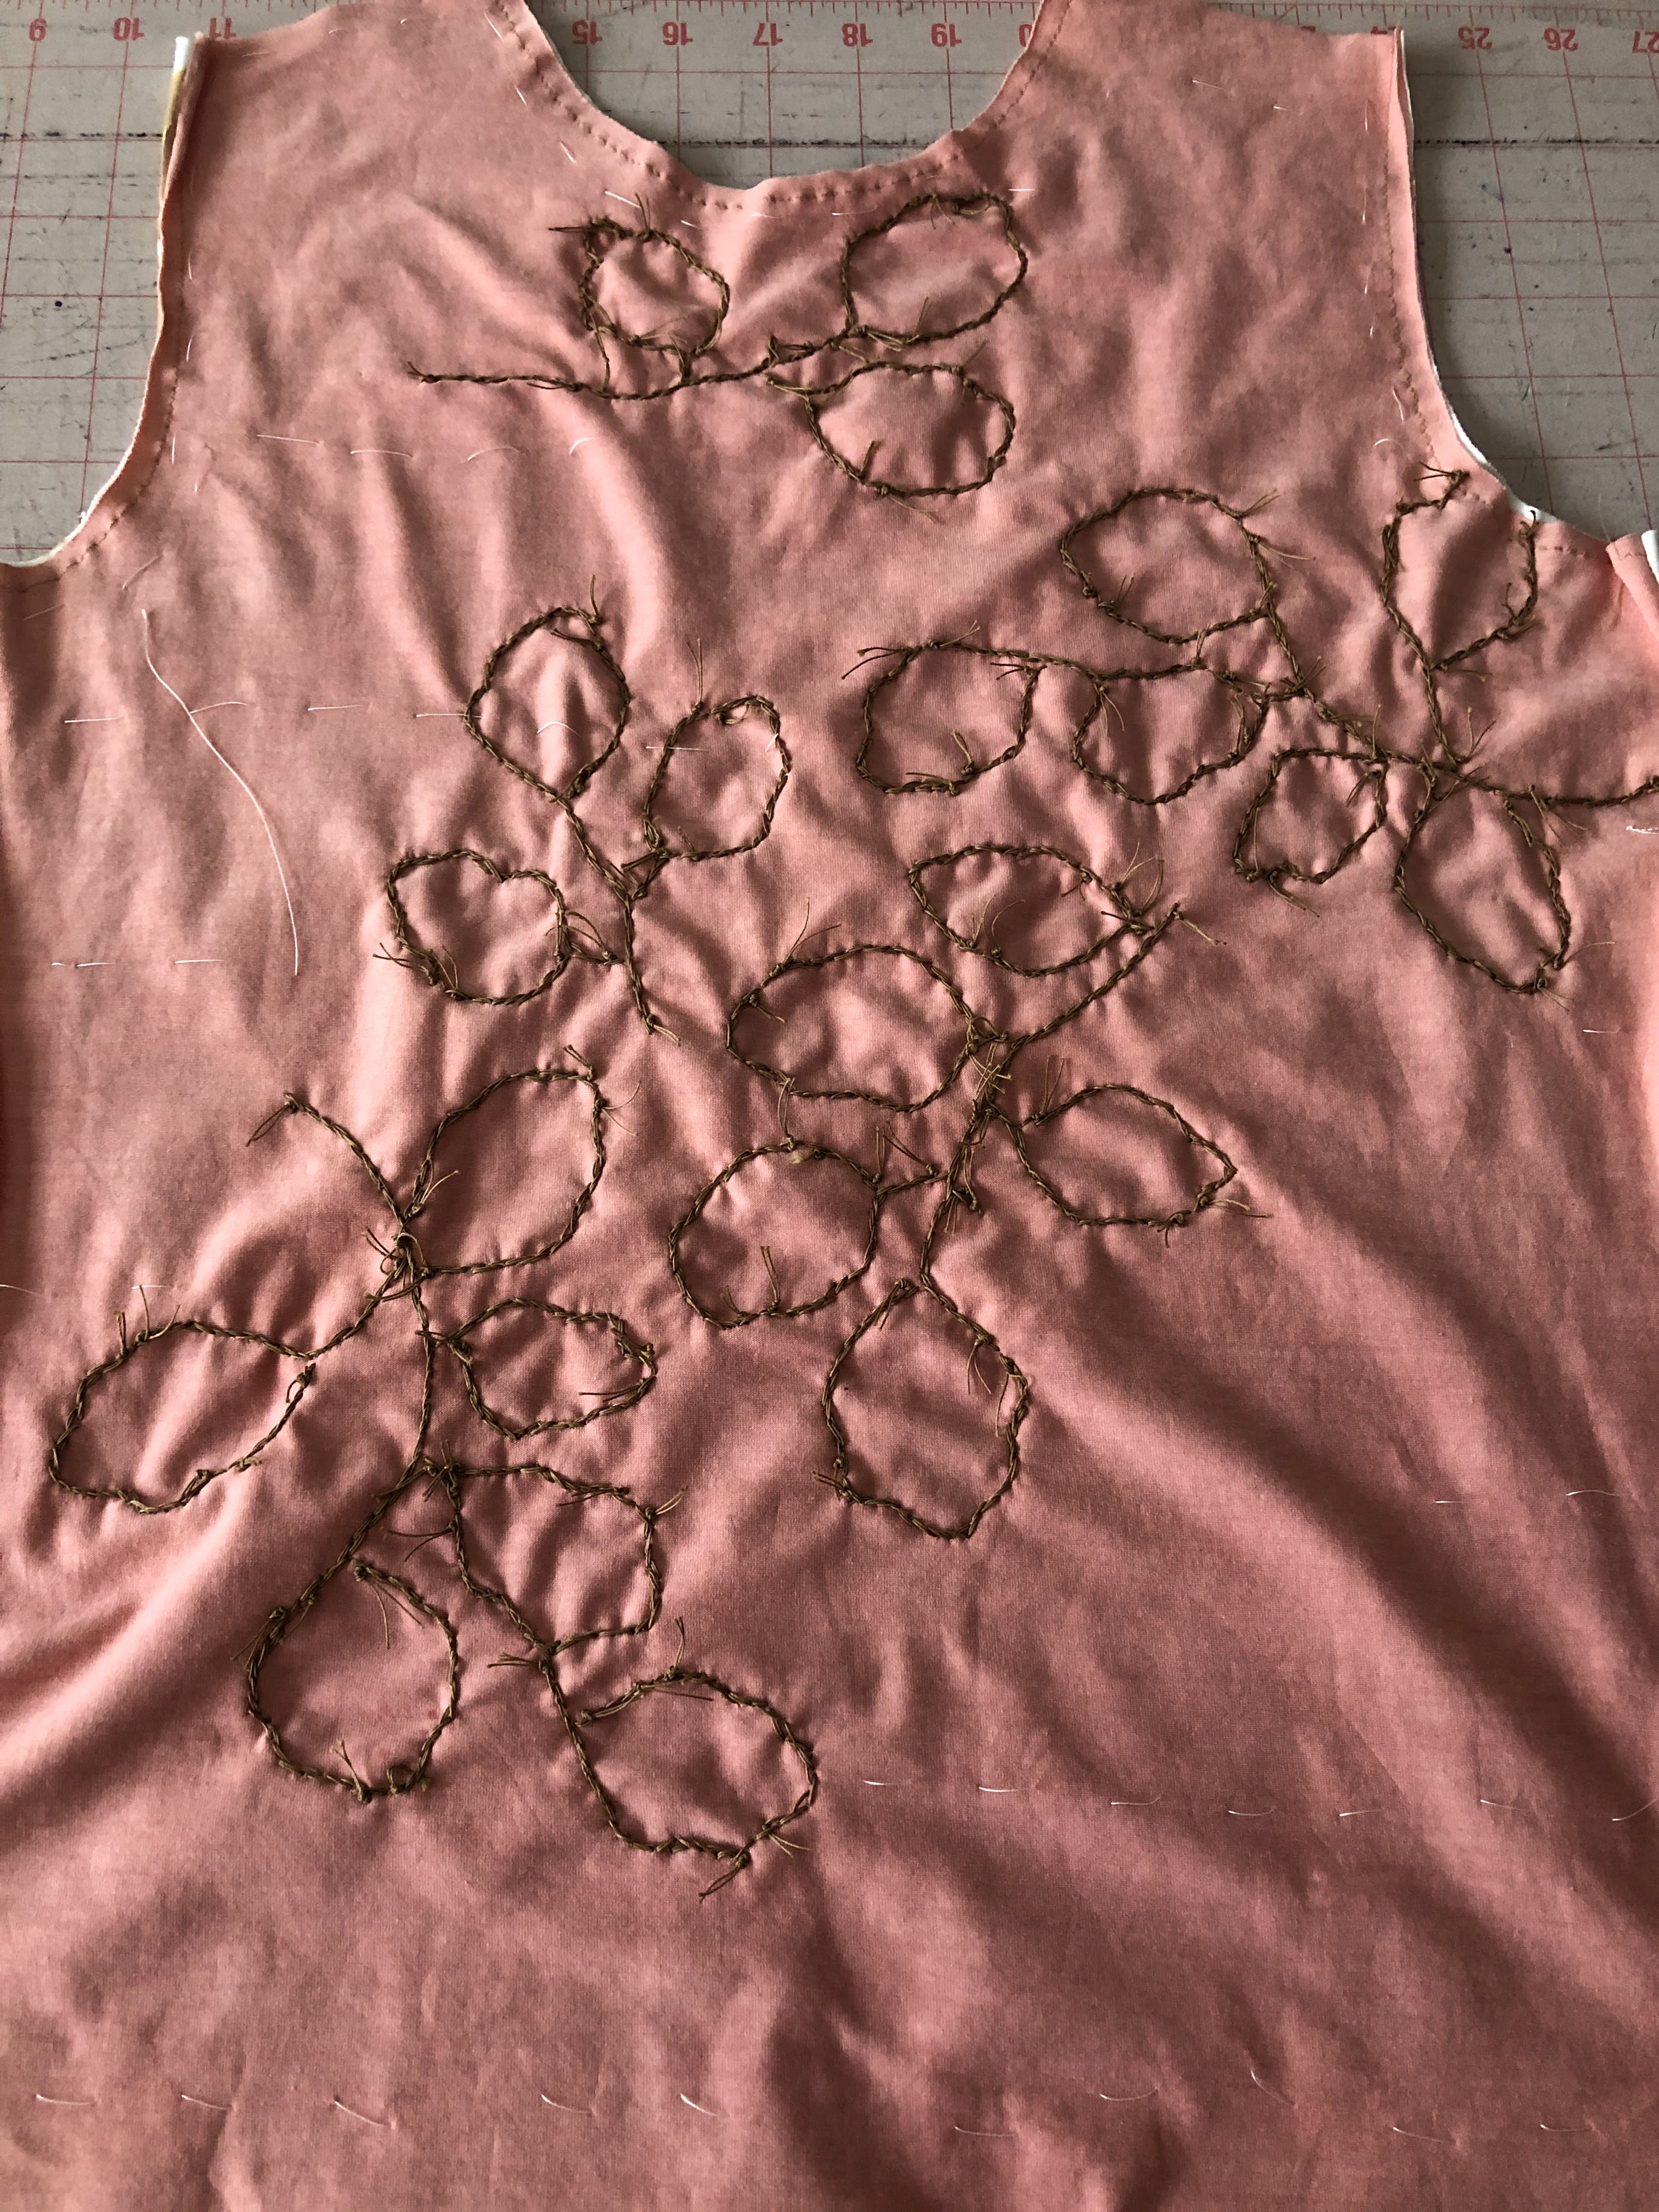
A view of the wrong side of the underlying fabric.

A view of the two layers.


The front of the top completed as far as appliqué stitching is concerned.
Now it's time to cut off the top layer 1/8" outside the edges of the appliqué shapes.

Partially trimmed.

The front of the top completed!

I only embellished part of the back.
I also embellished the sleeves.

I used feather stitches on the neckline binding and sleeves.
And now for some more eye candy!


What the inside looks like!
And for more info, check out my review posted at PatternReview.com.
Beautiful work!
ReplyDeleteThanks so much Fran! And I appreciate you stopping by!
DeleteLovely! Lots of effort and it shows. These colors are really pretty on you.
ReplyDeleteThanks so much Bunny! It was such a fun project.
DeleteYour top is so pretty! Your careful workmanship makes it a treasure.
ReplyDeleteThanks so much Carol!
DeleteThank you for the very detailed steps Maria, wonderful inspiration:) I have just purchased a small air gun (Badger 250 as Alabama Chanin website) to start my stenciling. What compressor did you use? I completely overlooked the need for air compressor of some sort!
ReplyDeleteVery sorry for the late reply! I was supposed to be receiving notifications of new comments but it seems it's not working. Anyway, I used a 12V mini digital air compressor pump, brand name Tacklife from Amazon. However, there are now so many new compact versions. It doesn't really require a lot of power.
Delete