A few months ago, McCall Pattern Company conducted a wrap dress sewalong. Life got in the way and I only got as far as buying the fabrics and the pattern. I only recently got back to sewing and I'm relieved this project did not end up in the UFO (UnFinished Objects) bin.
About the Pattern
Vogue 8379 is not a new pattern. In fact it has been extensively reviewed in Pattern Review.com and has been voted Best Pattern twice (2007 & 2008) and has been in the Hall of Fame in 2009. And I found out soon enough why. The instructions were easy to follow, the pieces were simple and easy to assemble and the techniques were true to the inspiration dress, the iconic DVF (Diane Von Forstenberg) wrap dress.
The Preparation
As has been my practice, I sewed a muslin first. Although the pattern is multi-sized, it only went down to size 8 and with Vogue patterns I usually had to size down from the one indicated by my actual measurements. And this was no different. With all the adjustments I had to make on my muslin, I ended drafting a size 6 pattern. On the size 8 pattern, I had to take in 1/2" on the side seams of the bodice, 1/2" on the shou;ders and 1/2" on the armsyce. I also had to shorten the bodice along the adjustment lines by 5/8" thereby raising the waistline a little bit which I found more flattering. As for the skirt, I found it was too full and had to reduce the fullness by about 6" in both front and back pieces by slashing and overlapping.
I also visited our local Nordstrom store to take a closer look at the actual DVF wrap dress. I wanted to try one on and examine the dress in the privacy of the fitting room but the sales associate I encountered gave me a very snooty attitude so I was only able to sneak in a few iPhone snaps of the dress as it was hanging from the rack.
 |
| The bodice facing was interfaced with a very lightweight tricot interfacing. |
 |
| The free edge of the bodice facing was finished with a narrow hem. |
 |
| The tag helped anchor the neck facing to the bodice. |
 |
| Oops, it's not perfect. I spied a loose thread in one of the seams. |
 |
| The cuff on the sleeve. |
 |
| The tie opening on the right side of the bodice, very neatly finished. |
 |
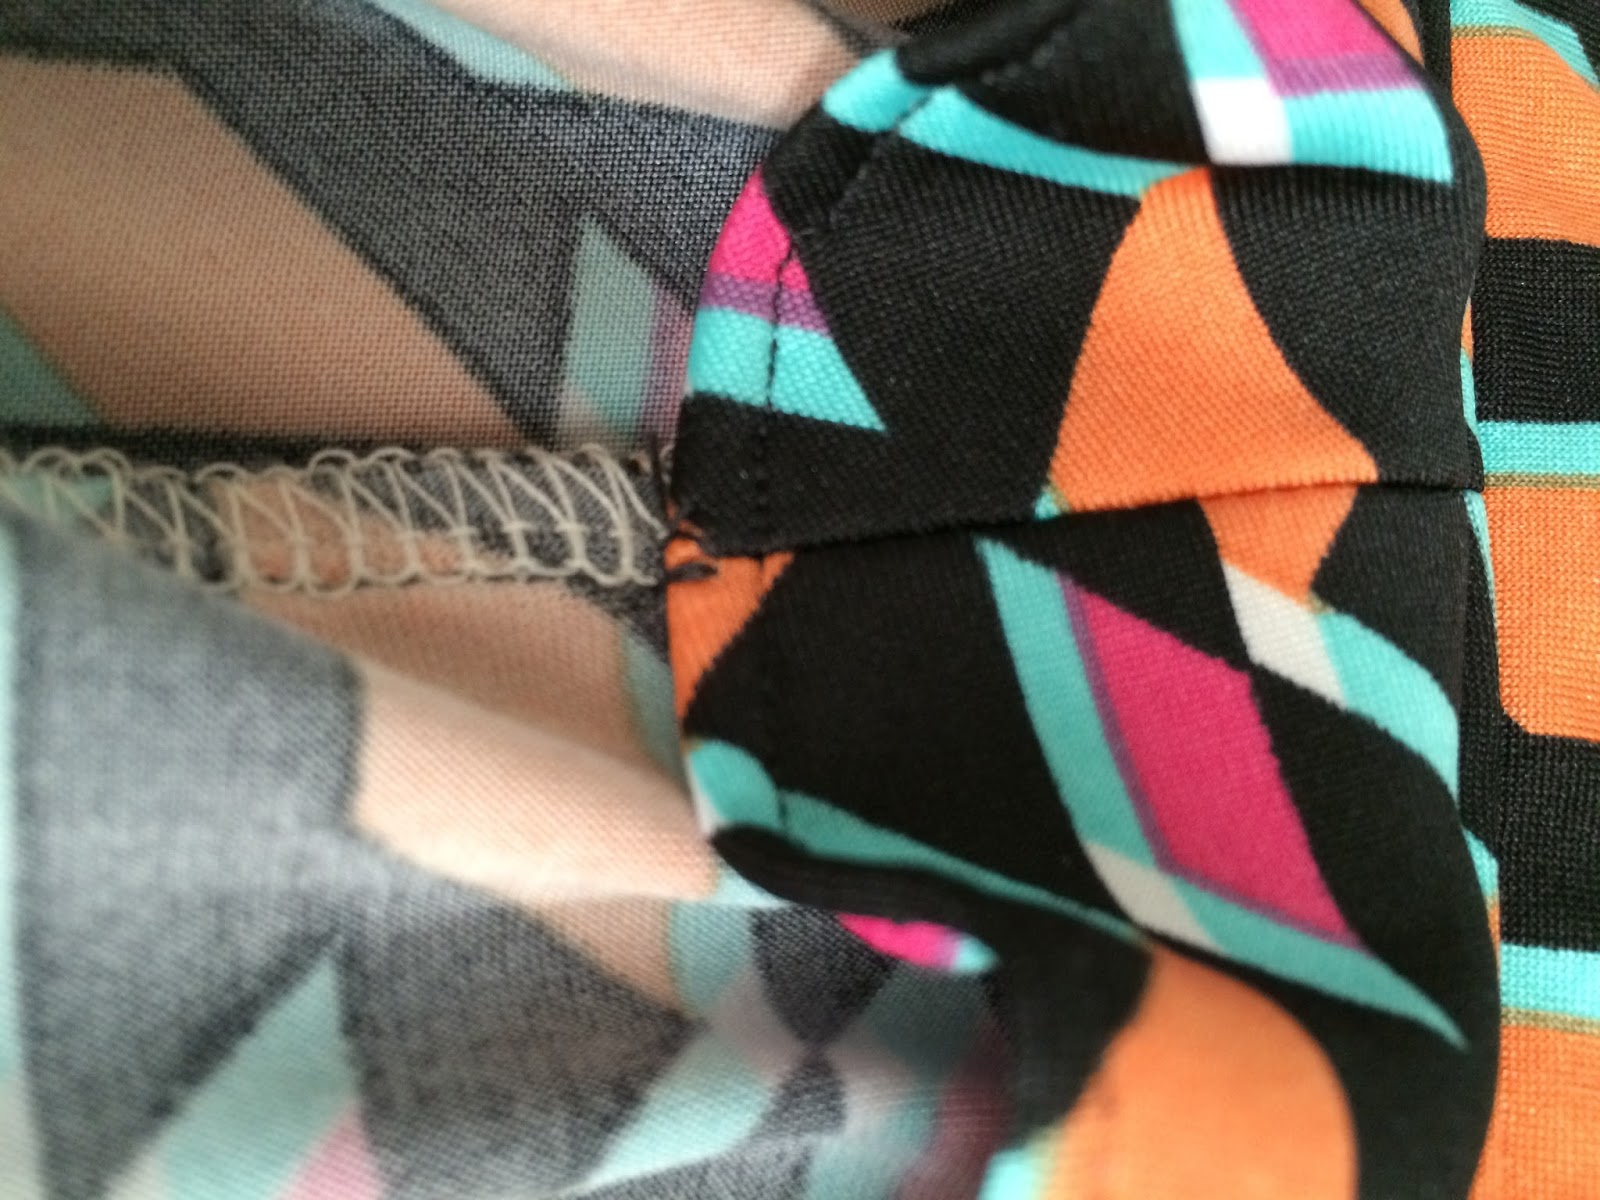
| The skirt hem was serged then finished by blind hemming. |
 |
| The price tag! |
The Real Deal
 |
| "Sassy Semaphore" ITY Jersey from Gorgeous Fabrics |
I purchased this gorgeous poly-lycra fabric from Gorgeous fabrics during a promotional sale for the Wrap Dress Sew-Along. I intended it to be my wearable muslin but ended using a cheaper fabric for the muslin and use this for the real one. Unlike the ITY jersey fabrics from Jo-Ann's or Fabric.com, this was more substantial in weight and was easier to sew. As of this writing, there are still 29 yards in stock at the
website.
I used a Pro-Tricot Deluxe fusible interfacing for the bodice facing. This was really lightweight and as shown below, did not alter the stretch quality of the main fabric in any way. But it definitely helped add some support to the bodice opening.
Although not indicated in the pattern instructions, I decided to follow the DVF lead and finish the free edge with a narrow hem. However, next time, I will just serge the edge to avoid any unnecessary bulk.
Here are a few more additional tips that may prove helpful:
 |
| Since the fabric had a busy print, I used tailor's tack for the markings. |
 |
| Since the ties were really long and had to be attached early on, I folded each and secured with safety pins to make it easier to manage them while sewing. Before doing this, I can't tell how many times I stepped on the those ties. |
 |
Don't do this in hindsight! Make sure there is a full 5/8" allowance between one edge of the tie and the bodice edge so the tie does not get caught when sewing the skirt to the bodice.
|
 |
Hopefully the pics above will help clarify how to attach the skirt to the bodice correctly.
|
 |
| I did not care for the instructions on how to attach the sleeves, this being a knit fabric, so I attached the sleeves the Jalie way. |
 |
| I tried to follow the instructions for hemming but found the best way as far as my fabric was concerned was by using the coverstitch machine. |
 |
| Tacking the facing to the shoulder seam helps keep the bodice facing in place. |
 |
While awaiting my own clothing label, I used this freebie from Gorgeous Fabrics to tack the facing to the bodice along the collar.
|
 |
If I ever sew another version, I'll make sure to follow the DVF way and press the bodice seams open, serge them separately, that way even the seam allowance around the tie opening will be nicely finished. I only remembered about it after I have already serged the bodice seams together.
|
Here are more views of the finished dress.