This is my second version of Vogue 8910—a bias cut lined
jacket that features shaped hemline and shoulder pleats. The first time I used
the pattern was for my entry to the final round of the Pattern Review 2019
Sewing Bee. As part of a three-piece collection, I was under so much time
pressure that the stress affected the way I was interpreting the instructions. The
second time around, under a more relaxed atmosphere, I found this quite a quick
and easy project. The instructions were actually adequate and easy to
understand.
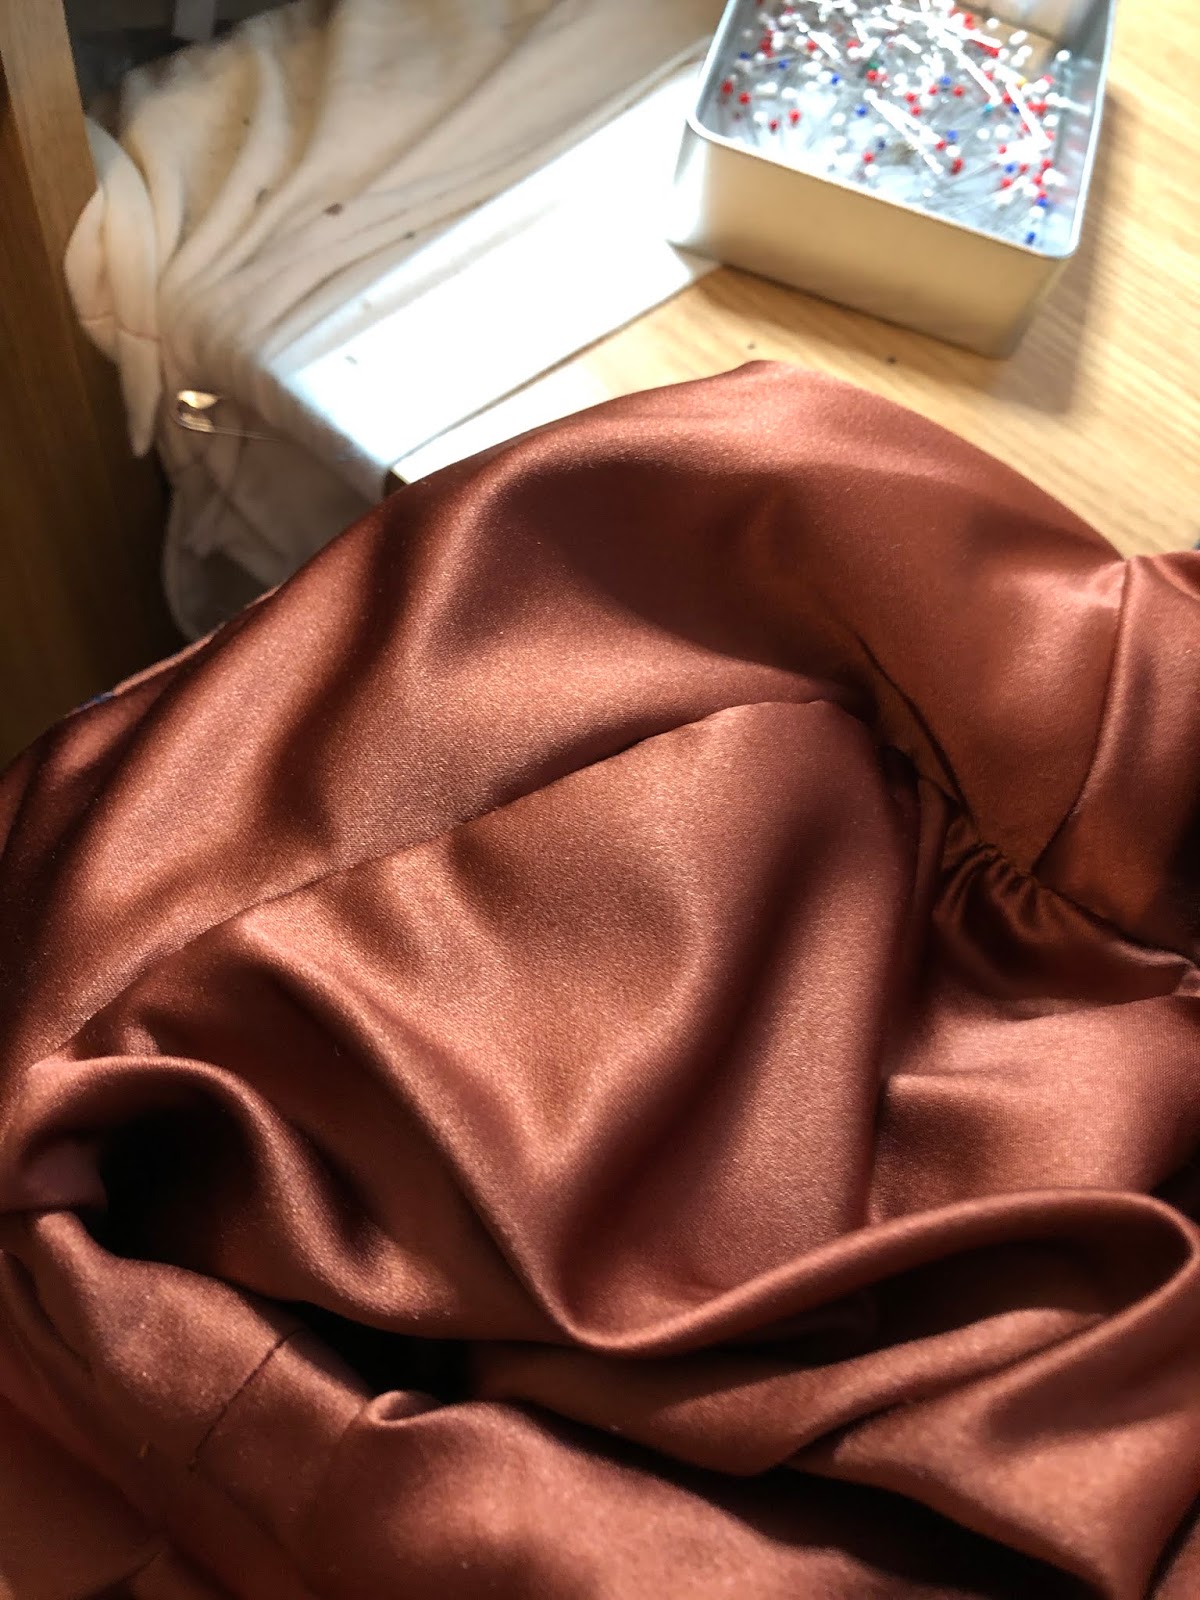
For fabric, I used a polyester /viscose brocade which I purchased from Emma One Sock. It has the most gorgeous shade of
copper and with the small black and blue accents, it makes for a versatile wardrobe
piece—I can dress it up with black tailored pants or dress it down with denim
(which is my favorite way to wear it as shown below).
Because the pattern itself is not that complicated, I'll just post some highlights of the construction process, showing the before and after.
There are only a few pattern pieces—front, back, sleeves and
front facing—and all are cut on the bias. Below is the back piece and it was laid out in single layer of fabric for more accurate print placement.
There is no separate collar piece. Instead the collar is formed by joining the extended front facing.
The front has a single pleat that is formed along the
shoulder.
I love that the back has a center seam and two off center darts
from the neckline. Those features take care of my sway and round back issues.
This is the front and back after they were sewn together along the shoulder and neckline. This was a bit tricky as it involved breaking the stitching to navigate through a sharp V angle.
This is the front facing that is sewn over the lining. It features some edgestitching. I used my blind stitch foot to help with the latter.
Here are the main and lining pieces assembled. They were later sewn right side together along the neckline, front and bottom edges.
After sewing them together, they were then understitched as far as possible. That was quite tricky because it had to be done through a very small space, namely the armhole.
A view of the understitched layer.
After understitching, the layers were turned inside out and the sleeves were assembled.
Sleeves feature a dart.
k
Here is a view of the shoulder and sleeve seams.
The sleeve lining is sewn to the armhole last, by handstitching.
View of the sleeve lining after it was handsewn.
By the way, there is a single front button closurel
And now for the fun part, some action shots!
Needless to say, this is the perfect layering piece if one wants something more structured than a cardigan but less businesslike than a tailored blazer.