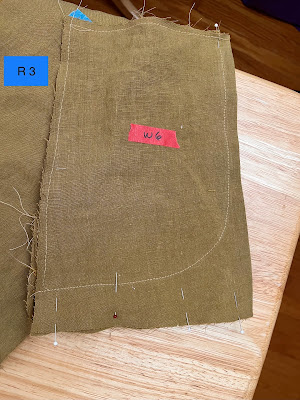
For this photo tutorial, I skipped the coin pocket since I do not really need it for my linen pants. I labeled the cut fabric pieces with tape, legend below. Kindly refer to them as you read each step. You can click on the photos to get a larger view.
R--right side of fabric
W--wrong side of fabric
3--pants front
5--pocket bag
6--pocket bearer
7--pocket facing
Steps:
1. Apply interfacing to wrong side of both #7.

2. Clean finish (serge or zigzag) the following edges beforehand:
 |
| Long curved edge of #7. |
 |
| Curved outer edge of #6. |
3. Lay #6 with its right side up over #5 matching the notches on the straight side. So the wrong side of #6 will be over the right side of #5. Sew along the curved edge of no. 6. Baste the top and sides. Set aside.


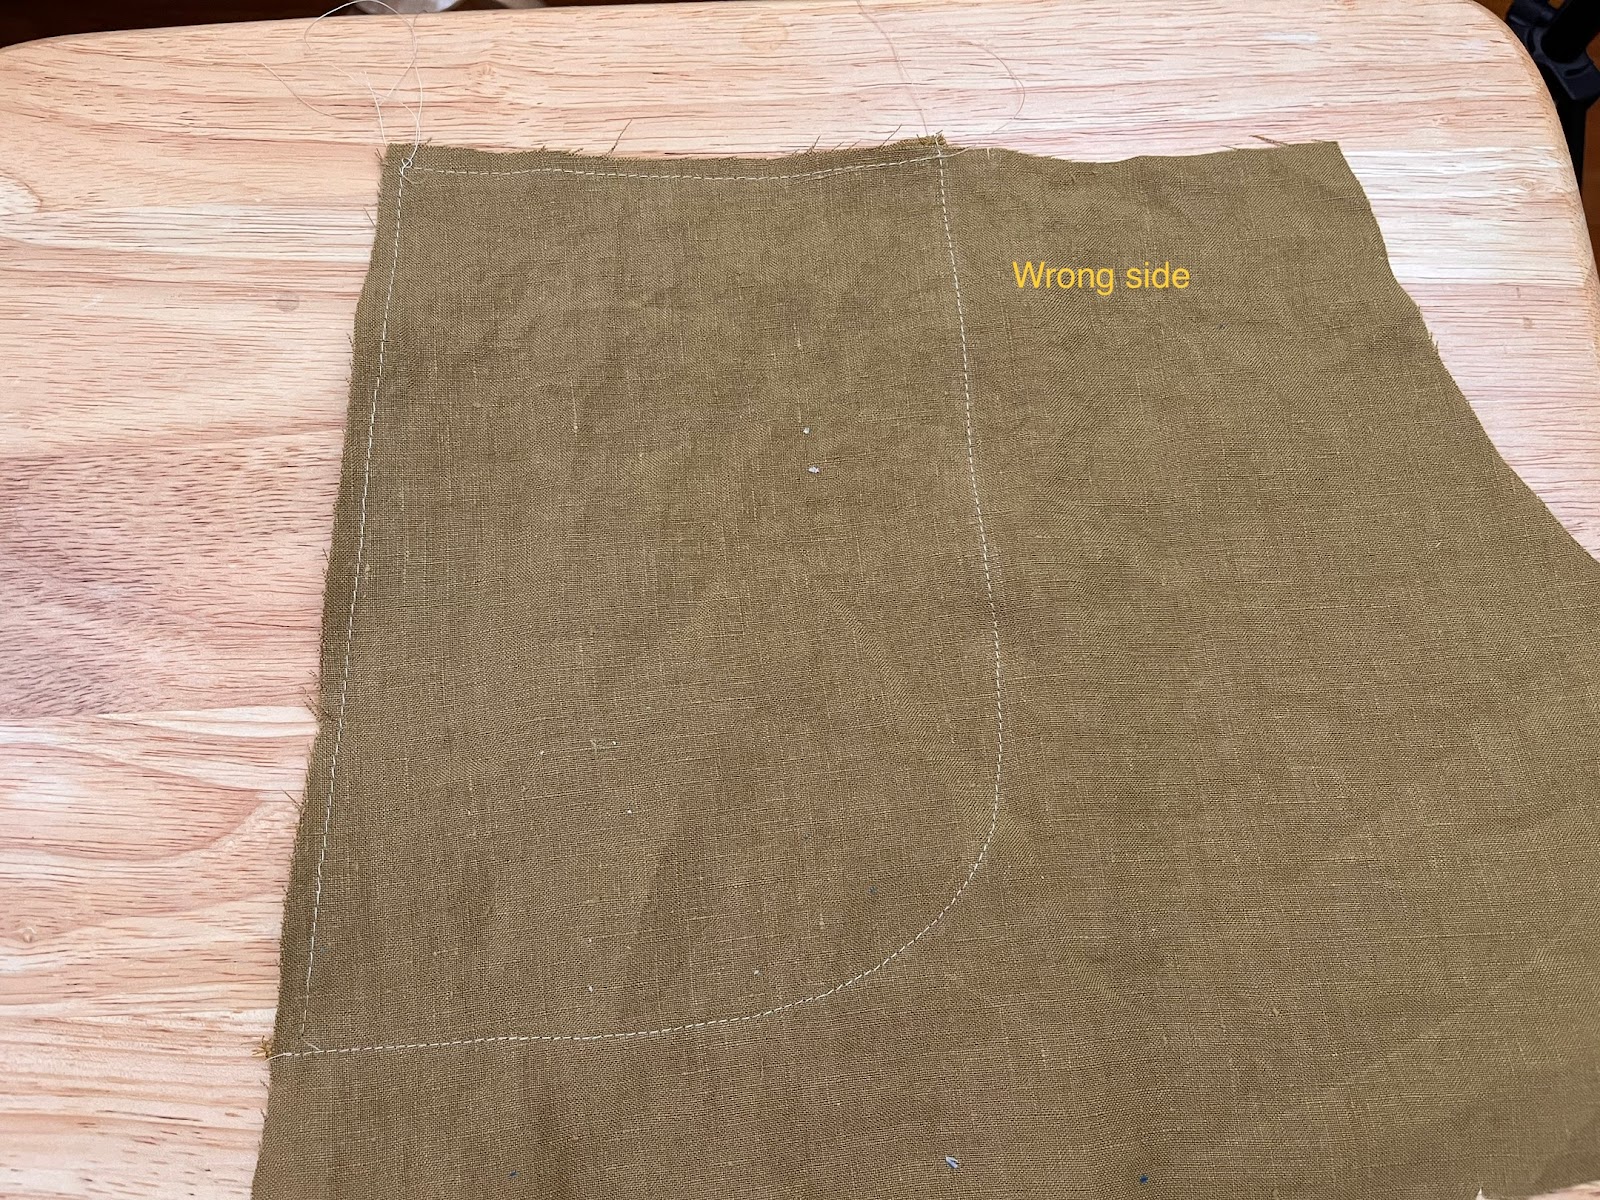
4. Put no. 3 on flat surface with the right side facing up. Lay #7 over no. 3 right sides facing each other aligning the unfinished curved edge of no. 7 to the curve of no. 3. Hold in place with pin.

6. Lay the assembled pocket bag over the pinned pieces from step 5 with the right side of the pocket bag facing down. So the bottom layer will be the pants, middle layer the facing and top layer pocket bag. Both pocket bag and facing will be right sides over the pants' right side. Sew in place using the 1/4" seam allowance, then understitch.


 |
View of the pieces sewn together along the curved edge. Used 1/4" seam allowance.  |
7. Sew the remaining free edge of the #7 (facing) to the pocket bag, making sure to keep pants front free.

8. Fold pocket bag to the inside. Topstitch over the right side of pants front along curved edge.

 |
| After topstitching. |
9. Fold pocket bag along the foldline (marked by the notches), so that right sides will be facing each other. Sew along the bottom edge to close the pocket bag. Baste along the top and side edges to prevent from shifting.

 |
| View from the wrong side with the pants front piece underneath. Make sure to get this out of the way as shown in next photo before stitching the bottom of the bag. |
 |
| Pants front piece out of the way. |
 |
| Bottom of the pocket bag sewn and serged as seen on the wrong side. Note that I basted the top and side edges. |
10. Anchor the pocket to the pants front by sewing a 3/4" long stitch along the upper and lower corners of the pocket opening.


