Wednesday, July 4, 2012

The Last Prom Dress

It's been a while since I have updated this blog. Although I have been busy with family matters, I am happy to say I have not neglected my favorite hobby and managed to sew some. I just didn't find time to publish them.  So bear with me as I slowly but surely post some finished projects.


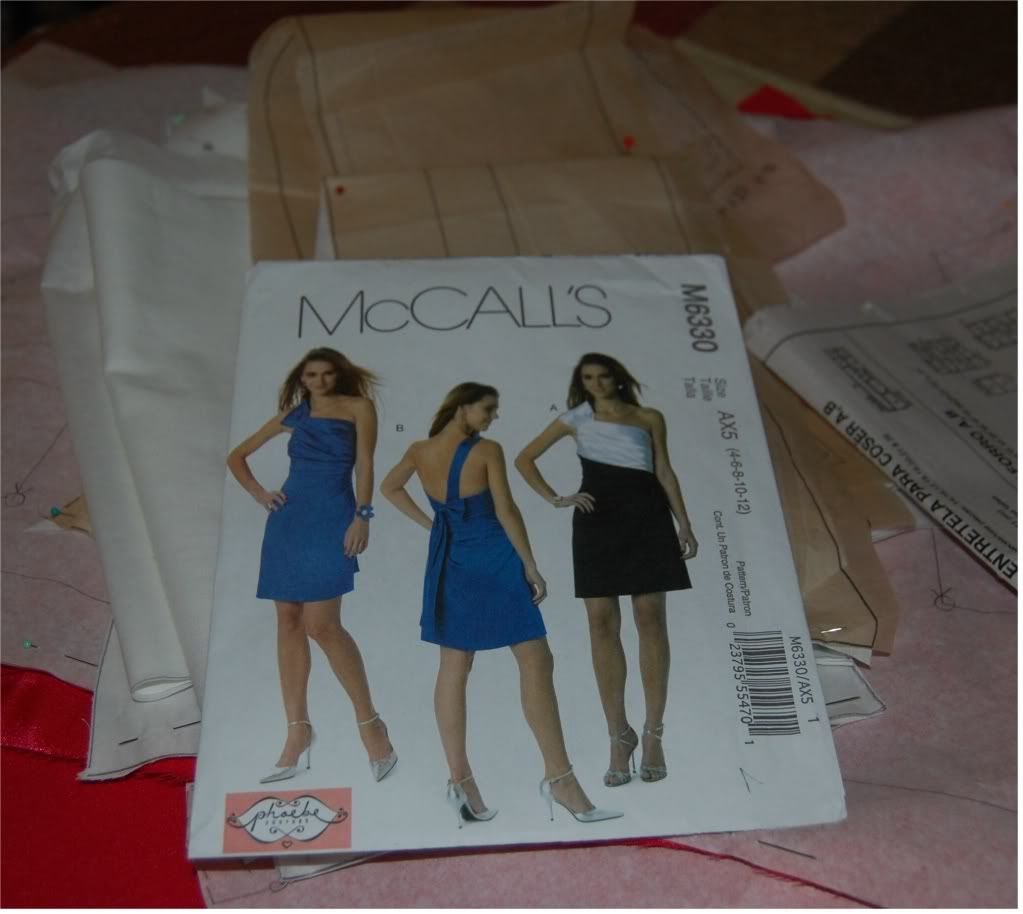
Simplicity 1874 by Jessica McClintock

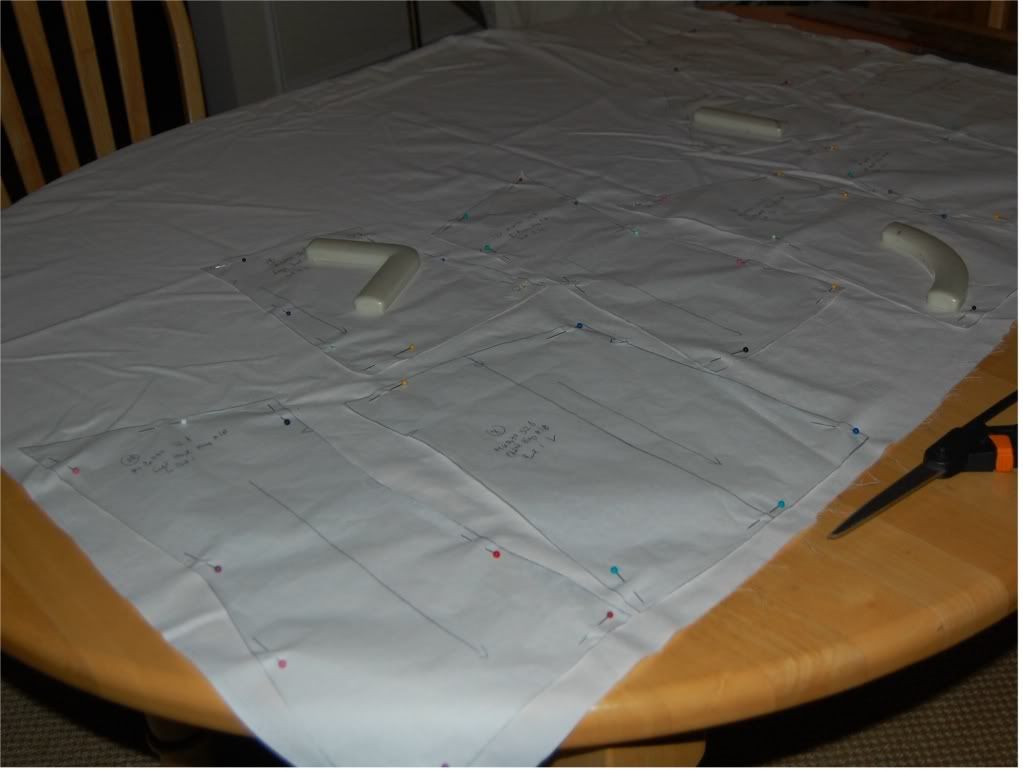
For this year's senior prom, my daughter chose this pattern. Of course the first thing I did was check out the reviews from Pattern Review.com. Alas, there were no reviews posted so I had no idea what to expect. A glance at the instructions was not very encouraging. There were 28 pieces in the pattern.


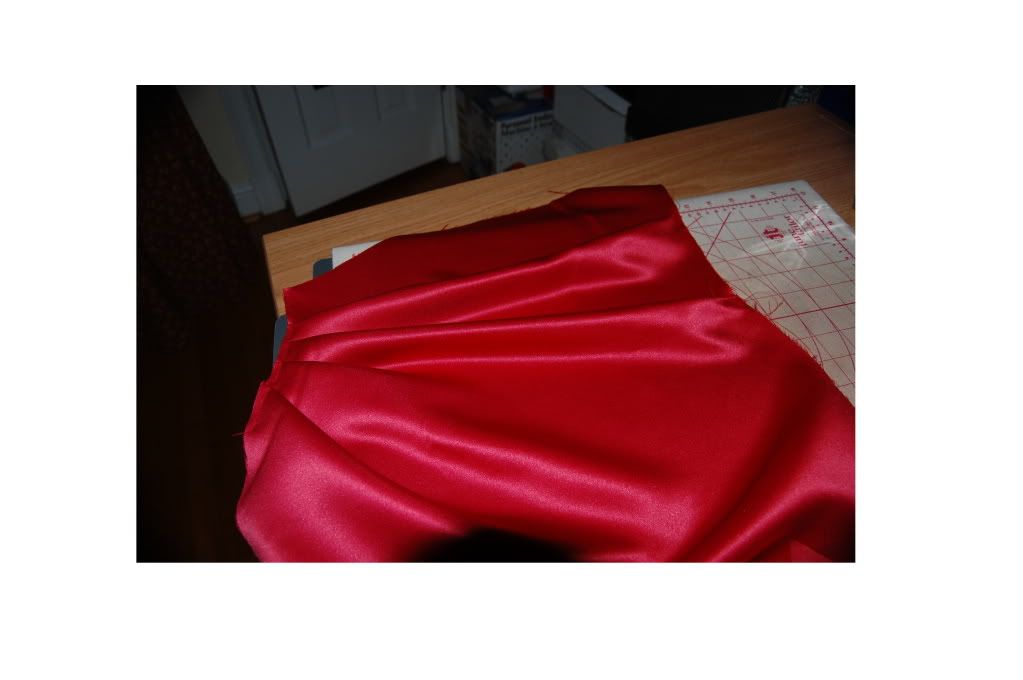
She decided to go with view C which was simpler and which allowed her to wear a bra without worrying about the straps showing at the bag. I was just glad I didn't have to worry about creating any weird looking "growths" on the bodice. So with the pattern selection over with, it was time to do some fabric shopping. She wanted a blue or purple gown and after ordering some swatches from Mood Fabrics I ended up buying three yards of solid charmeuse silk in Mazarine blue. It was a beautiful shade of dark blue.

Since my last Prom project, I have read a lot of tips on couture sewing from sewing books, magazines and online blogs. So I have decided to apply some of those techniques on this gown.


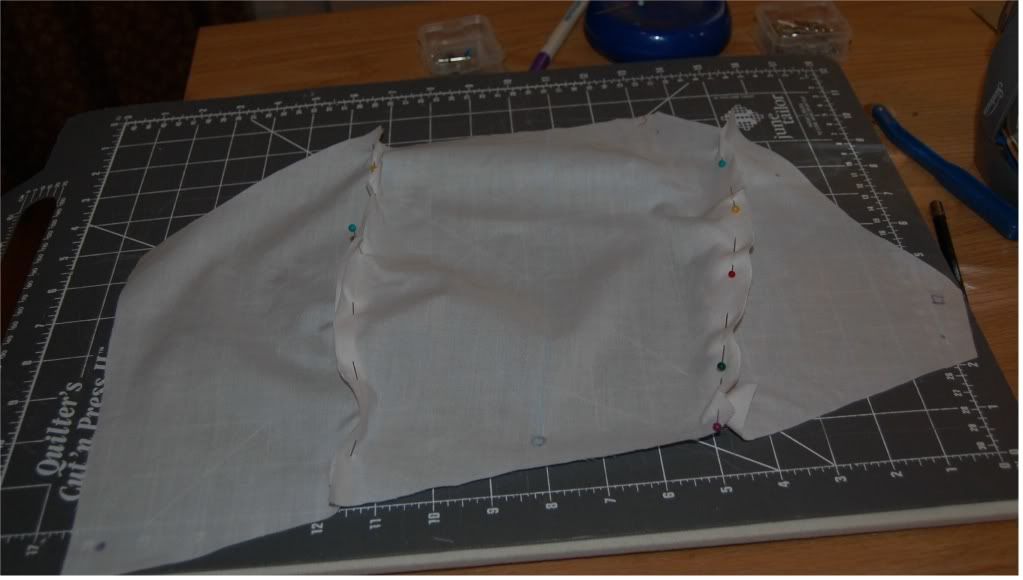
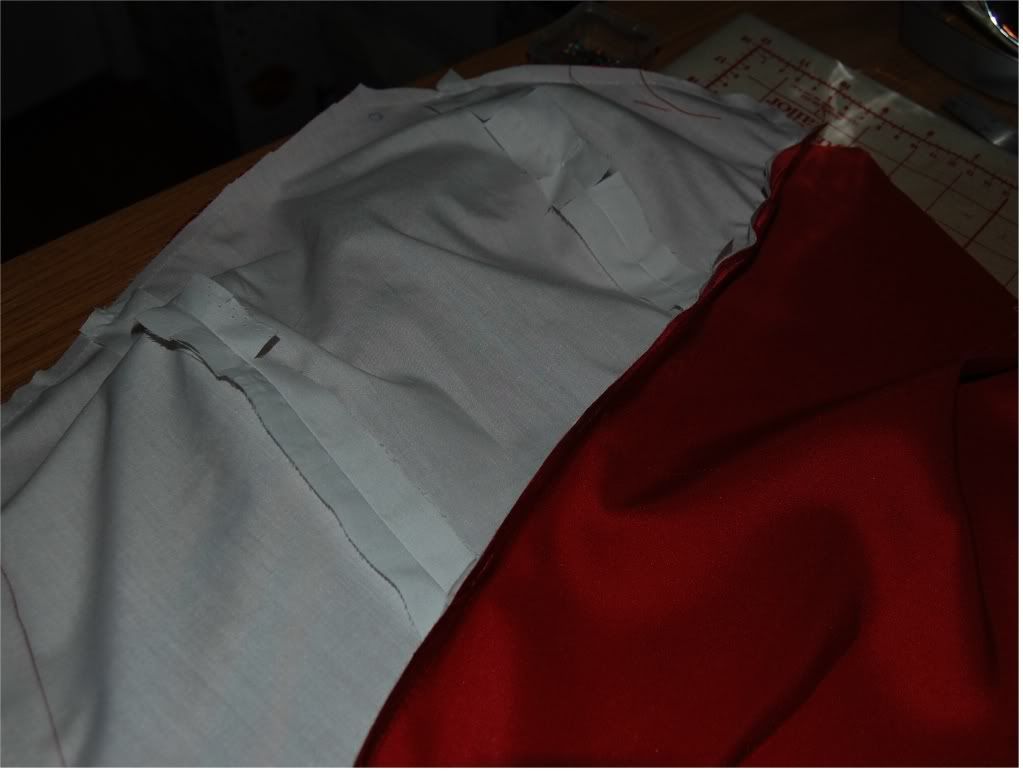
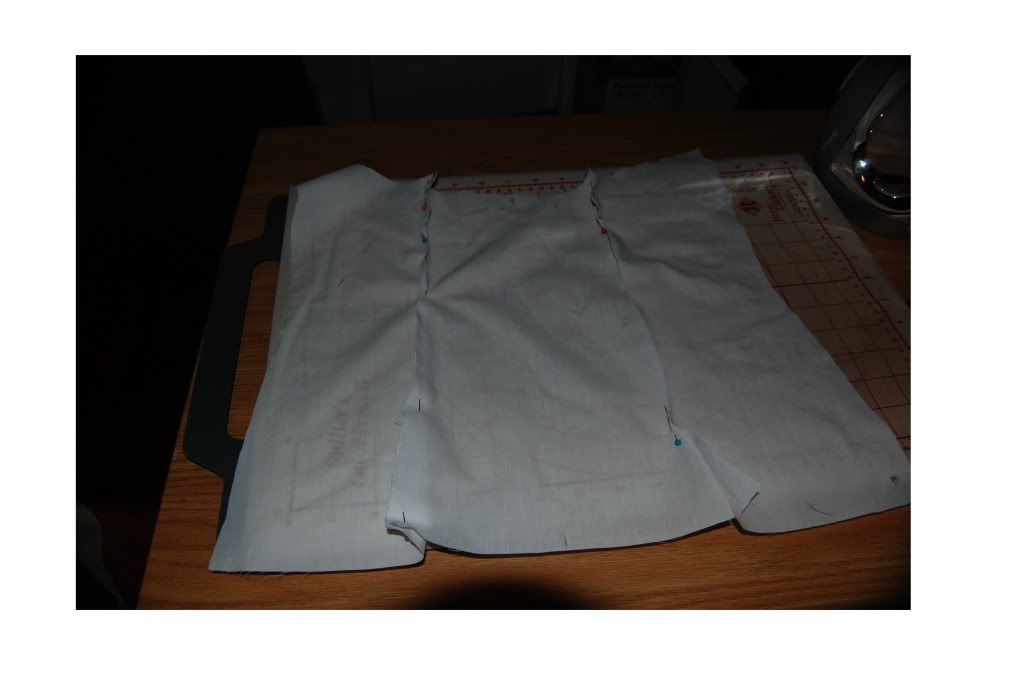
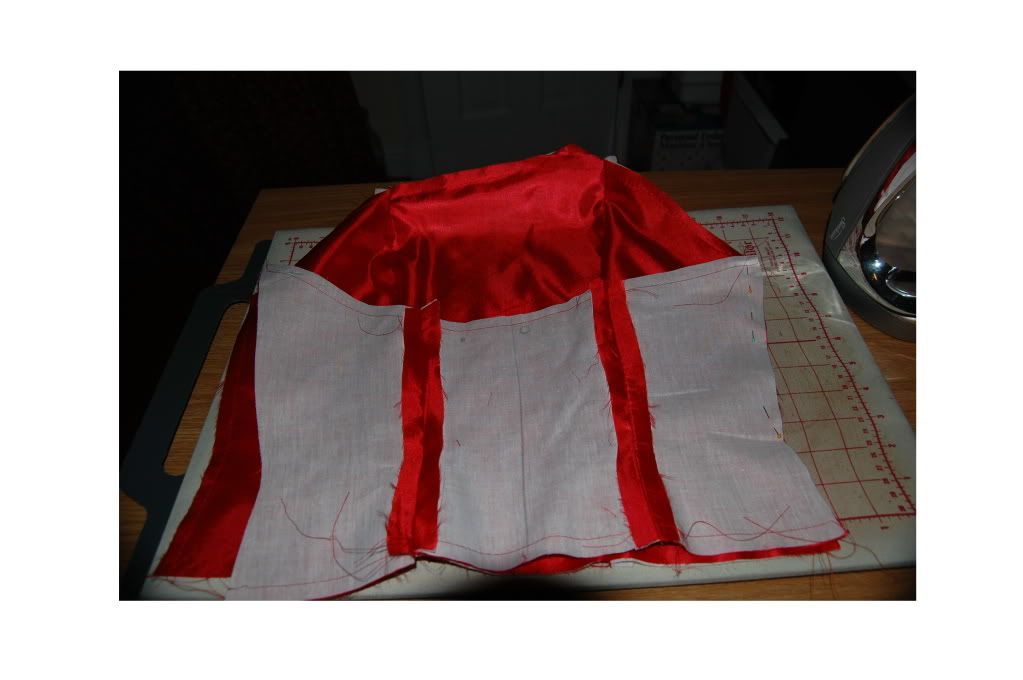
I underlined the bodice with cotton flannel in addition to the regular lining that the pattern instruction called for. The underlining not only added body even without boning, it also enabled me to "invisibly" stitch the seams open.
 See below.

Seams of bodice befor catchstitching.


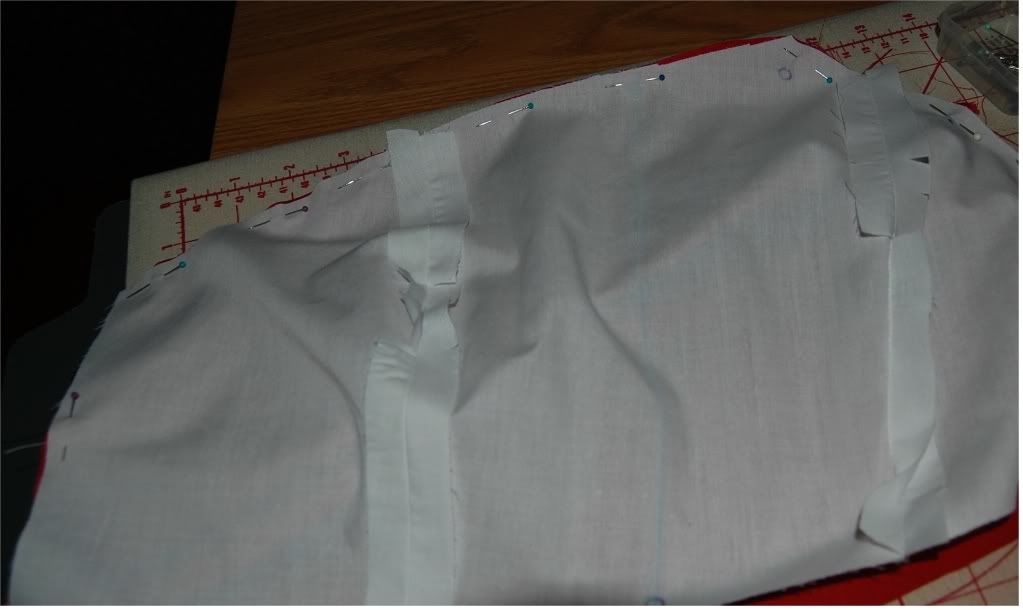
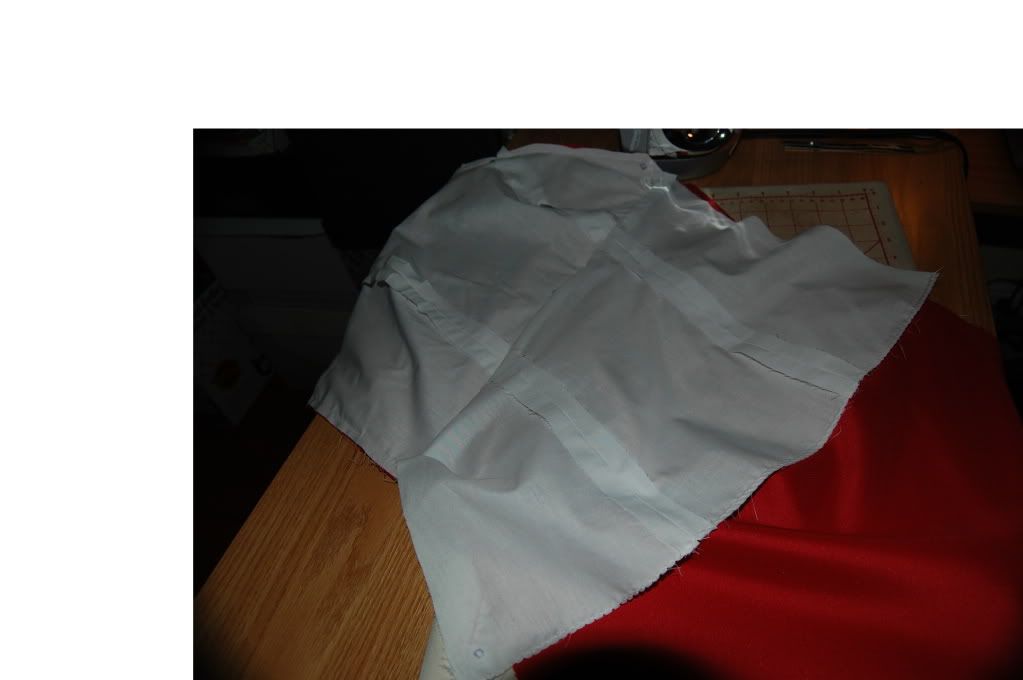
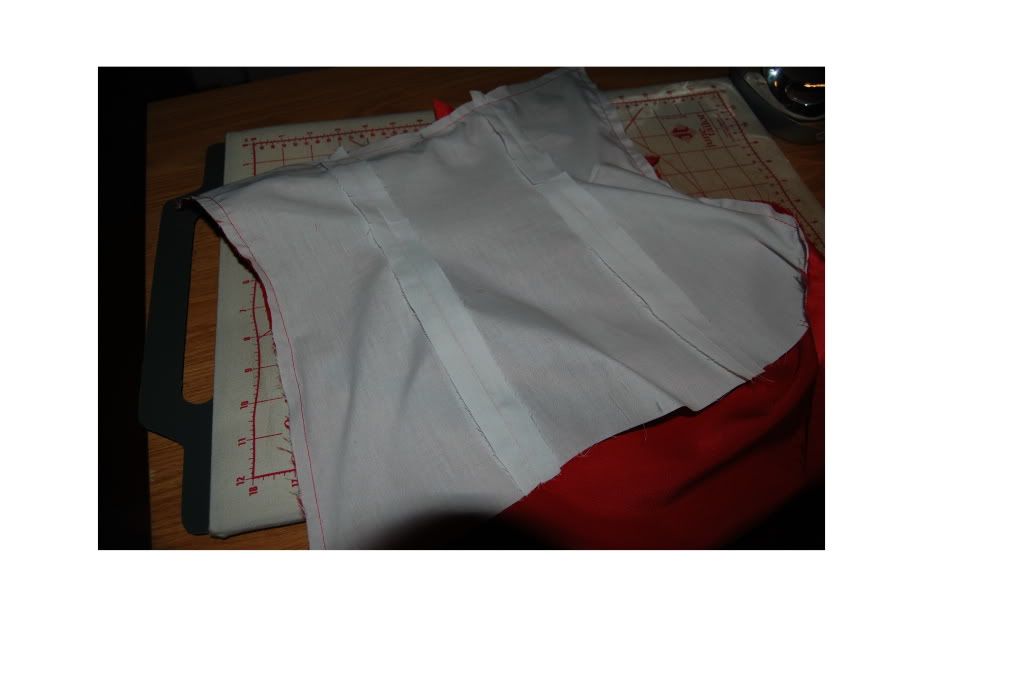
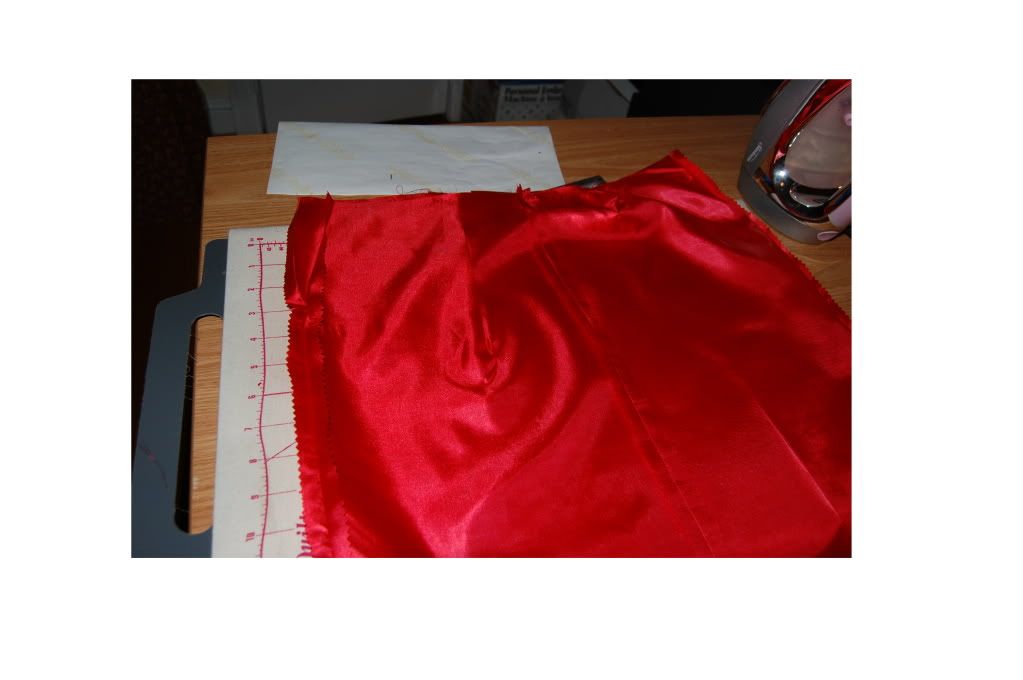
The catchstitches hold the seams open and flat.


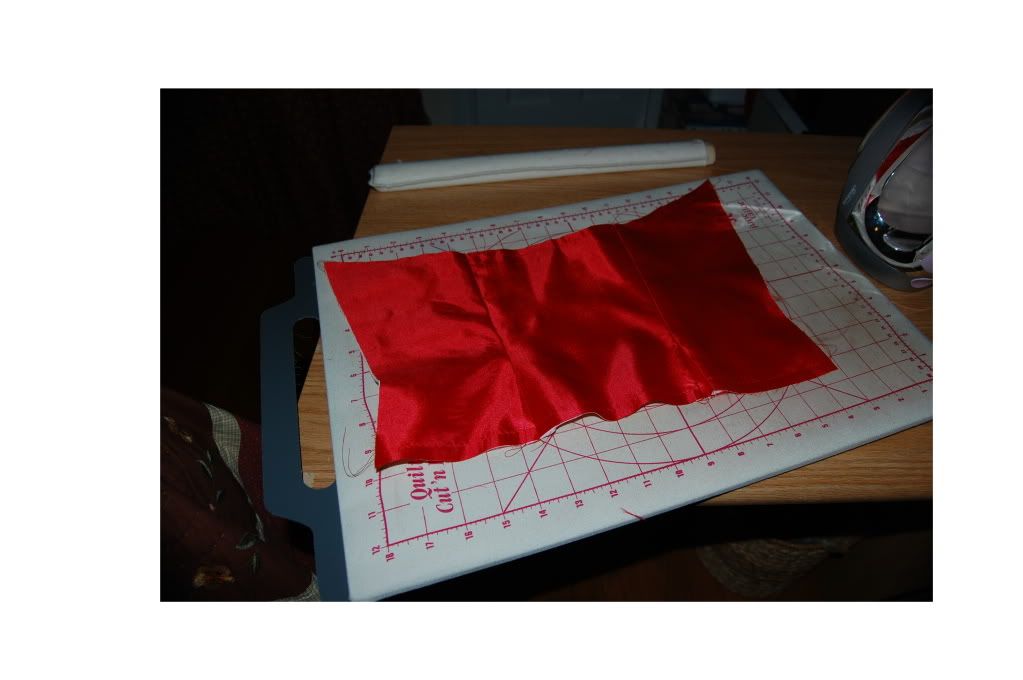
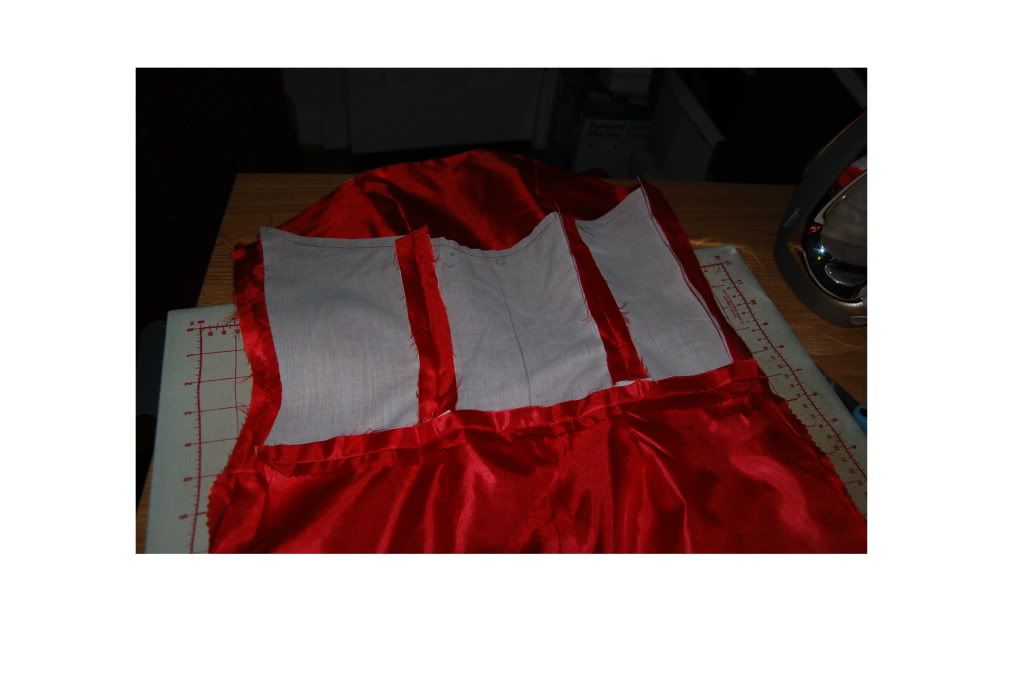
View of the right side of the bodice.


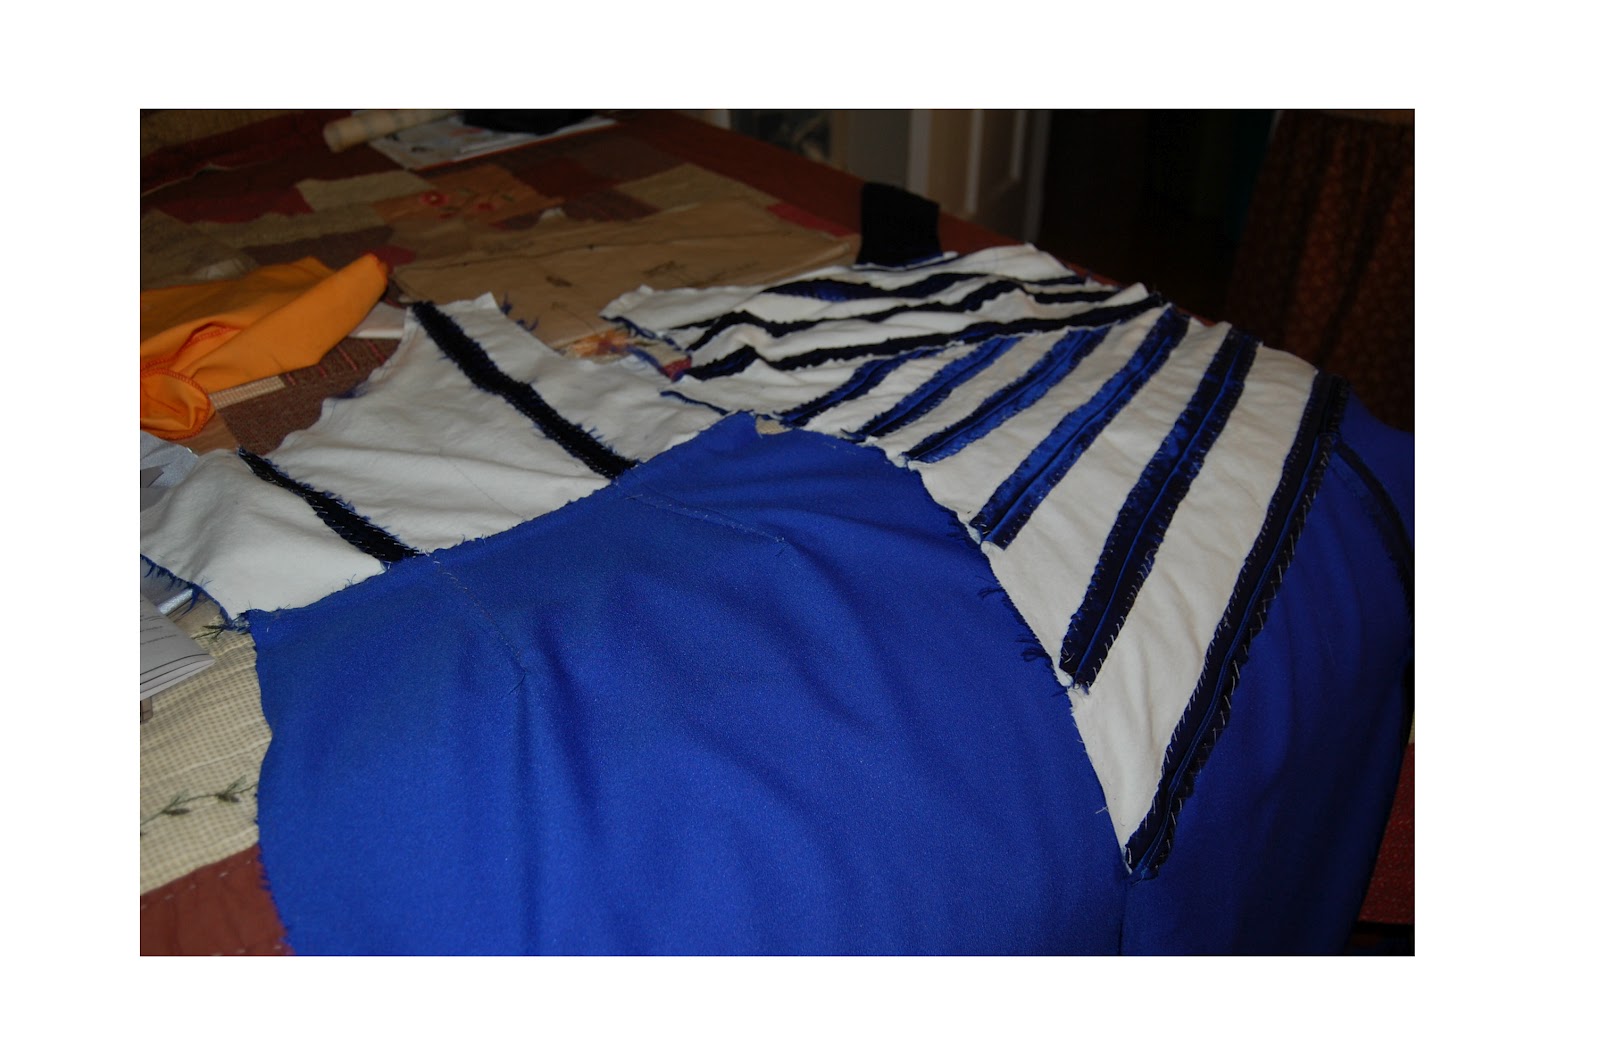
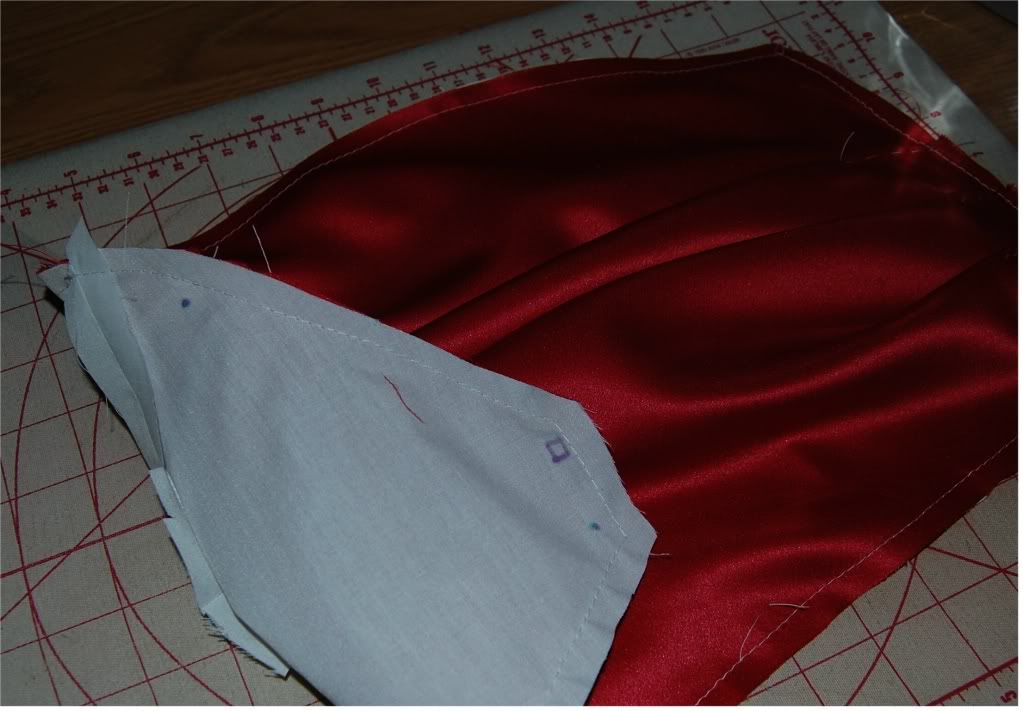
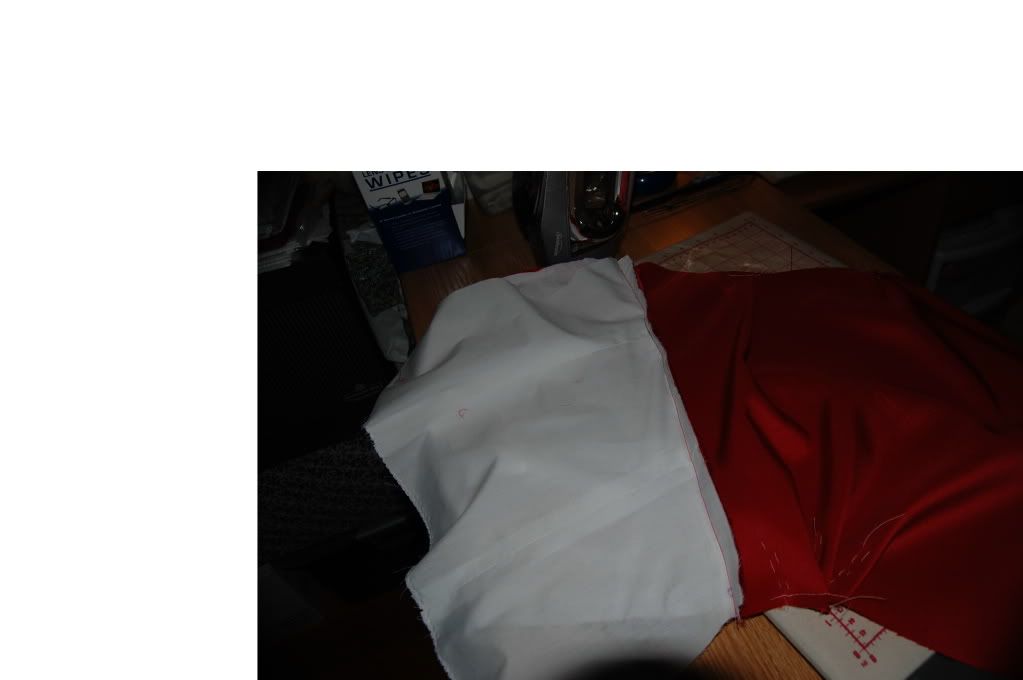
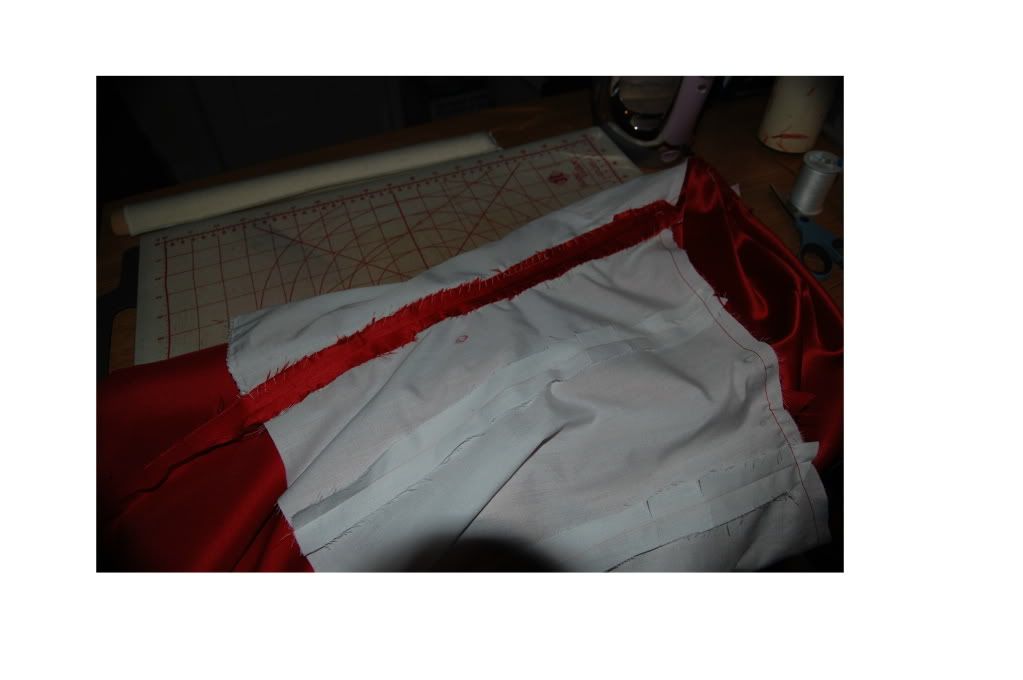
Views of the bodice and skirt attached. I have decided not to underline the skirt part.

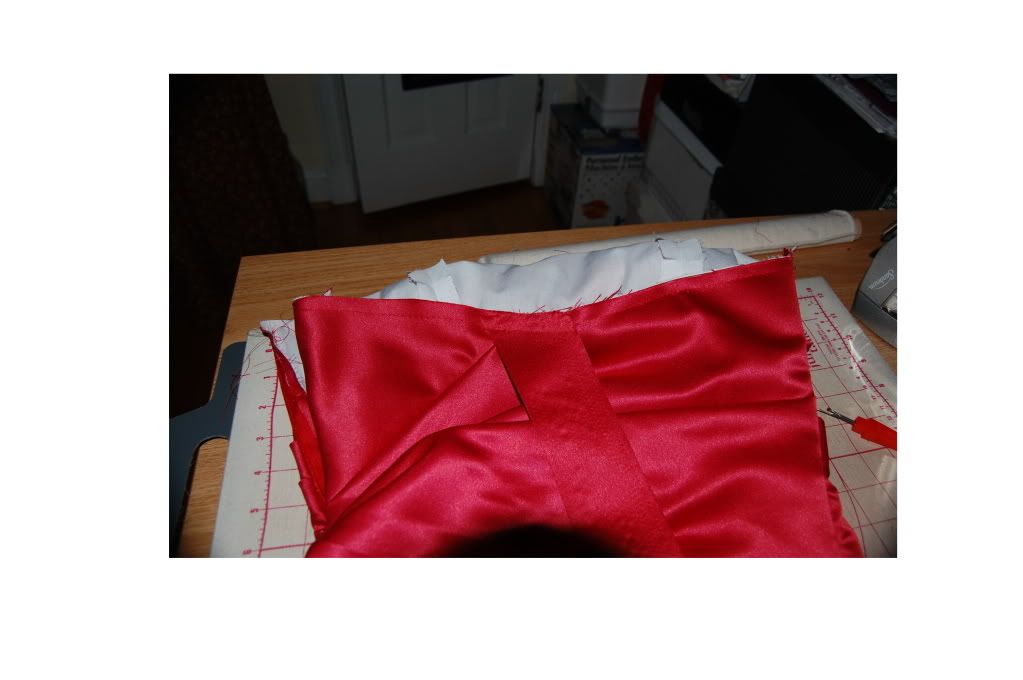
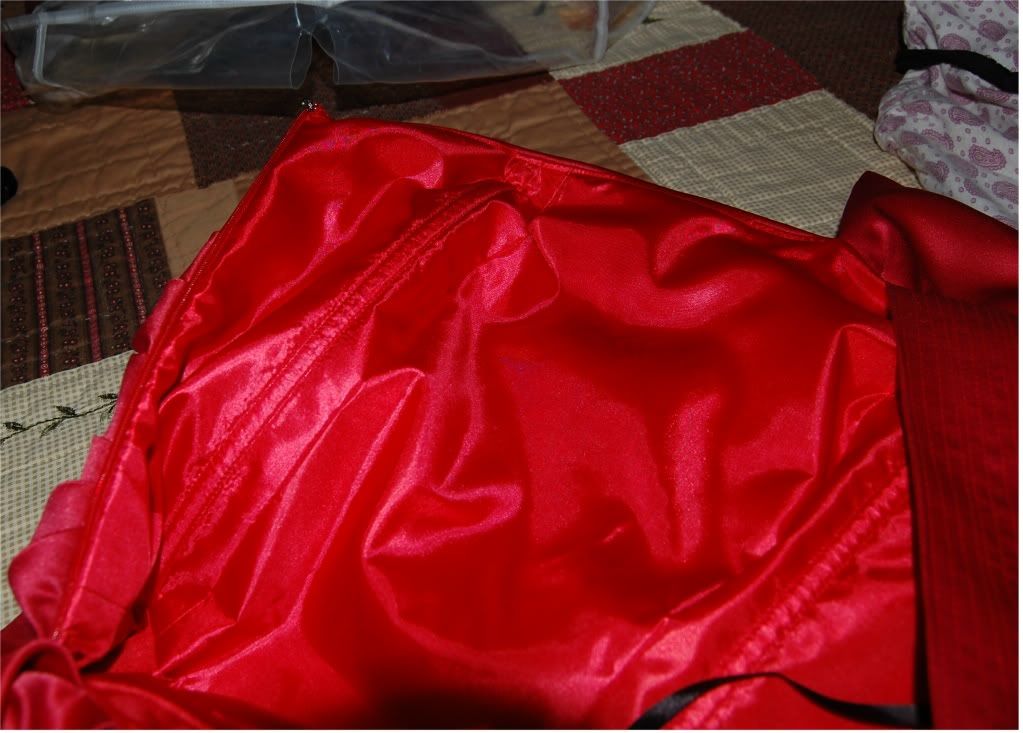
Turning the lining outside in. The only thing I would have changed here was the choice of lining color. I suddenly turned cheap and decided to use lining from my stack. It would have been better to use lining in the same color as the main fabric.


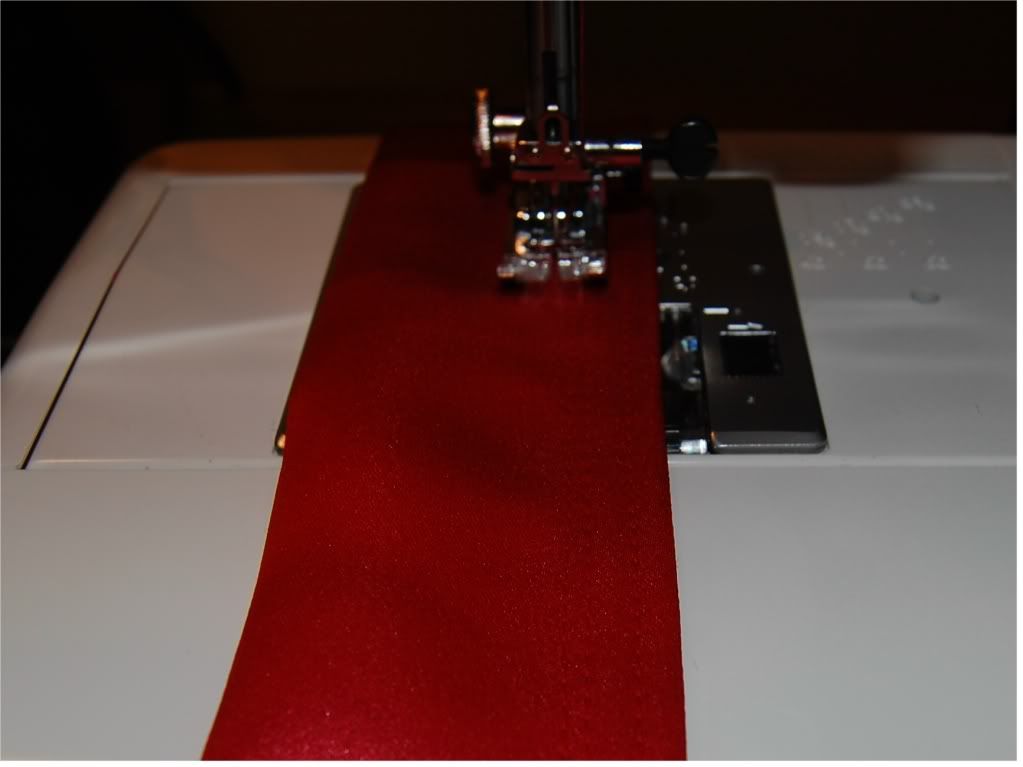
Understitching to stabilize the lining.


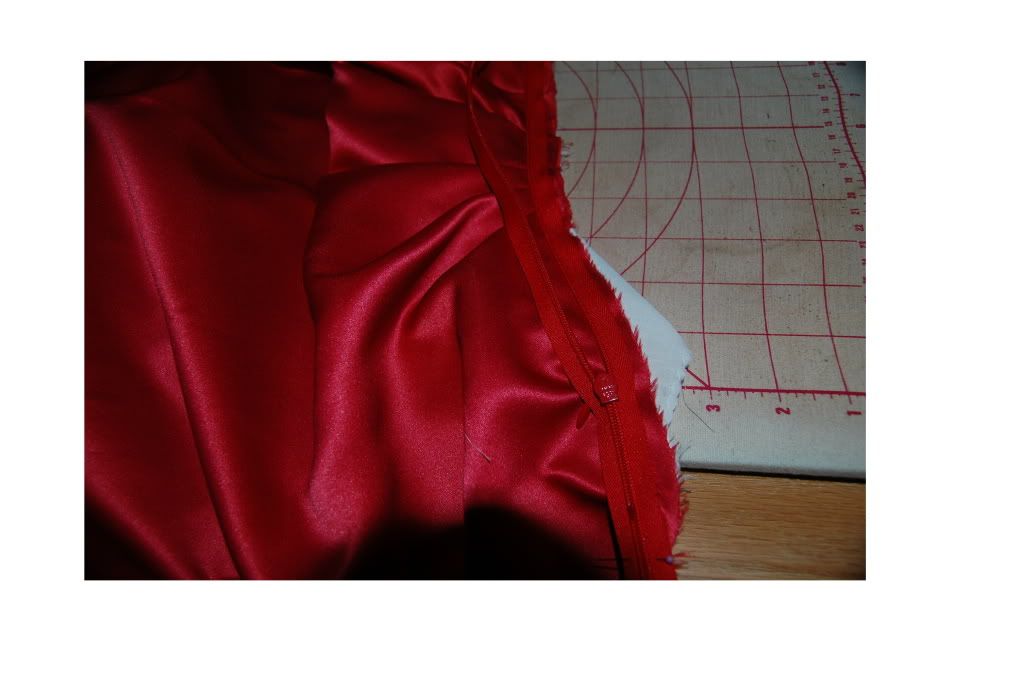
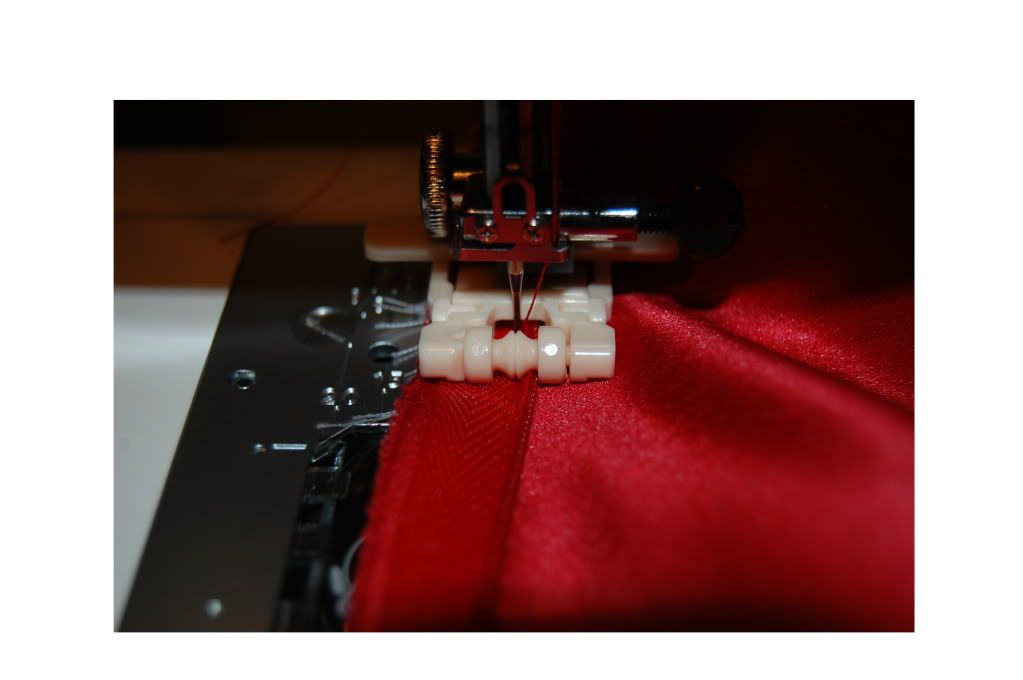
Attaching the invisible zipper.


Sewing the jewels on the right shoulder strap.


One happy customer!

Tuesday, July 3, 2012

The Road to Prom

In less than a month, my daughter will be attending her senior prom. I am so excited to be part of her journey as she prepares for this special occasion. Unlike last year, I think we are doing better time-wise in terms of getting ready.

It all starts with the right pattern. I can still remember the frustration and anguish I experienced last year trying to decipher the Vogue Bellville Sassoon pattern (insert link) we chose for her prom gown. After browsing through several websites, she narrowed down her choices to four and two of them were from a pattern company I have never tried. Her no. 1 choise was  Marfy 2349 (insert link). After reading details and reviews on this company, I discouraged her for the following reasons:
 1. The pattern ships from Italy. Even though it can be purchased from the McCalls pattern website which is US based, it is still going to ship from Italy and that means longer waiting time.
 2. The smallest size available is 42 which translates closely to a size 10 in the local patterns. That means trying to size down the pattern to fit my daughter.
 3. Apparently, Marfy patterns have no instructions at all. With a deadline to beat, this is no time to experiment!

I'm glad she listened. I stumbled upon a nice older Vogue pattern on e-bay and she fell in love with it.
So now I'm waiting for it to arrive.
Vogue 7901 picture.


Meanwhile I have ordered fabric swatches in the two colors she prefers (blue and purple).

Sunday, March 4, 2012

Let There Be Peppers....Dress That Is

A look at how the dress is constructed. Continued from previous post.

Pattern layout on the main fabric.


Pattern layout on interlining fabric. 


All the pieces cut out. It looks a lot but it is manageable, believe me!

Now the fun part, making the pleats!
(These pleats are for the bodice.)


 Assembling the "stay" which is actually the interlining.


Attaching the "stay" to the main fabric.


Main fabric of the upper front with "stay" sewn in place.


More pleats!
(This time for the lower front.)


Attaching the upper front to the lower front.


Lower front stay sewn to upper front & lower front.


View from the inner side.


Making the pleats on lower back.
Asssembling lower back stay.


Lower back stay sewn to lower back.
This was not in the instructions but I decided to handsew the seam allowance to the stay to keep in flat.
Attaching the side zipper.
Sewing the side zipper in place using invisible foot attachment.


Invisible side zipper in place.


Front bow and strap


Finally the lining assembly.
Boning.


The finished dress can be seen here on this post Prelude to Prom.

Prelude to Prom

This was sewn in early January. I just didn't find time to post about it.


It's the middle of winter--not really the most conducive time to be planning for a prom dress. My daughter probably knows this so instead she announces she needs a Pepper's Dance dress in three weeks. So I get an email from her complete with the links to the pattern she likes and the fabric she prefers. I decided this was a good time as any to warm up for the coming Prom season in April.

At first glance, I had misgivings with the pattern she chose--McCalls 6330.


The front looked okay but I thought the back was cut too low.


So before purchasing the pattern, I browsed through Pattern Review.com to read feedback on the pattern. Although only one review was available, it was more than enough as it was posted by an advanced sewer whose works I admire--Erica B. From her pictures, it looked like the dress was modest enough for my taste.


I had enough time to order fabric swatches from Fabric.com and she ended up liking the red Duchess Satin. This turned out to be a very good choice as the fabric was such a plesasure to sew with. Not like the slippery silk, this cheaper alternative did not elicit any frustrated outbursts from me and enabled me to stay in a continuously good mood all throughout the sewing process.


So here is the finished product.


I must say I loved this project. The fit turned out great. I did not need to alter anything and best of all, my daughter loved it, too!

Detailed pics of the sewing process can be found on this post Let There Be Peppers.... Meanwhile, here is my review of the pattern posted on Pattern Review.com