I first came across the term Alabama Chanin three years ago when it was mentioned in a pattern review of a project using the reverse applique method. Back then, I didn't give it much thought. Fast forward to last year when I was browsing inside a Barnes & Noble bookstore and came across a book entitled Alabama Studio Sewing + Design by Natalie Chanin. After leafing through its pages, I was in love! The pictures of handsewn garments embellished the Alabama Chanin way were really awe inspiring. I resolved to learn all I could about it and promised to try my hand at it. I ended up buying all four books in the series even though most of the information were repeated in each book. I just loved the idea of having inspiration in my possession. What finally pushed me to make my dream a reality was seeing a finished garment sewn the AC way in real life during the most recent Pattern Review Weekend in New York. A very talented member named Meg (aka One Off) was wearing a jacket she sewed using the Alabama Chanin method. So without further adieu, here is my very first Alabama Chanin garment!

 |
| Alabama Chanin Sleeveless Fitted Top in Light Blush/Natural |
As a newbie to this method, I relied heavily on Natalie Chanin's comprehensive instructions in her books and videos (the latter of which can be found in
Creative Bug). This post is more than just a pictorial. It's not meant to be a tutorial either. It's more of a mini-journal which hopefully will be helpful to some other newbie wanting to make their own AC inspired garment!
Pattern Used: T-Shirt Top Master Pattern from the Alabama Studio Sewing + Design Book
The paper pattern included in the book is multi-sized from XS-XL. Size chart is provided in the book. The top is designed to be really snug and long. Best way to do it is sew a trial version using the same jersey fabric for the final version. Bear in mind that heavy embellishment will affect the stretch of the jersey so it might be necessary to size up. I sewed a toile for both XS and S as my measurements were between sizes and found the XS fit me well across the shoulders and chest and the Small perfect for the waist and hips so I just graded my pattern. I also tried adding cap sleeves but I didn't care for how they looked on me so I opted to do without them.
Fabric: 100% cotton jersey
The fabric recommended for use is cotton jersey. The Alabama Chanin website sells 100% organic cotton jersey in varying thicknesses and colors. Because it was my first project, I wanted to make sure I was using the right fabric so I purchased some yardage of both lightweight (4.6 oz/linear yard) and medium weight (9.8 oz/linear yard) fabrics from the website when there was a 20% off sale. I had some Telio lightweight organic cotton in my stash from Fabric.com and it was just similar to the one from Alabama Chanin. I also bought a yard of medium weight organic cotton from Organic Cotton Plus and found it comparable to the one from AC. The cheapest was from Fabric.com followed by Organic Cotton Plus. One positive note about the fabrics from Alabama Chanin is they come dyed in really beautiful colors. For this project, I used the fabrics purchased from AC--one in light blush and the other in natural.
Stencil:
The books contain not only patterns for the garments but also stencil designs that are the basis for embellishing. One can have the stencil designs enlarged from the book or downloaded as a digital file from the website (some designs require a fee). For those who don't want to deal with making their own stencils, ready made ones are also sold at the website for a hefty price. I chose to cut my own stencils using Mylar purchased from our local art store. Initially I wanted to use pennant felt that was recommended in the book but I could not find a source for poster-sized ones except at the AC website where it was being sold for $17 a piece!
 |
| For this project, I used "Anna's Garden" design from the book. I had it enlarged to 306% at my local reprographic store and it cost me less than $5. The digital file is available at the AC website for $5 but one still has to print them out after downloading. |
 |
| I traced the design onto a sheet of Mylar using permanent marker. |
Tracing the design on Mylar was quite easy using permanent marker. It was the cutting part that was a bit challenging for me at first. I started with an X-Acto knife. Even with brand new blades, it was a pain to use. I found it hard to cut around curves and I was not satisfied with the rough results.
After some research I invested in a $22
Wall Lenk Cutting Tool. Oh my gosh! This is such a time saver! It uses heat to cut through plastic and works so smoothly.
 |
The tool came with two removable tips. I used a metal file to clean the tip after each use. I also secured the lightweight anchor with a tape to prevent accidental tipping of the hot tool when not in use.
|
Here is a short clip of the tool in action. You may need to enable Flashplayer to see the video.
*Tip: If using the cutting tool, make sure to use a protective material (like glass or aluminum) underneath the Mylar. I found a discarded glass window in our basement and used that. It's also a good idea to do this in a well-ventilated area. I also took several breaks, turning off the heating tool to avoid overheating.
Stencil Transfer:
This was one of the aspect of the project that I was dreading. I have never done fabric painting of any kind so this was all new to me. It's one thing to read all the instructions and soak up all the details. It's another thing to actually carry them out!
I purchased my fabric paints from
Dick Blick. Not only was the price significantly lower than at the AC site, but there are a lot of color choices and shipping was really really fast! As recommended in the book, I chose the Createx Airbrush colors. Since my outer fabric was in light blush, I mixed some paint in white and sand to achieve a creamy color that was a bit darker than the underlying natural colored fabric. I used an airbrush gun which made the job of transferring the stencil design easier. As with sewing, I did a test on scrap fabrics before stenciling the main fabric.
Here is another short clip this time showing the airbrushing process.
*TIP: If using airbrush method, make sure to do it in a well-ventilated area and wear protective mask. If mixing paint, make enough so you don't run out in the middle of a project. It's not always easy to replicate the color if you are like me and did it by trial and error!
 |
| This is the front of the shirt (the outermost fabric) after spray painting the design. |
 |
| Close-up of the painted fabric. |
Reverse Applique:
This is one of the key techniques that has defined Alabama Chanin and it involves working on two layers of fabric. The top stenciled layer shown above is stitched to the backing layer after which the top layer is cut away to reveal the backing fabric underneath.
 |
| Shown here is my backing fabric in "natural." |
 |
| As in quilting, it is essential to pin the outer and backing layers together prior to handstitching around the design. |
 |
| Using safety pins allowed me to work on the project without being pricked! |
 |
| This is my favorite part, the hand stitching. |
*TIP: For needle I used Dritz sharps size 3/9. But I found them too long for my liking. Next time I will used shorter needles making it easier to tie knots when only a short length of thread is left. For thread, I used Coats Dual Duty Button & Craft thread in color F6. This is the one recommended for reverse applique since the thread is sturdy. But I wonder if hand quilting thread will also work? My
 |
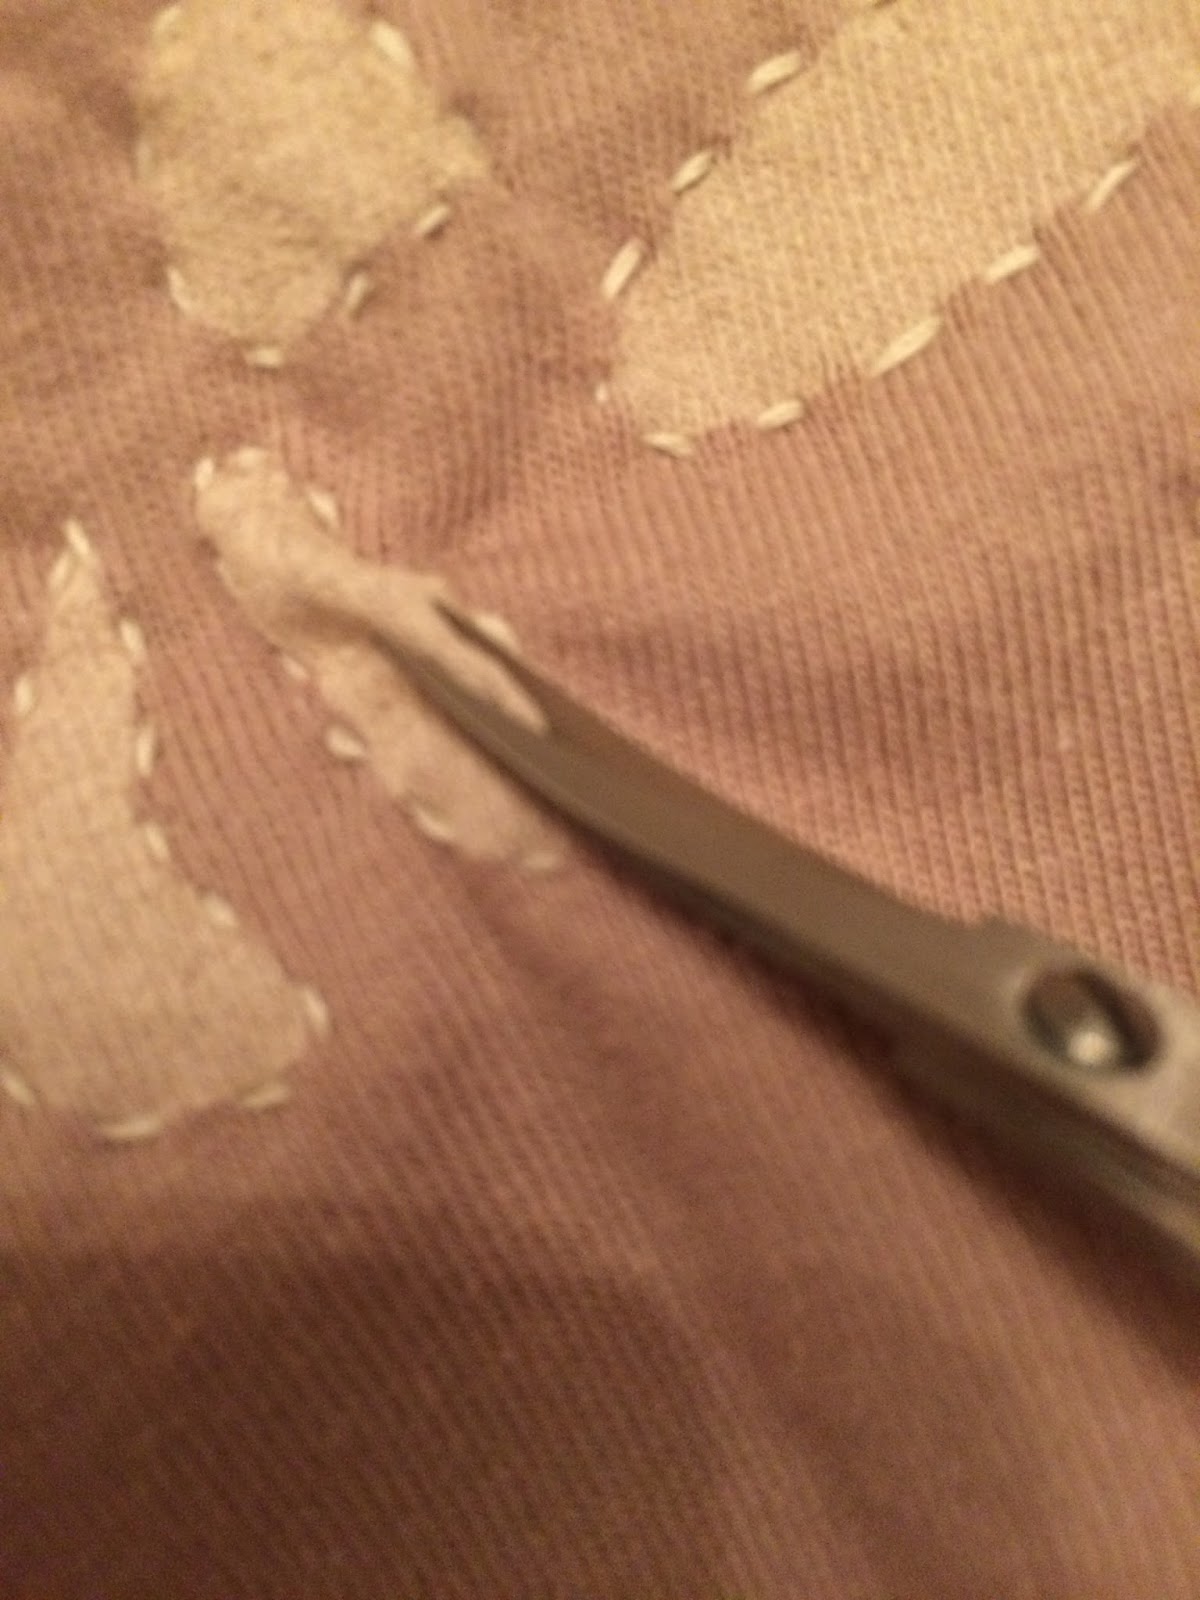
| This part is the most exciting but nerve-wracking! |
 |
| It is so exhilarating to see the appliques take shape after cutting out the top layer! |
*Tip: Using the right tool is essential. A pair of small sharp scissors with curved tips like the Kai scissors above (in size 4 & 5) really made the process smooth.
Finishing the Garment:
I only embellished the front of the top hence used only a single layer of fabric for the back. I cheated a bit and did not hand sew the seams as I preferred to serge them. I did not trust my hand sewing to make sturdy shoulder and side seams that wouldn't pop especially considering that my top is really snug!
 |
| This is the serged shoulder seam. |
 |
I bound the neckline and armhole with strips of cotton jersey.
|
 |
| Close-up of the neckline. |
 |
| Close-up of the armhole binding. |
*TIP: The book has a list of recommended stitches for use in areas like the armhole and neckline where maintaining stretch is essential. I chose to use the cretan stitch. For the binding, I used a 1-1/4" wide strip of binding. To determine the length, I measured the neckline/armhole and then cut 90% of that length. Cutting the binding shorter than the neckline/armhole will prevent the area from flopping. I recommend basting the binding first and checking the fit before finalizing with finishing stitches.
 |
| I left the hems unfinished. |
Overall, I am very happy with how my first Alabama Chanin project turned out! I can't wait to sew more outfits and experiment with more designs! Here are more pictures.
Paired with a store bought maxi pants from a year ago. I really didn't plan this ahead of time but I guess it shows that I gravitate towards the same color all the time!
|
Resources: