A little
more than a month ago, I purchased three yards of this gorgeous Rag &Bone wool
blend suiting fabric from Mood Fabrics. It did not take long for it to be all
sewn up. I was able to make a pair of trousers and shorts and a blazer. This post today is all about the blazer.
The pattern I
chose was from Vogue. If you don’t check the line art, you won’t realize from
the model’s photo that the blazer has some nice design lines which actually
worked well for my fabric.
My fabric had a houndstooth and tattersall pattern
that required some serious matching.
The blazer front
pieces are connected to the back pieces by a single side piece (so there is no
real side seam). That made it tricky for my fabric pattern matching. It meant I
had to match front, side and back. To make it easier, I decided to cut the side
piece on the bias and stabilized with interfacing cut on lengthwise grain. Hence
I ended up with a nice play on the fabric pattern as shown below.
The piece on the left is the bias cut side piece and the one on the right is cut on lengthwise grain.
These are the two front pieces sewn to the front edge of the side piece.
I did the
same thing with the sleeves which has two pieces—front and undersleeve. The front
piece needed to be eased in to the undersleeve so there was no way my fabric
patterns would match. As shown here, I cut the undersleeve on the bias.
Unlike the other bodice pieces the sleeves were not interfaced so I stabilized the bias cut undersleeve by underlining with silk organza cut on lengthwise grain.
Inside view of the two sleeves sewn together along one seam. Here the difference in grain direction is more clearly seen.
Here are photos of the finished garment showing the areas with bias cut pieces.
I lifted the sleeve up to show the side piece that connects the front to the back.
This is a closeup of the sleeve seam between the front sleeve and the undersleeve which was cut on bias.
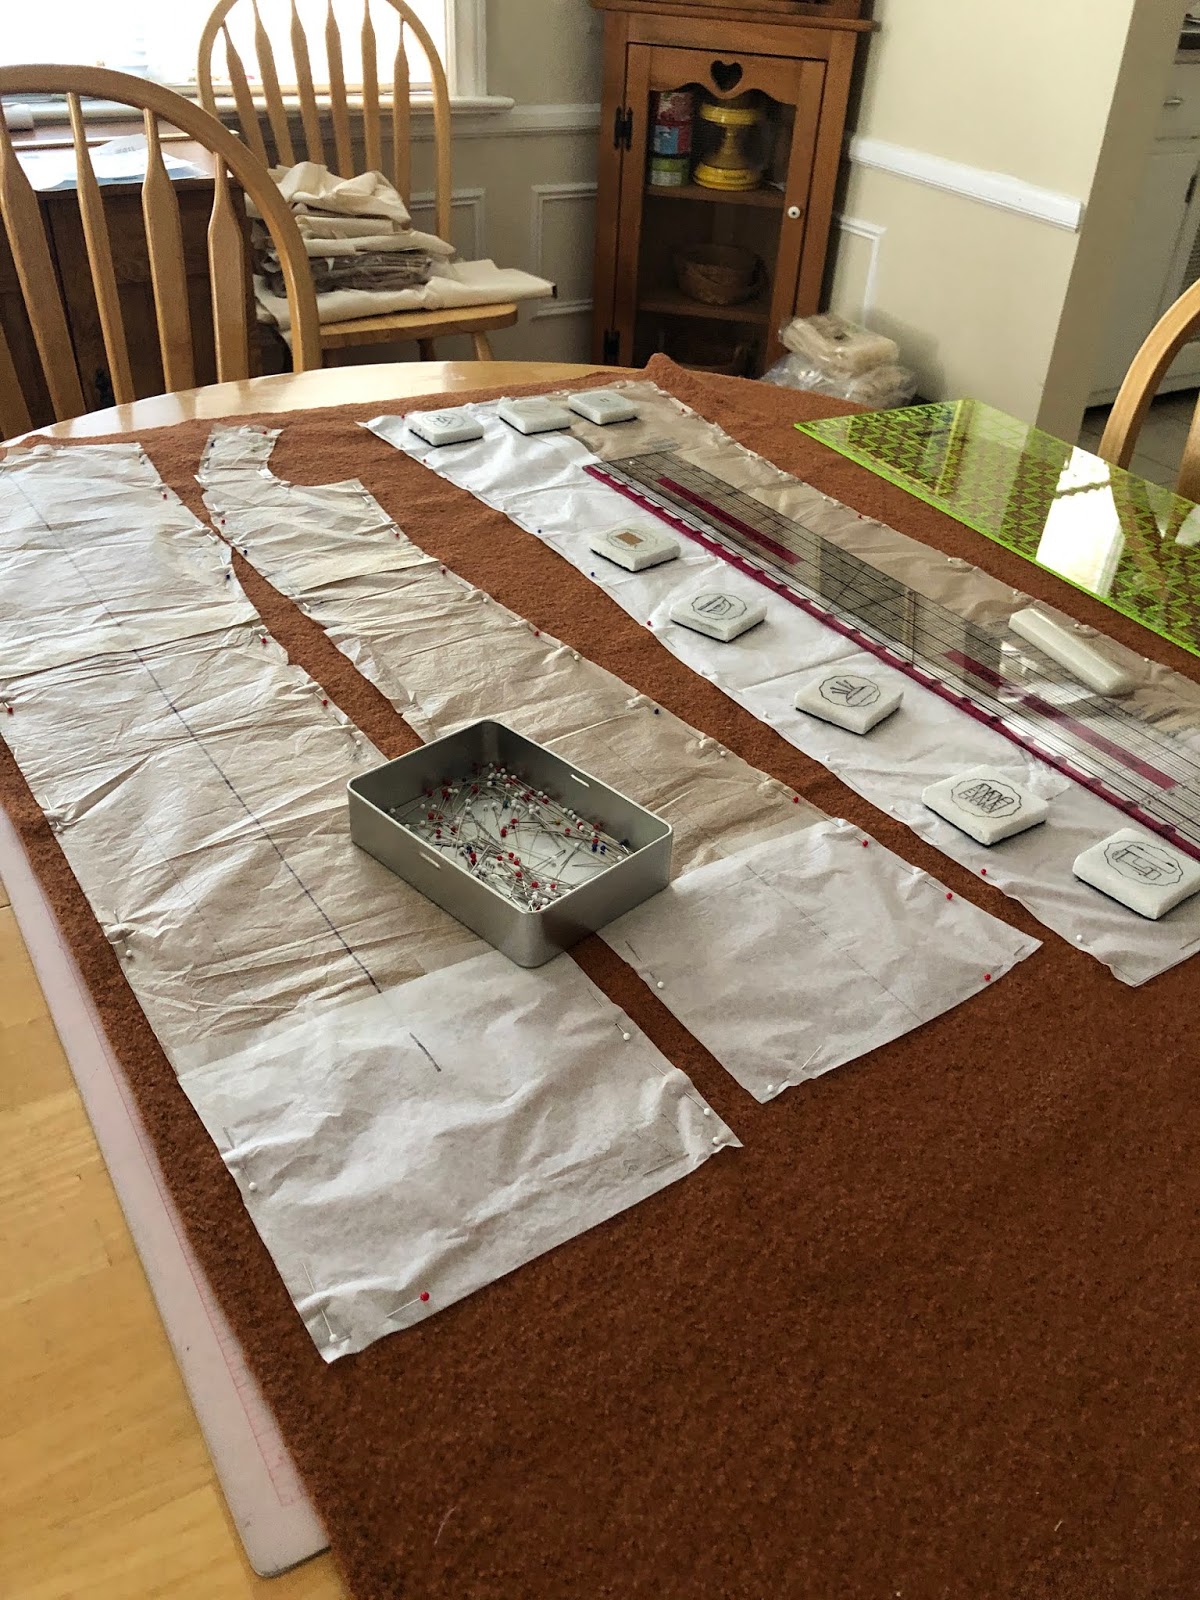
For the rest of the pieces that I had to pattern match, I did the following to ensure accuracy:
Cut using single layout with fabric right side up and pattern right side up.
For pattern pieces in pairs (like two front and two back), use the first cut piece as a guide for placement of second piece to ensure the fabric patterns match.
When it was time to sew, I used walking foot to ensure even feeding of the top and bottom fabrics being sewn. I also hand basted seams before sewing.
Here are some photos showing pattern matching.
This is the front piece sewn to the front facing.
The two back pieces have been carefully matched at the center seam.
The front piece matching with the front facing.
One of the features I like in this jacket is the welt pocket.
I cut the welts on the bias to provide contrast and allow the pockets to be visible. I really do not care for "invisible" pockets.

I thought the contrast provided by the bias cut pieces is really attractive. This photo shows the welt pockets still basted close.
I thought the instructions for the welt construction were more than adequate. The key is accurate marking of stitching and cutting lines.
I initially used tailor's tack to mark the stitching lines.
I ironed a strip of Totally Stable stabilizer cut in the size of the welt opening. I then machine basted around the perimeter.
View on the right side of fabric. The machine basting was clearly visible and more accurate than the tailor's tack.
Machine basting on the cutting line instead of pencil or chalk marking.
Easy enough to tear off the stabilizer when done.
Welt strips after they were sewn on the right side of the fabric.
Pocket pieces.
Welt pocket done and basted shut.
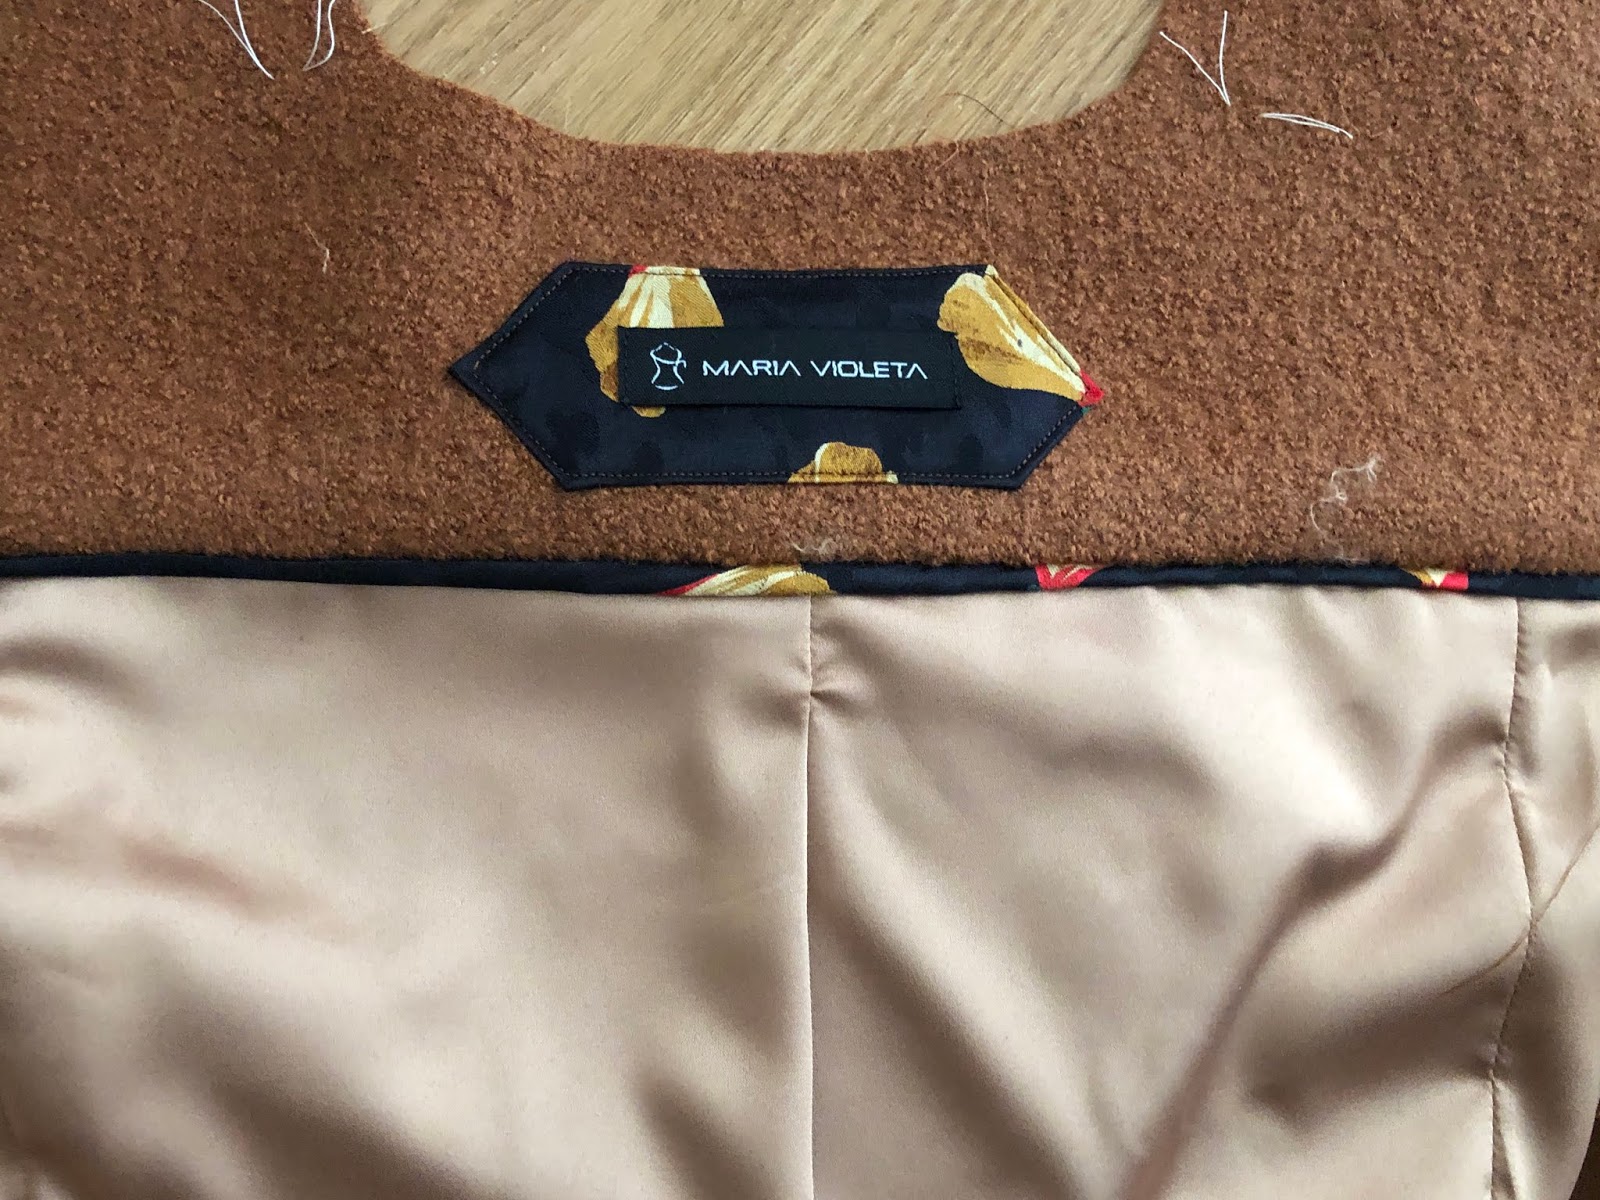
Another feature I liked was the way the lining was treated.
A piece of piping was sewn in between the facing and lining pieces making for a professional looking finish.
Inside views.
The rest of the constructionwas pretty simple and straightforward.
And now for photos of the finished garment.
Not sure if the houndstooth and tattersall pattern in the fabric are obvious in desktop view. In smart phone and tablet, the pattern is more clearly seen.
The side views clearly show the high-low hem.
Posing like the pattern envelope cover.
Some close-up of details.
Cool pocket.
Pleated lining hem.
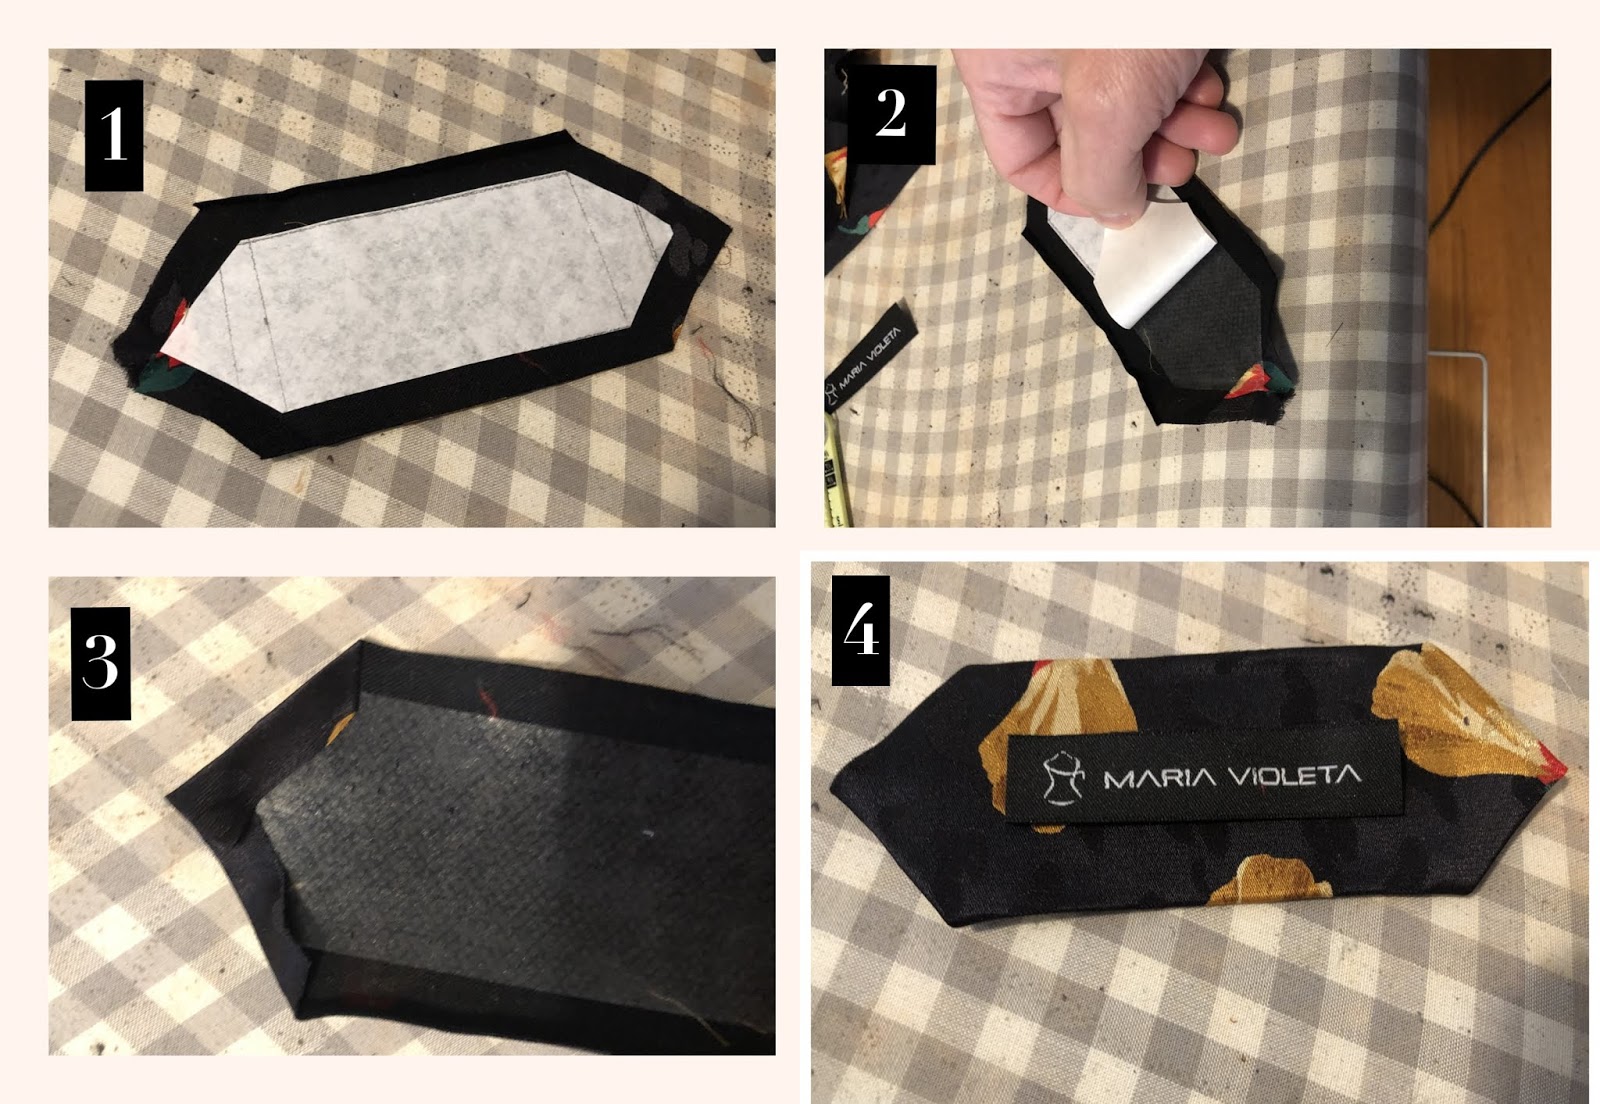
My personalized label.
Stylin' my blazer.
Worn with store bought leggings and Jalie knit top.
Worn with denim.
Worn with ponte dress (Butterick 5672)
Worn with New Look 6345 skirt.
Finally the whole ensemble from the Rag & Bone fabric. Trousers sewn using Vogue 9092.