Monday, February 22, 2021

A Tale of Three Sweatshirts: Sinclair Nova Pattern

As I was writing a review of the Sinclair Nova Raglan pattern for Pattern Review, I realized I never blogged not only about the specific pattern itself but also the Sinclair pattern in general. I have sewn four different patterns from said company and have a couple more in my stash and I really love everything I have made. Not only is the sizing spot on, Sinclair patterns cater to regular, tall and petite figures. I'll have to do better next time! For now, I am focusing on one of my favorite sweatshirt makes using the Sinclair Nova Raglan pattern. 

The pattern itself is easy to sew and since the instructions are detailed, even beginners will be able to tackle it without much difficulty. 

My first and third versions took advantage of the raglan style to colorblock and highlight some one of a kind fabric panel prints. 

This was my first Sinclair Nova sweatshirt. I used a Marcy Tilton rayon jersey panel print for the front. 
For the rest (back, sleeves, cuffs, binding and band) I used cotton jersey from stash. 

In this more recent version, I also used a Marcy Tilton panel for the front.

Then I had some fun combining prints and solids, some from my stash. 


For this second version, I used an animal print knit. To highlight the raglan cut, I added a solid colored binding along the raglan seams. 

What's amazing about this pattern is I didn't have to do any fitting alterations, not even the bodice length or sleeves! There are other neckline options included in the pattern (cowl and hood) and also the option to use drawstring on the bottom hem. I'll probably give one of those views a try next time because I'm sure there'll be a next time!

And now a look at the details on the most recent make:

Front view

Back view

I paired a printed cuff with the solid left sleeve. 

For the printed right sleeve, I opted for the solid cuff which was the same fabric used in the back. 

I used a blush pink cotton knit for the neckline binding and the bottom band. 


A closer look at the neckline. I used a triple cover stitch to topstitch. 
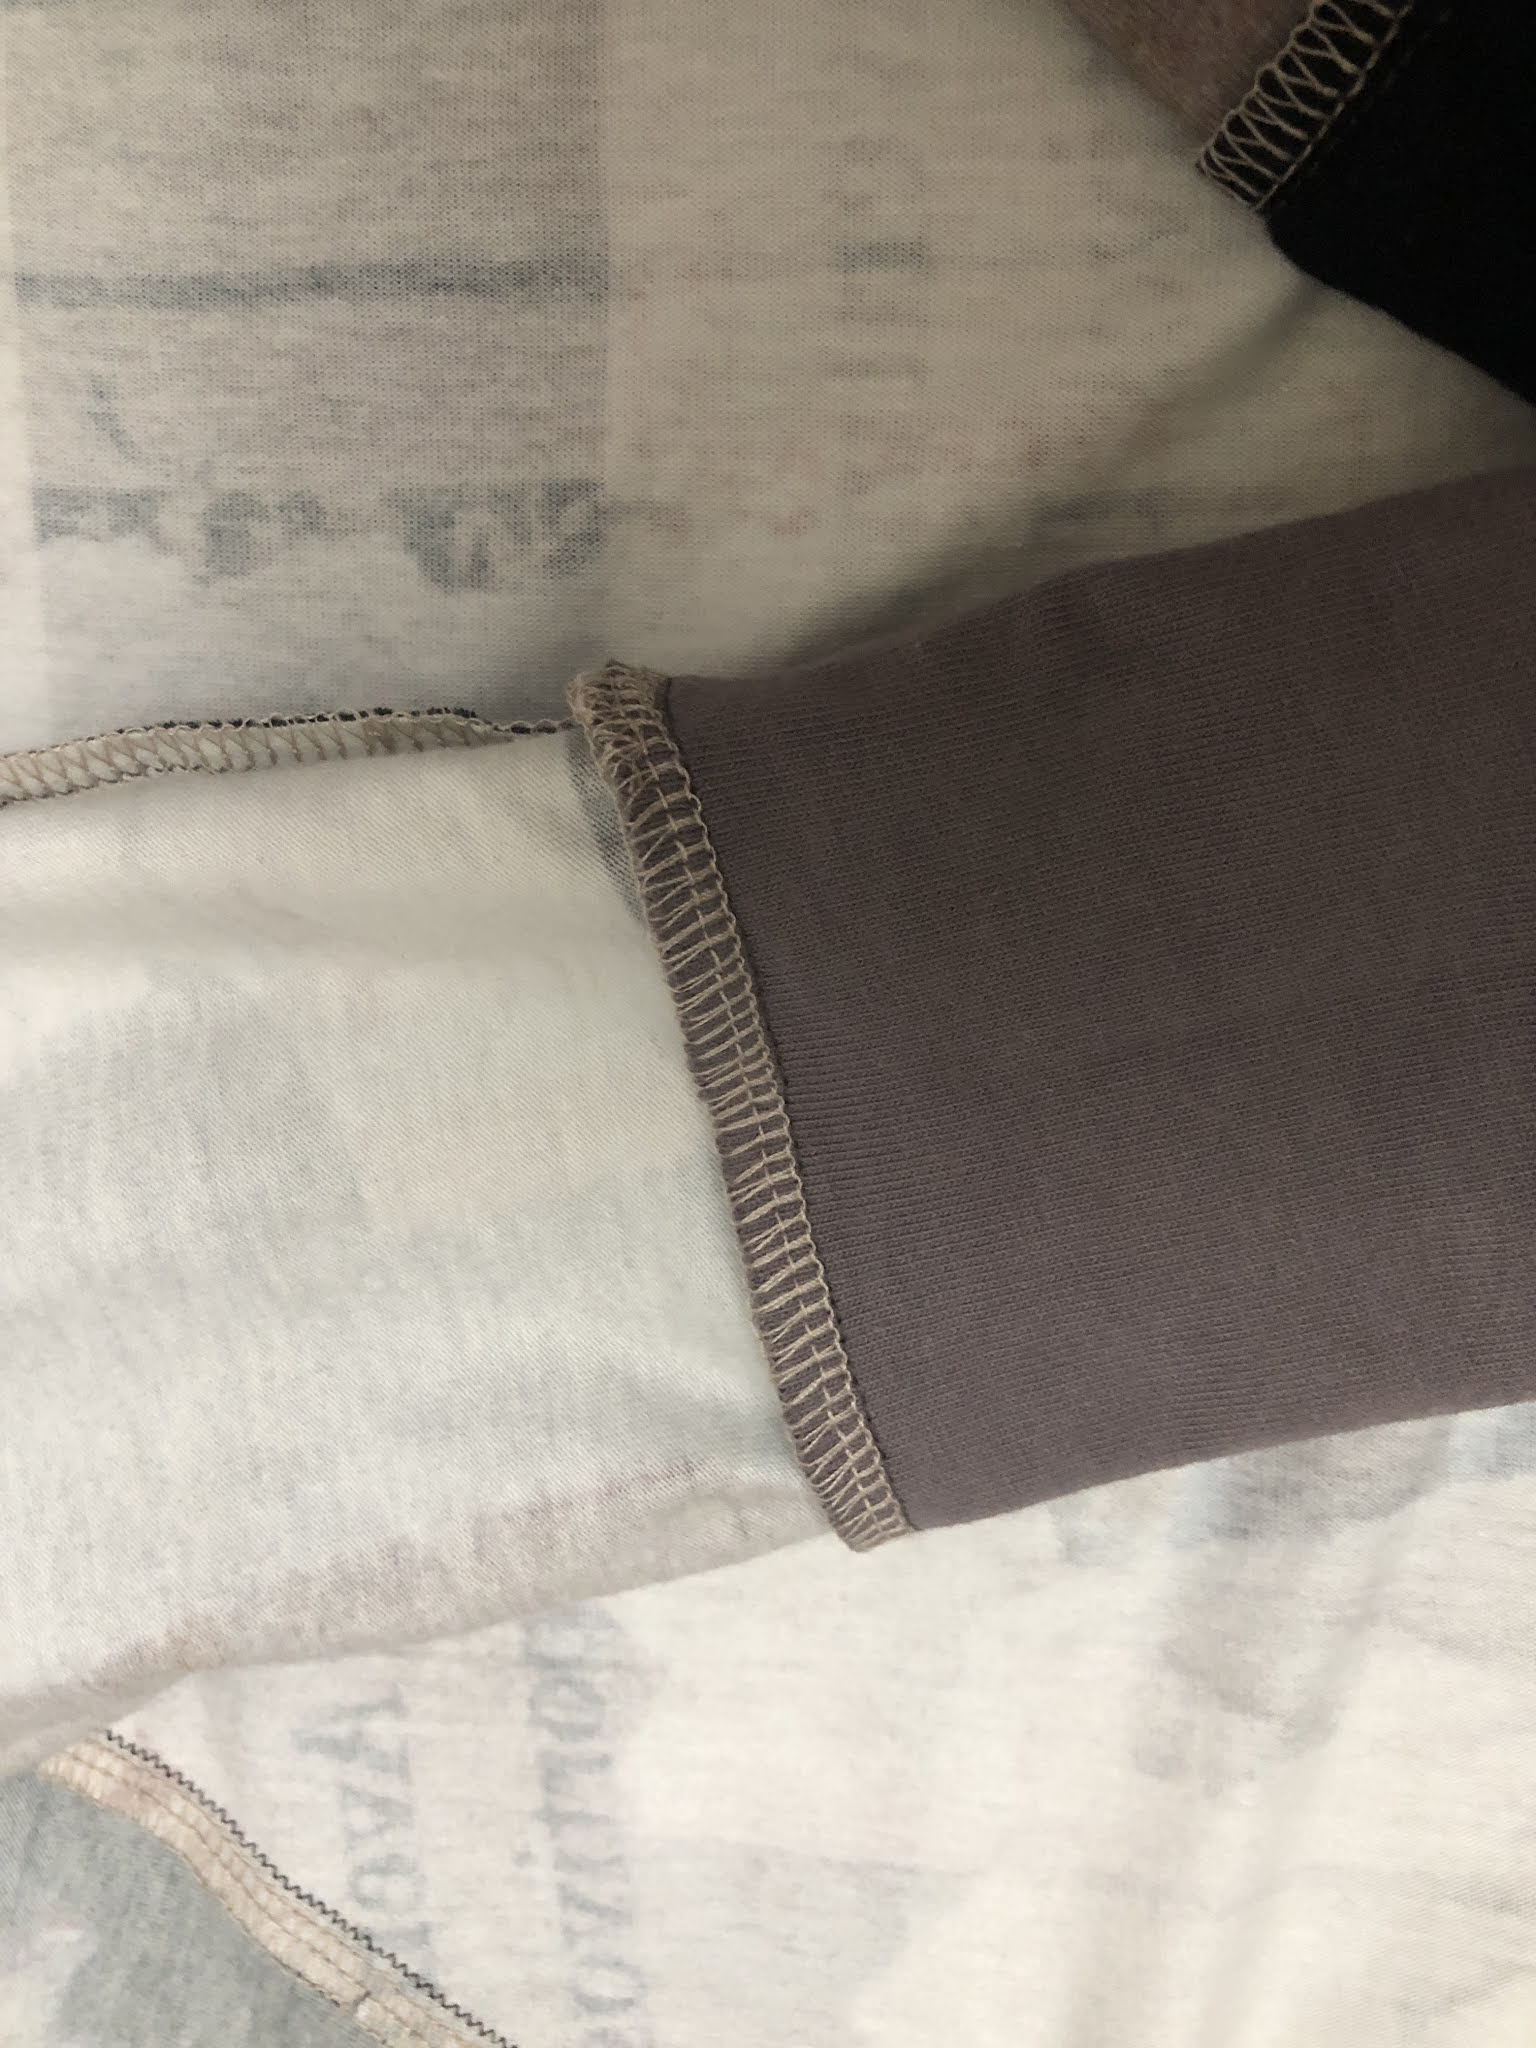
Serged cuff seam. 

Serging on the shoulder seam. Coverstitching on the neckline binding. 

Serging on the bottom band. 

I love the resulting asymmetry and the colors in this sweatshirt! I think right now, this is my favorite!

If you are interested in a more detailed review of the pattern, check out my reviews here and here.


Friday, February 12, 2021

My Best Practices: Burrito Method


First time I mentioned the "Burrito" method was in this post from 2017. 

 In this photo tutorial, I used the henley top I sewed using McCalls 7360. The pattern instructions on yoke attachment used a different method. The method I'm showing here is called the "Burrito" method. After reading this post, you'll understand why it's called that!

The top has a lined yoke that is attached to the lower back bodice. To better understand the tutorial, here is a rundown of the pattern pieces involved:

   *Bodice front

   *Yoke. The yoke is lined so there are two pieces cut from the same pattern piece--one will be the fashion piece, the other is the lining or facing. For the sake of clarity, I labeled the fashion piece Yoke 1 and the lining or facing piece Yoke 2. 

   *Bodice back

1. Sew Yoke 1 to Bodice Back, right sides together. 


Disregard the basting stitches above. I initially tried to follow the pattern sewing instructions but realized that they did not follow the Burrito method. 
View of the sewn pieces, right side. 

2. Sew Yoke 2/Facing to the bodice back.


Sew the right side of Yoke 2/Facing to wrong side of bodice back. The bodice back will end up being sandwiched between the two yoke pieces. 

View of inside after yoke facing is sewn.

3. Baste shoulder seams of Yoke and Bodice Front. 


Keeping yoke 2/facing piece out of the way, sew Yoke 1 to the bodice front along the shoulder seams.

Shoulder seams sewn. 
View of the wrong side after shoulder seams are sewn together. 

4. Roll the back bodice. 


In preparation for this step, lay the top with the back bodice right side out facing you.
 

Leaving the yoke facing free, roll just the bodice back piece in a neat tight roll upwards towards the shoulder area. After rolling, you will notice the yoke facing is revealed. 

Do the same with the bodice front. Roll it neatly and tightly towards the shoulders. Eventually the two rolled pieces will "meet" each other.  

Once the two rolled pieces have "met" this is what it should look like. The rolled pieces are wrapped inside the yoke pieces like a "burrito."
Here is another view from the other side. 


 5. Sew the two yoke pieces together along the shoulder seam. 


With the rolled front and back bodice tucked tightly inside, pin the two yoke pieces along the shoulder seams. Note you will be sewing three layers here--the yoke 2/facing and the yoke 1 which has previously been basted to the front shoulder seam. 

View of the pinned shoulder seams. 

Shoulder seams sewn. 

6. Turn right side out. 


After turning the top right side out. 


Thursday, February 11, 2021

My Best Practices: Narrow Hemming

 In this photo tutorial, I used the henley top I sewed from McCalls 7360 as example. 

In this example, I will be doing a 5/8" narrow hem on the henley top. Shown above is the bottom hem of the top which is a bit curved.   


1. Mark the hemline.


I wanted my hemline at 5/8" from the cut edge. I used a marker that disappears with heat. The red marks above represent hemline. 

The marked hemline. 


2. Fold the hem to the wrong side 1/4" lower than the marked hemline. 

The blue marks represent 1/4" line from the red marks. I will use that as a guide when folding in to the wrong side. 

Folding into the wrong side. If your marker is not heat sensitive, you can just press as you fold. I had to do finger pressing so I would not erase my red marks. 
A view of the folded hem. 


3. Sew the folded edge. Stitch 1/8" from the fold.

Stitching 1/8" from the folded edge. 

View of the stitching (1/8" from the folded edge).

4. Trim hem allowance. 

Trim as close to the stitching line as possible. 

After trimming. 


5. Fold the hem along the marked hemline then sew. 

Here I used the red marked line as my guideline for folding. That was the very first line I marked which is equivalent to my 5/8" hemline. 

Sewing the folded hem. 


View of the sewn hemline.  

View from the right side. 

View from the wrong side. 


6. Press. 

Before pressing. 


After pressing.


Up close.

Following the steps above eliminated the need to use pins and the result was a smooth hemline with no unsightly creases or waves.