
My first attempt at sewing a winter coat was inspired by the "Think Pink" contest of Pattern Review.com. I've always pined after Natalie Portman's pink wool coat in "Black Swan." Hers was a double breasted peacoat but I prefer the classic cut so I used Burda pattern 8292. This is my first time using a Burda pattern and the only thing I don't like about it is the lack of detailed instructions and illustrations. But sewing a muslin eliminated the need for any seam ripping later on. That would have been disastrous as the fabric I used for the coat frayed easily.
I didn't want to splurge on my first attempt for a wool coat so I purchased a dusty wool coating fabric that went on sale at Fashion Fabrics Club.

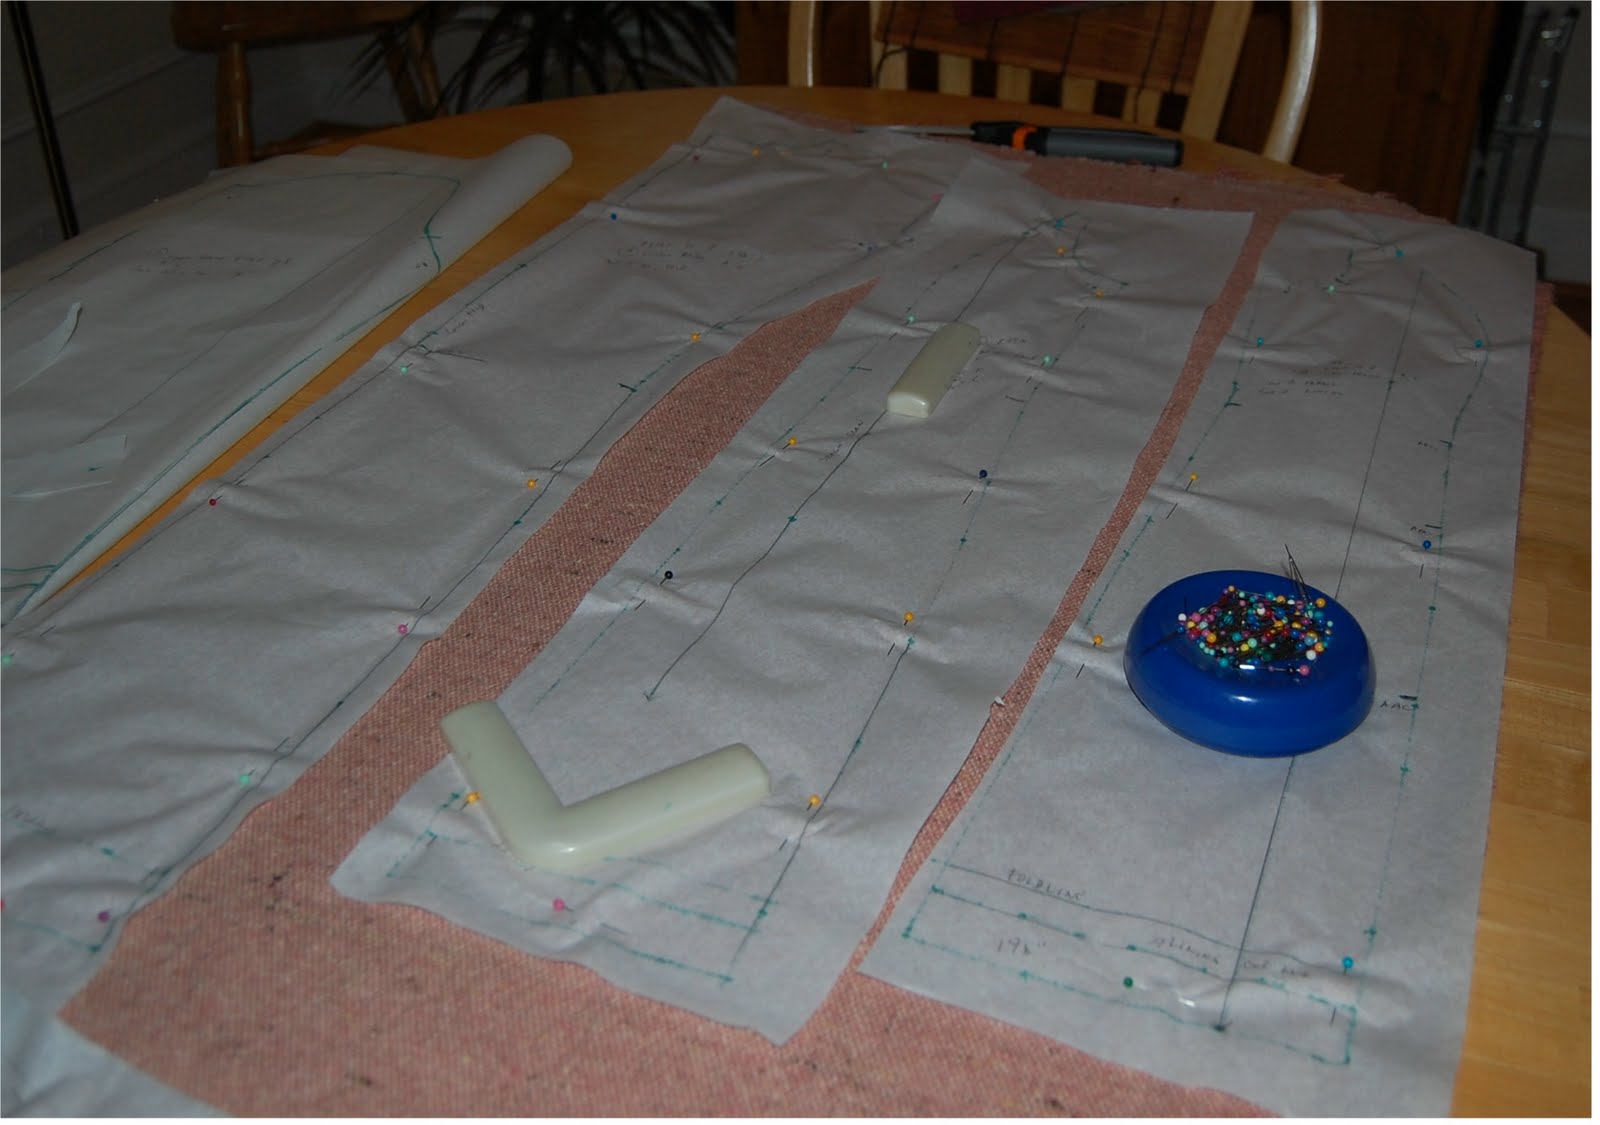
This is no Italian wool coating. It is a bit rough and has a basketweave like finish.
For the price I could not complain.
For the lining I used a flannel-backed satin. This was a pleasure to work with as the backing eliminated much of the slipping and sliding one encounters with regular satin linings.

Kasha satin in mink purchased from Vogue Fabrics.com.
Since the smallest size on the Burda pattern was 36,
I had to do some adjusting on the pattern before
cutting the fabrics.


I used Pro-Weft fusible interfacing on the fronts, collars and hems. I was so glad this brand of interfacing did not require any pre-treatment at all!

Before I show the finished product, here are some more pics illustrating some of the steps in the sewing process. To me, the only confusing part was the collar section. I found out that by pressing the seams open after each step, it was easier to figure out how the undercollar and collars attach to each other.

Attaching the pocket and pocket facing.

Sewing the front seams.

Sewing the back side seams.

Sewing the front self facings.

Sewing collars.

Basting undercollar to collar.

Finished collar.

Collar attachments to be sewn together.

Bottom hem.

Sleeves

Lining assembled.

Lining attached.

Hemming the lining.

Buttonholes finished

Attaching the buttons.

I attached smaller buttons on the wrong side of the coat to anchor the outside buttons.
Overall I am happy with this project. But I think my daughter is happier as she ended up with the coat. Although I originally intended this challenge to come up with something I could wear, I decided to let her have it as it fitted her better.

No comments:
Post a Comment