The latest addition to my me-made outerwear collection is a quilted jacket inspired by my favorite RTW Bernardo jacket.
 |
| Me-Made |
 |
| Inspiration Jacket |
I have just published a comprehensive review of the pattern at
Pattern Review which talks about the fitting and design alterations I made. This post will focus mainly on the construction.
Fabric
 |
| Mind the Maker Strip Thelma Quilted Coating Fabric |
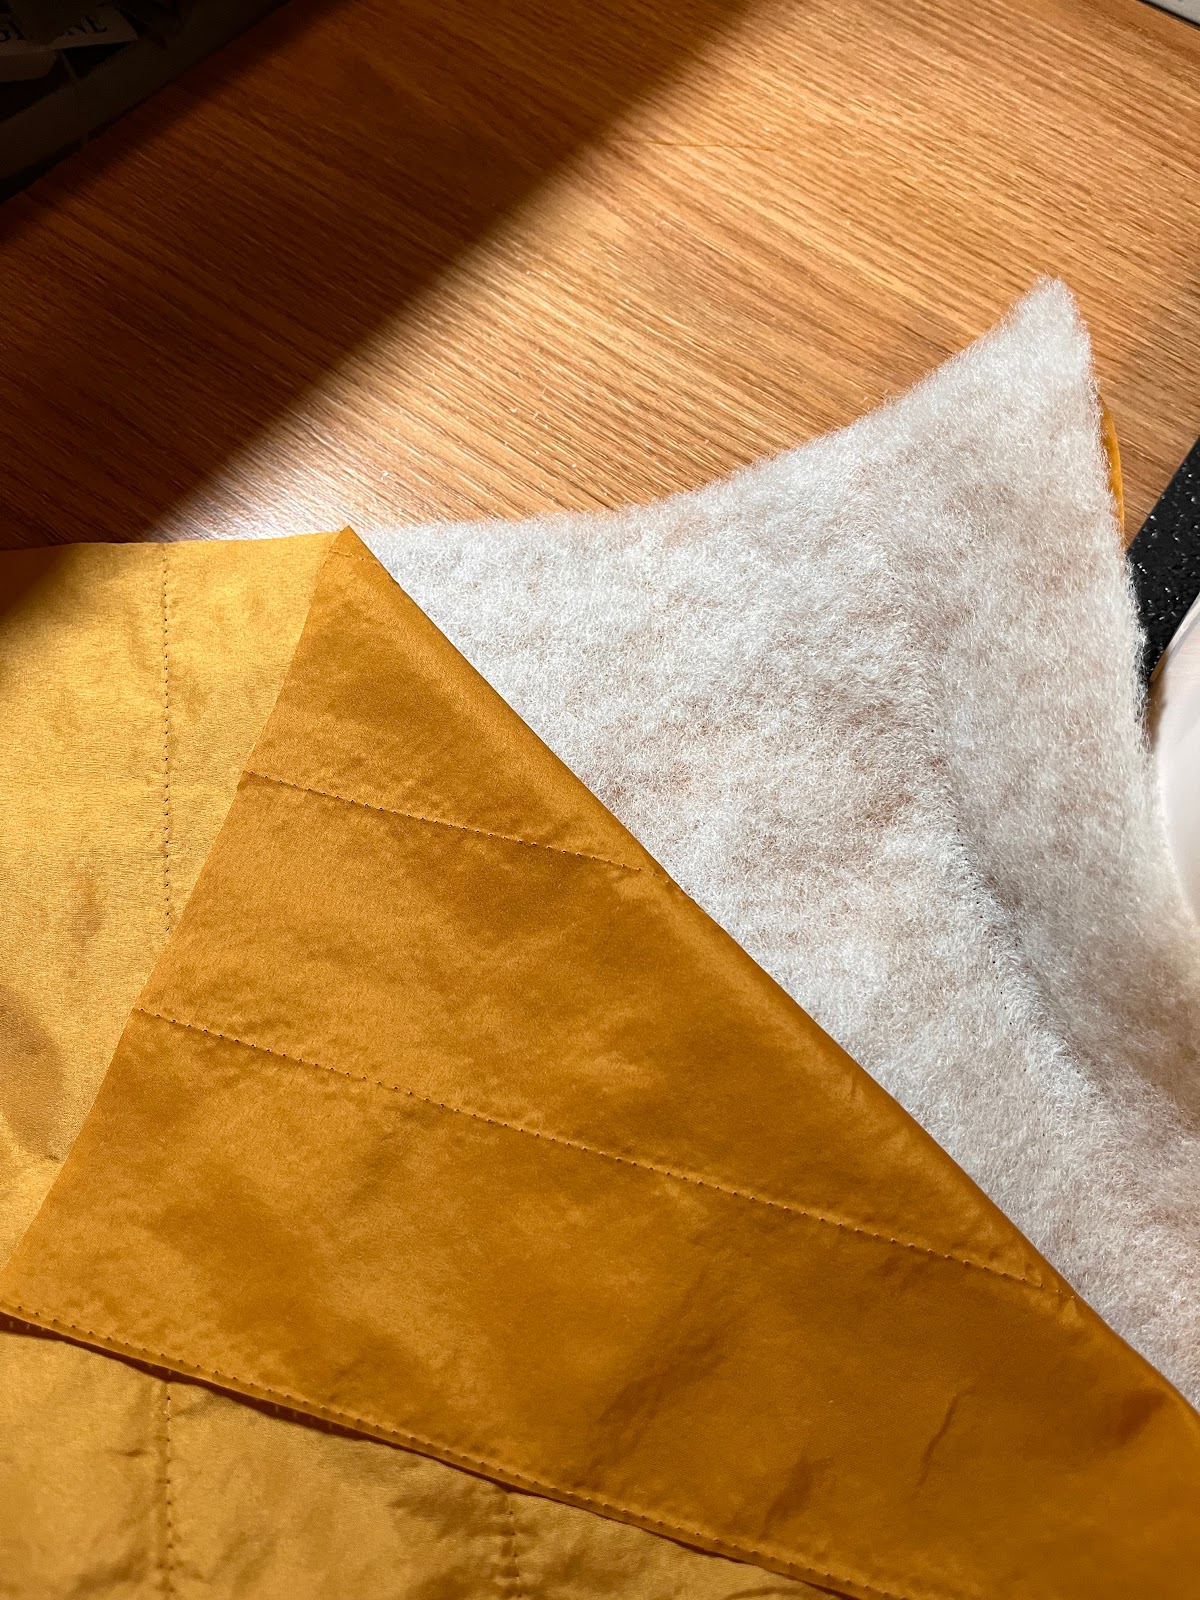
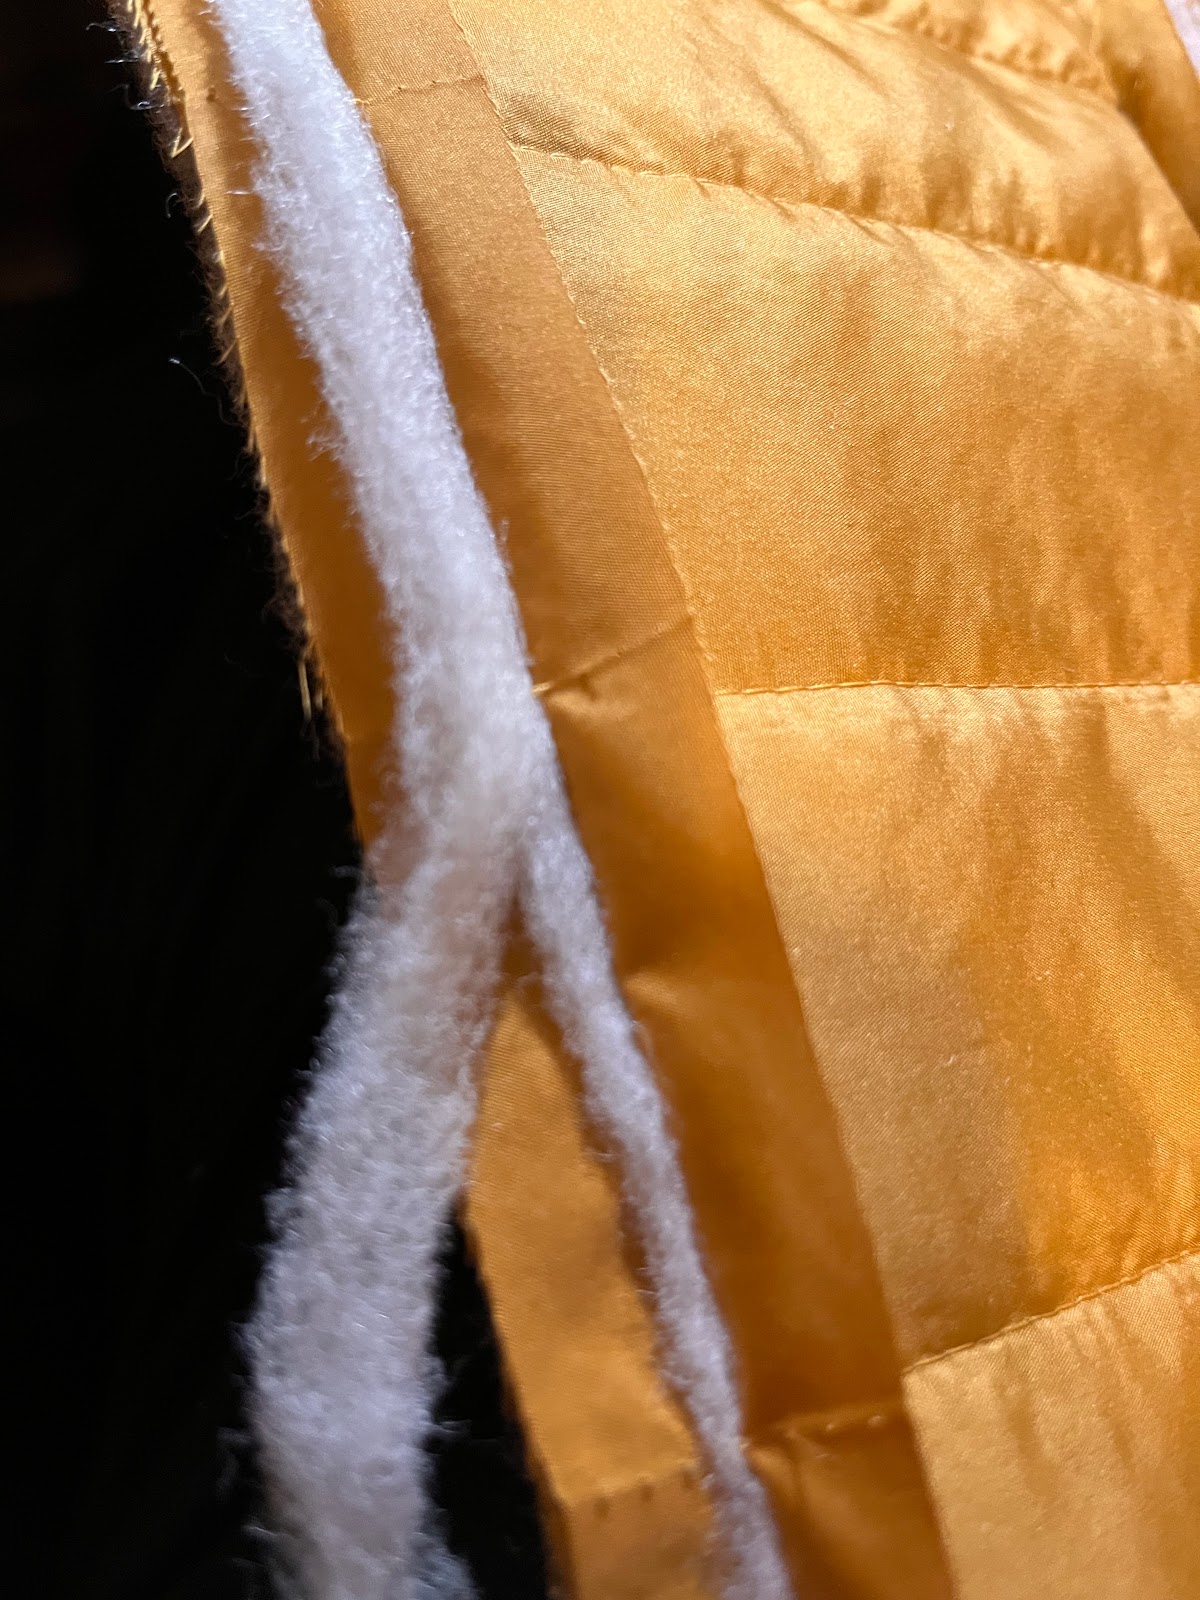
I used a pre-quilted outerwear fabric which I bought from Minerva.com. The fabric consisted of two layers of woven polyester sandwiching a layer of thin polyester wadding. There is no right or wrong side hence a lining was not essential.
I was not really a fan of the wide vertical quilting lines as I preferred a more interesting quilting design. But I was in love with the warm toned mustard color. So I decided to play around with layout and added some of my own quilting lines to the fabric.
 |
| I used single layout to cut the pattern pieces and used the cut fabric as the pattern for the corresponding mirror piece. |
 |
| This is the side bodice piece with narrower quilting lines. |
 |
| I redrafted the original pattern so that the bodice would have a waistline. That allowed me to play with the direction of the quilting lines. As seen here, the lower part has vertical quilting lines as opposed to the horizontal ones on the upper part. |
 |
| The two-piece sleeves provided another opportunity for quilting design. This time I sewed additional quilting lines perpendicular to the original, at 1" width. This not only added an interesting contrast but it also saved me the trouble of having to match the quilting lines at the seams. |
Because the jacket was not lined, it necessitated a nice finishing for the inside seams which was achieved by Hong Kong binding. This was the most time-consuming part of the construction. I made a continuous bias loop using fabric "harvested" from the quilted fabric. I have seen matching bias tapes from the Mind the Maker but I did not have luck looking for an online retailer that carries it.
 |
| I cut a 12" square from the main fabric. |
 |
| It was easy enough to unpick the quilting stitches and remove the polyester wadding. |
 |
| I ended up with two perfectly usable piece of square fabrics to make my continuous bias loop. |
A look at the bound seams on the finished garment.
Even though I have done Hong Kong binding and continuous bias loop before, I always like to refresh myself by referring to the wonderful tutorials at
Itch to Stitch.
All the outer edges (collar edge, front opening, bottom and sleeves) are finished by being enclosed in a bias tape. The seam allowances are first trimmed accordingly. For these I used a wider strip (1-1/2") so I could fold the strip on the inside.
 |
| Collar finished with bias binding. |
 |
| Sleeve and bottom. |
Zippers
One of the things I love about my RTW inspiration jacket is the rose gold zippers that are like jewels that brighten an otherwise basic jacket. So I used Riri zippers with shiny copper teeth for the pockets and front opening.
 |
| Riri metal one-way zipper size M4 from Pacific Trimming. |
 |
| Riri two-way separating zipper in size M6. |
Although the pattern envelope specifies a specific length for the zipper to be used on the front opening, my advice is to wait until the jacket has been fully assembled before buying the zipper. That way, it can be customized to the correct length. Of course, one can always trim the zipper on the top and either reuse the metal stop (good luck with that) or stitch a heavy bar of buttonhole thread across the tape (again good luck with that!)
 |
| The extra zipper tape is just folded to the inside and sewn. The metal stop prevents the zipper pull from being accidentally removed. |
And now here are some photos of the finished jacket. I had a small amount of fabric left which I made into a matching bag That will be for another post.


Wow, this project is impressive and love the mustard colour. This jacket looks so nice on you, the fit is perfect!
ReplyDeleteThanks so much! I really love how this turned out!
DeleteThank you so much for the details of working with this fabric. I have something similar in my stash and will use your review to help me with a vest.
ReplyDeleteI'm glad this post is helpful! I have always been intrigued by this fabric and wondered how hard it would be to sew with it. It turns out it's not that bad!
DeleteThis is a lovely and inspiring garment! I used the same fabric and mustard color for a long Hovea, fabric and premade binding from Guthrie and Ghani in the UK. Her link to your Instagram is how I found you.
ReplyDeleteThanks for taking time to read this and leave such a lovely comment!
DeleteI've read your blog. Honestly I've never read this type of blog before. Appreciate your work and will love to read your incoming articles too.
ReplyDeleteWe provide towel digitizing services online service that can also fulfill your embroidery needs.
Thank you!
Delete