Sunday, January 8, 2012

Race to the Finish (My Christmas Projects)

I realize I haven't been blogging as much as I've been sewing. Since the "Think Pink" contest, I was kept busy beating the Christmas rush. I don't know what got into me but I decided to sew all the presents I gave to the most important people in my life. I was able to document only the ones for my immediate family. The others I didn't bother to take pictures of as I was running out of time having had to contend with international shipping deadlines. Just for the record, I made my niece her own wool coat in black using the same pattern I had for the "Think Pink" contest. Then I sewed a different wool jacket for my sister using Vogue 7975. I had been dreaming of sewing this pattern for myself but as usual, I had to take a backseat. I also finished two Minky blankets for my best friend's toddlers. Finally, for my husband and son, I made matching fleece vests and for my daughter a fun version of a Jalie fleece hoodie. Here is a review of the vests I made for my husband & son.

Kwik Sew 3815 Men's Vest S-XXL

This pattern offers two options: a jacket and a vest.


Colorblocking is achieved by sewing a contrasting overlay on top of the main fabric.

The main fabric I used was Polartec Fleece 200 purchased from Mill Direct Textiles. It was around $7.00 more expensive than the fleece you can buy at Wal-Mart but look at the difference below.
The green fabric was from Mill Direct Textiles; the yellow was from Wal-Mart.

I used a black nylon ripstop for the contrasting fabric purchased from Fabric.com


 Before I show some highlights of the sewing process, I want to share some things I learned from this project:

1.If using ripstop nylon, make sure to serge or finish all the edges first before putting all the seams together. Who knew ripstop nylon frayed so much! On the other hand, the fleece did not need any finishing at all.

2. For the vest, make sure you have a fabric that has enough stretch for the armhole binding. The pattern envelope back did not specify this so I had to rummage through my fabric stash for a black poly/lycra knit as the nylon ripstop would not work.

3. The envelope back did not specify any need for lining fabric either but if you want to save on your fleece fabric, you can easily substitute any leftover stash fabric for the pocket lining on the front. That was what I did for the second vest I sewed.

4. I thought I messed up my husband's vest when I was attaching the zipper. The pattern instructions called for one to just fold the zipper end at the top but the zipper I bought was a heavy sports zipper. It was really bulky when I tried to fold it and would make it impossible to sew. I decided to cut it but then I cut it too short so I had to make some adjustments on the seam around the collar where the zipper was attached.

Following are some of the sewing "highlights."

Construction of zippered upper left front pocket.


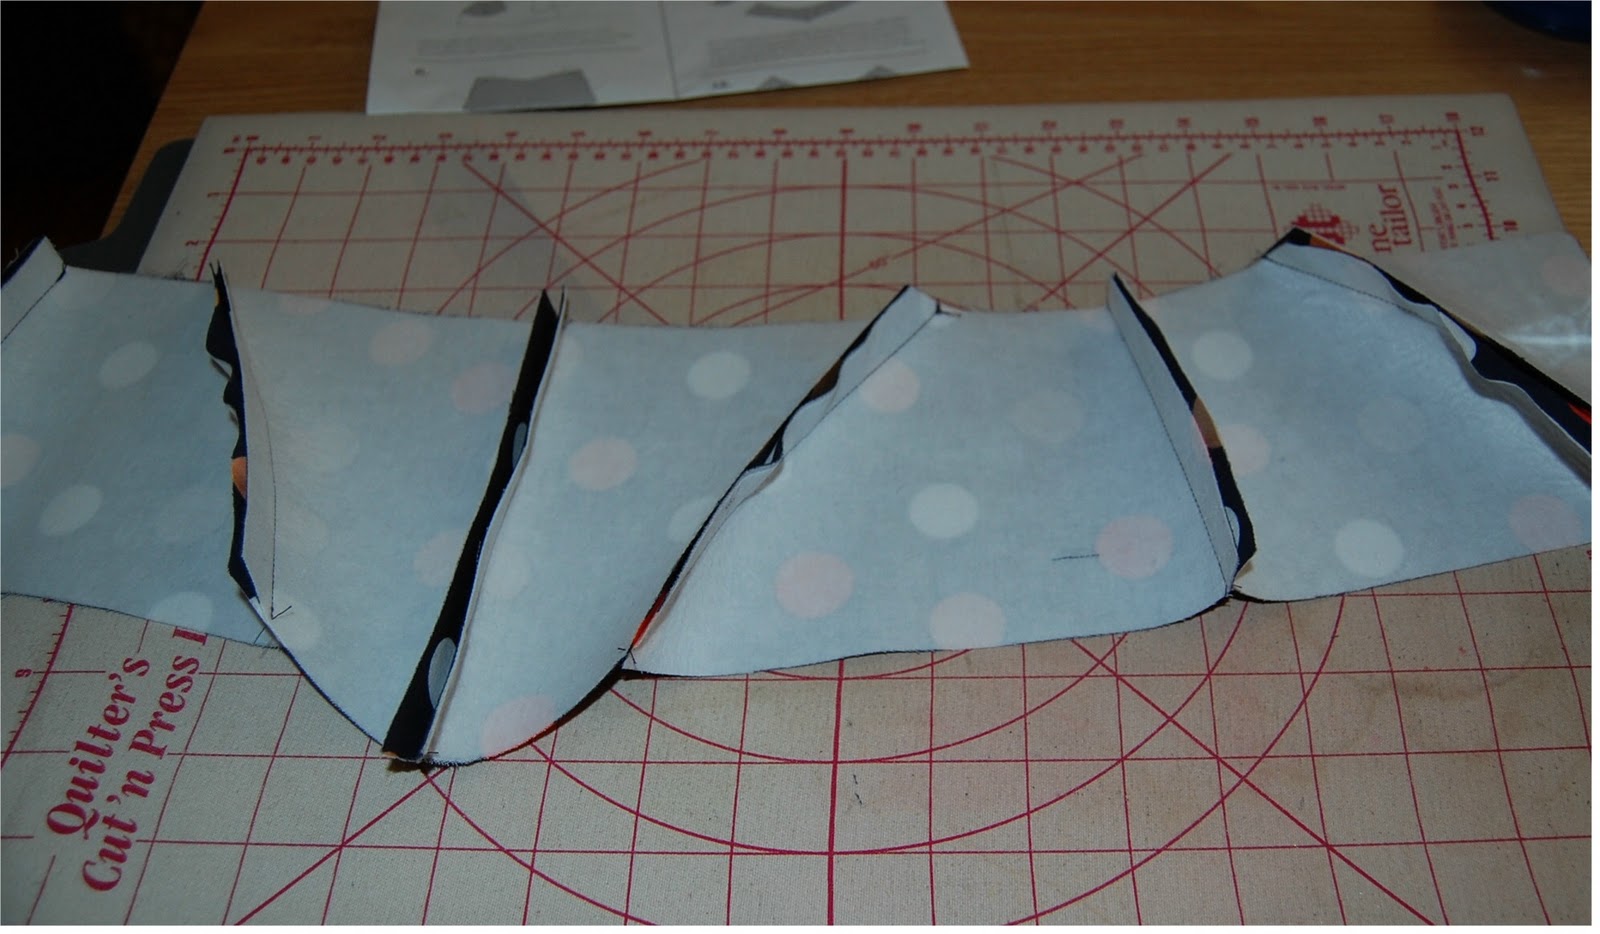
Sewing the overlay and main fabric together to form upper yoke was a bit challenging.
The fleece was stretchy whereas the nylon had no "give" at all so I had to use lots of
pins and a walking foot to make sure there was no distortion.


Notice how the fleece still managed to extend a bit beyond the nylon inspite of my precautions.


Construction of the lower side pockets.


Zipper

Zipper shield


Waist binding


Armhole binding
I used a poly/lycra knit fabric for the binding.


Here are the finished products!


Hubby folded the bottom edge in to see how it would look shortened.


Overall, this is a very easy pattern to follow. The first try (for my son's vest) took me two days but the second time around, only six hours and that already included the pattern and fabric cutting. As for sizing, it was true to size. There is a lengthen/shorten line which I did not bother with although on hindsight, I probably should have shortened the vests a bit. I highly recommend this pattern. The finished product is pretty much like the ones you find at retail stores.


Thursday, October 27, 2011

Coat Notes

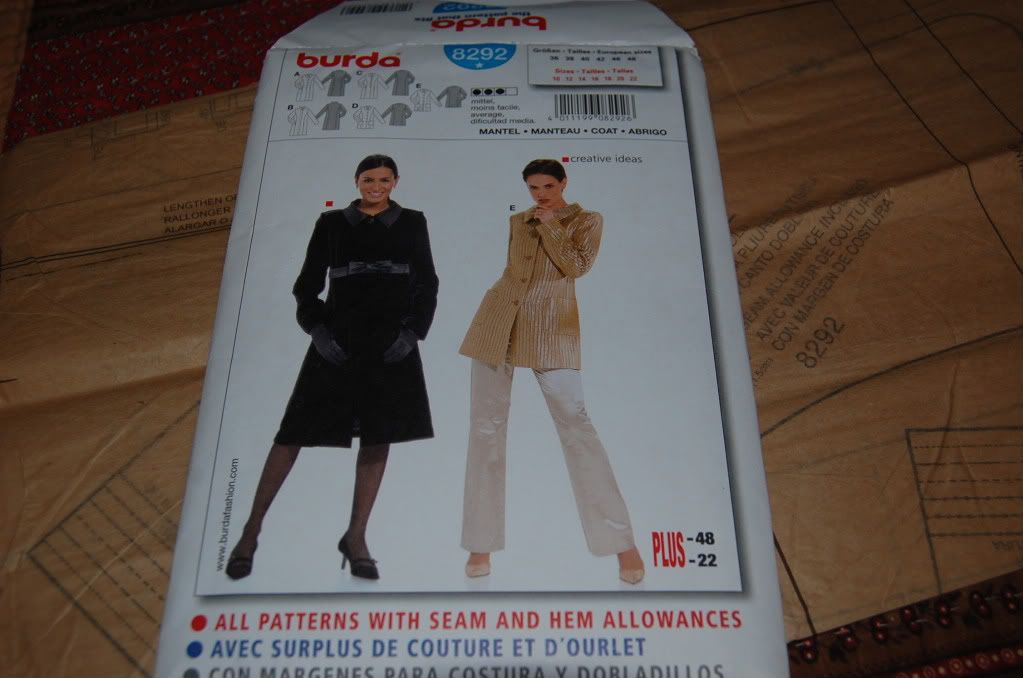
   Since I plan to sew some more coats using the same Burda 8292 pattern, I thought it would do me (and hopefully any sewing novice) good to take note of some tips and tricks to make the future process seamless (no pun intended).

 
1) Pretreat fabrics.
Wool Coating Fabric


Flannel-backed sating lining (Kasha)


I love shopping for fabrics. I hate pretreating them. I'm sure I'm not the only one who feels this way. But there is no getting around this initial step. There are so many helpful info online on how to pretreat fabrics. I chose to preshrink my wool fabric in the dryer instead of steaming it on the ironing board or bringing it to the dry cleaners. I threw it in with two damp bath towels and set the dryer to medium heat for 30 minutes. I did the same thing with the satin lining.

2) Interfacing

Pro-Weft Fusible Interfacing

   To be honest, I have never thought about preshrinking interfacing. I've been lucky so far. None of the interfaced yokes of my past skirt projects did not seem to pucker after washing. But I decided to do it differently here. I was committed to prewashing my interfacing until I learned about Fashion Sewing Supply. The owner has great tutorials on her website and she sells professional grade interfacing that don't require any pretreatment at all. So I was sold!

3) Tools

   Unlike Ina Garten who does not recommend buying kitchen tools that don't multitask, I like gadgets, sewing gadgets that is. As long as they will help make my sewing look more professional, I don't mind investing.

Walking Foot

   This foot is probably one of the more versatile ones in my sewing closet. I originally bought this for my quilting projects but I find myself reaching for this more often than not while sewing apparels. It makes sewing slippery fabrics like silk less frustrating. Same with wool. My fabric was quite thick and using this walking foot ensured an even feeding.


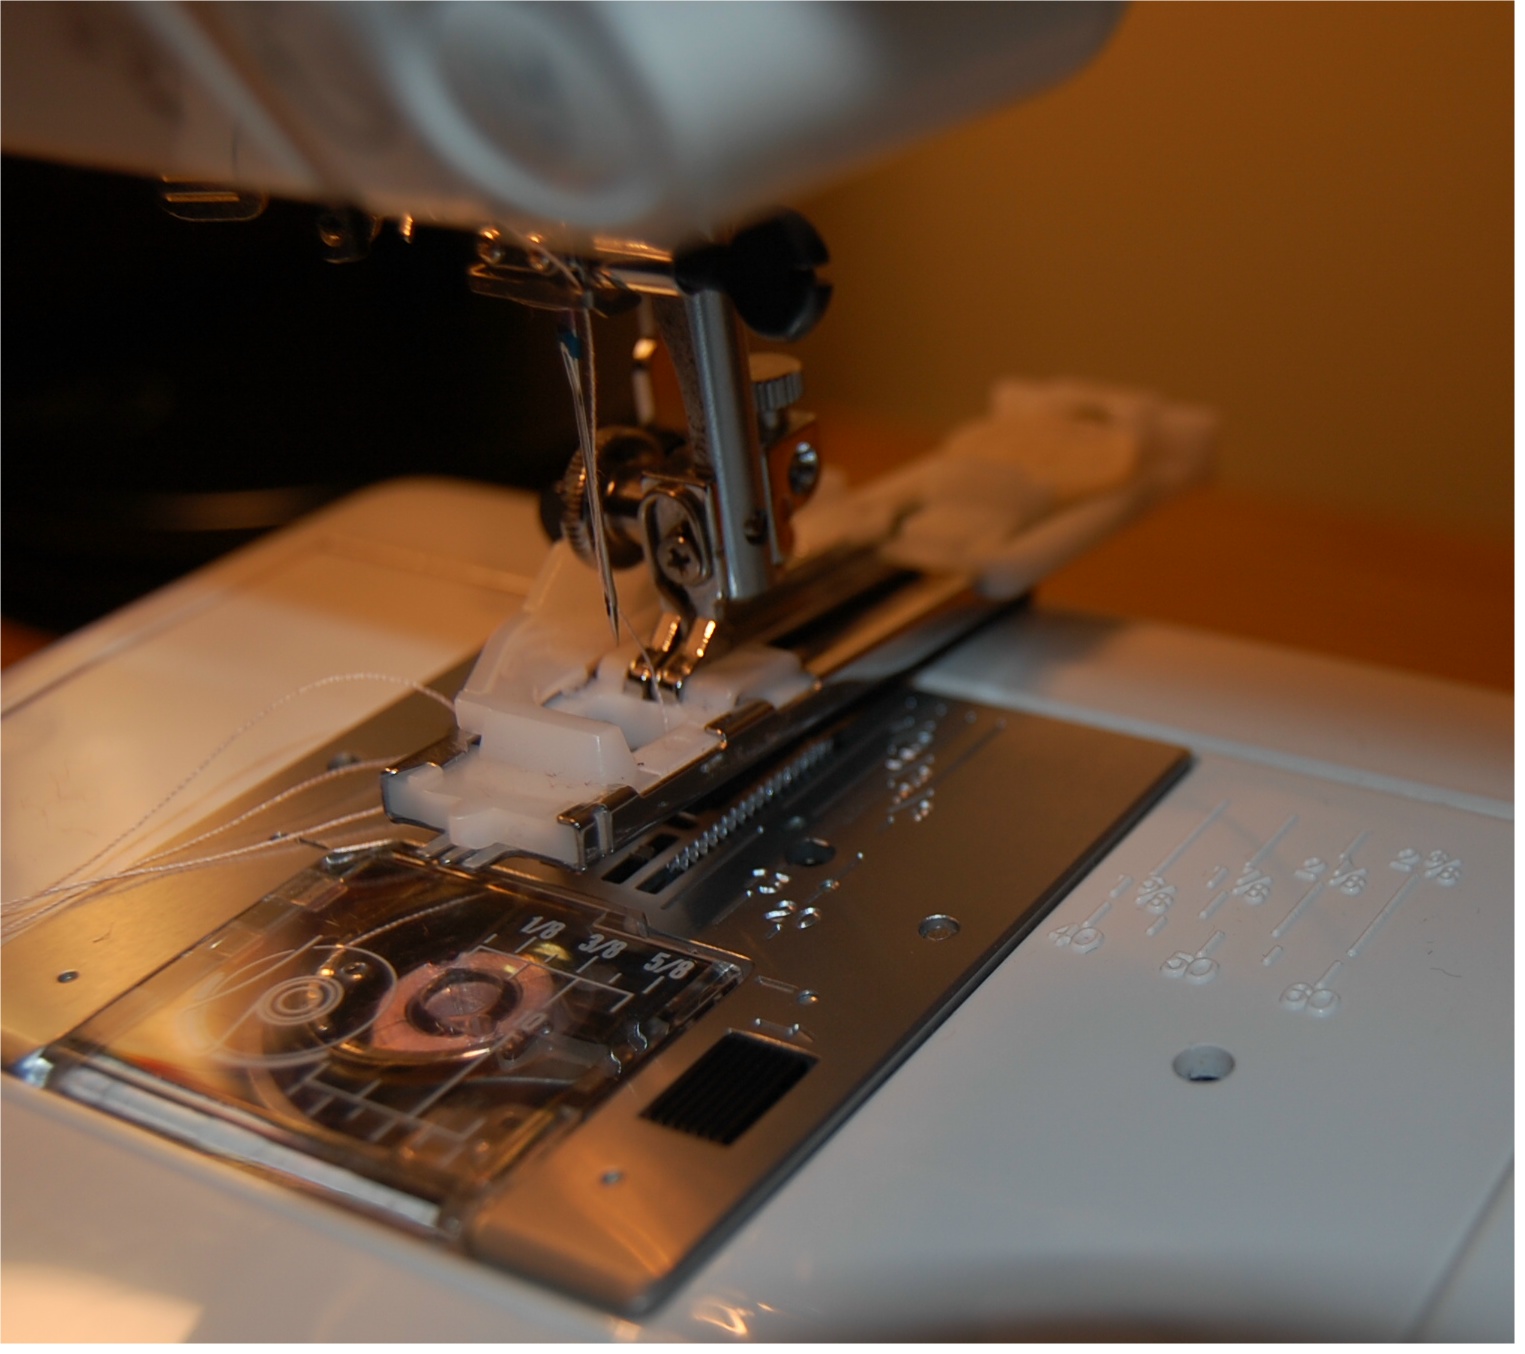
Buttonhole foot

   I was dreading the part where I had to start sewing buttonholes on the coat. The fabric frayed easily and I knew there was no room for ripping any stitches at this point. I knew I would end up with a mess and I was sure my coat would end up in the bin of failed or never-finished projects. I considered doing bound buttonholes but I've never done it before and after reading tutorials on it, I thought my fabric was not suitable. But to my pleasant surprise, all the buttonhole stitches turned out perfect!


Buttonhole Cutter and Snip Scissors

   Of course, no matter how perfect the buttonhole stitches are, if you don't have the right tools to cut, it will still end up in a mess. I have had this buttonhole cutter set for the longest time. And the super slim blade of the snipping scissors is perfect for making small precise cuts through the threads.

   It goes without saying to use the appropriate machine needle and thread. And of course, one can never sew without a good iron on the side.

4) Seams

   I did not bother to finish the seams of my coat or lining as they were going to be hidden inside the lining anyway. But next time, I will definitely finish the seams on the hem. When it was time to sew the hems together, the wool fabric started fraying and I am not sure with time how well the fabric will hold up to the pull of the lining.

   It is also important to press open the seams after stitching. I used a scrap piece of fabric for my pressing cloth and the wool responded to ironing with steam beautifully.


Wednesday, October 26, 2011

Think Pink


My first attempt at sewing a winter coat was inspired by the "Think Pink" contest of Pattern Review.com. I've always pined after Natalie Portman's pink wool coat in "Black Swan." Hers was a double breasted peacoat but I prefer the classic cut so I used Burda pattern 8292. This is my first time using a Burda pattern and the only thing I don't like about it is the lack of detailed instructions and illustrations. But sewing a muslin eliminated the need for any seam ripping later on. That would have been disastrous as the fabric I used for the coat frayed easily.

I didn't want to splurge on my first attempt for a wool coat so I purchased a dusty wool coating fabric that went on sale at Fashion Fabrics Club.

This is no Italian wool coating. It is a bit rough and has a basketweave like finish.
 For the price I could not complain.

For the lining I used a flannel-backed satin. This was a pleasure to work with as the backing eliminated much of the slipping and sliding one encounters with regular satin linings.

 Kasha satin in mink purchased from Vogue Fabrics.com.

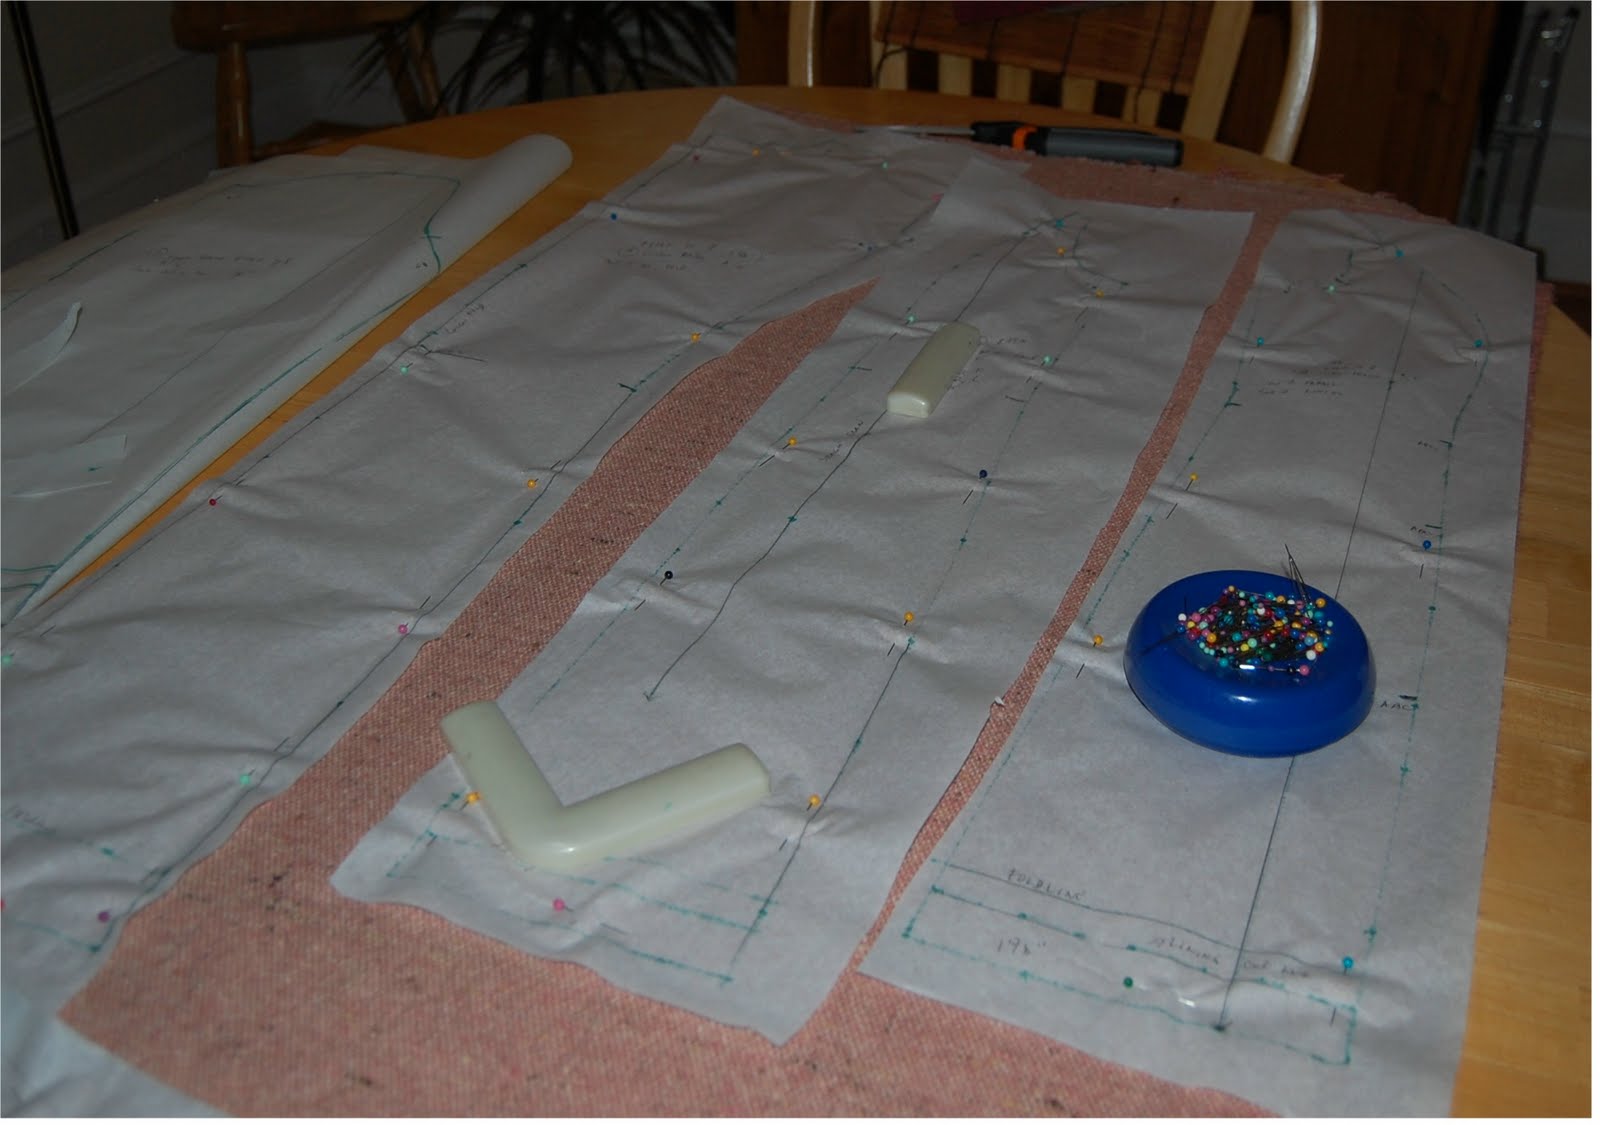
Since the smallest size on the Burda pattern was 36,
I had to do some adjusting on the pattern before
cutting the fabrics.


I used Pro-Weft fusible interfacing on the fronts, collars and hems. I was so glad this brand of interfacing did not require any pre-treatment at all!


Before I show the finished product, here are some more pics illustrating some of the steps in the sewing process. To me, the only confusing part was the collar section. I found out that by pressing the seams open after each step, it was easier to figure out how the undercollar and collars attach to each other.

Attaching the pocket and pocket facing.


Sewing the front seams.


Sewing the back side seams.


 Sewing the front self facings.


Sewing collars.


Basting undercollar to collar.


Finished collar.


Collar attachments to be sewn together.


Bottom hem.


Sleeves


Lining assembled.


Lining attached.


 Hemming the lining.


Buttonholes finished


Attaching the buttons.


I attached smaller buttons on the wrong side of the coat to anchor the outside buttons.

Overall I am happy with this project. But I think my daughter is happier as she ended up with the coat. Although I originally intended this challenge to come up with something I could wear, I decided to let her have it as it fitted her better.


Thursday, September 29, 2011

My Crescent Skirt

Hot off the sewing machine is my latest sewing project.
 I started off sewing this skirt for my favorite client (my daughter) but after trying it on, I fell in love with it and decided to sew one for myself!


Typical of my "fabriholic" ways, I purchased this polka dot cotton twill stretch fabric from Gorgeous Fabrics after falling in love with the colors of the dots even though I had no particular project in mind. As fate would have it, the website had a pattern suggestion and one thing led to another. I ended up buying the Crescent Skirt pattern from Tasia of Sewaholic.


The pattern was multisized from 0-16 and I traced two sizes, one for me and one for my daughter. I decided to sew the version with the least amount of gathering.


Attaching the single-piece side pocket to front skirt.


Assembling the yoke front and back.


Topstitching on yoke.


Yoke attached to the skirt.


Zipper attachment.


Twill tape applied to seam.


Back view of finished skirt.


Close-up of side pocket. Love the pockets!


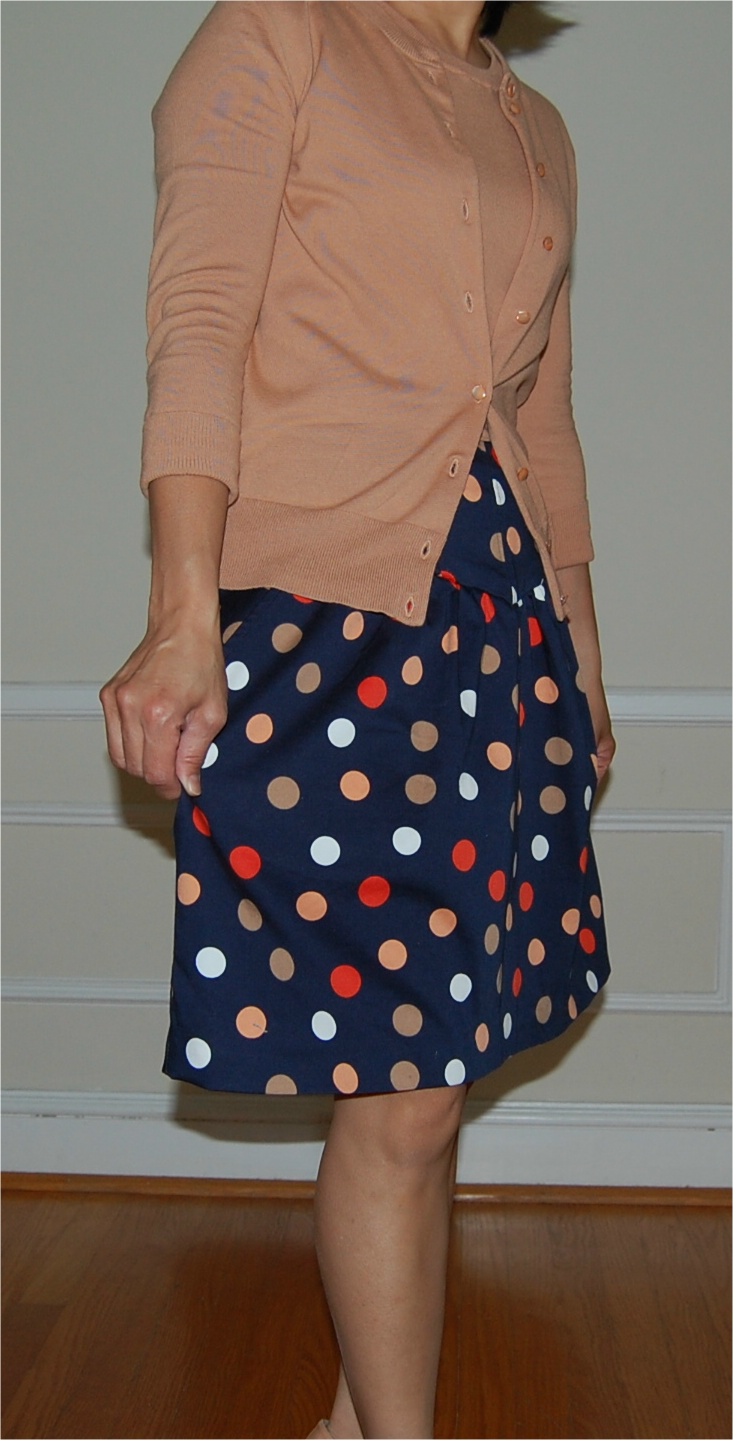
Stylin' my skirt with J. Crew Jackie cardigan and shell and Stuart Weitzman "Blog" pumps.


 Skirt worn with sweater shell tucked out.


With shell tucked in to show off the yoke.


 Back view of skirt.


 Side view of skirt.

This pattern is definitely worth its price. Sewing the skirt is a breeze and the techniques included make for a professional looking end product. You will probably see more of this silhoutte from me in the future!


Tuesday, September 27, 2011

The Monique Dress

I haven't posted for such a long time! Visiting relatives and son going to college got me distracted. I still managed to sew several outfits for my daughter but just did not get the chance to post them here. So let me introduce "The Monique Dress."


I loved sewing this dress. The pattern was so simple, yet it gave me the option to be creative and mix several different fabrics to make a unique, one of a kind dress. I’m sure the chances of my daughter bumping into somebody wearing the same outfit are nil!


 Fabrics and pattern (Boutique Chic by Serendipity Studio) were purchased from Jackman's Fabrics.