
I had less than a yard left of this beautiful Italian silk from Theory (purchased from Emma One Sock) and I thought the abstract design would work well with the bias cut of the pattern. I have sewn two other tops using this fabric pairing it with Butterick 5450 and Salme 150 patterns.


To facilitate the pattern layout on this fabric, I duplicated the front pattern piece so I could lay it out as one whole piece.

Because the main fabric was a bit sheer, I opted to fully line it with Japanese cotton voile in light ivory, also purchased from Emma One Sock. I just used the main front and back pattern pieces for the lining. That made it simpler because I was able to do away with using facing for the neckline and armhole.
Since this is such a simple pattern, I'm just summarizing a few construction notes worth remembering:
1. I did not want to use any markers on my silk fabric so to construct the bust darts, I followed my usual method for dealing with such fabrics. Details can be read in this previous post.
 |
| Using removable template for the bust dart. |
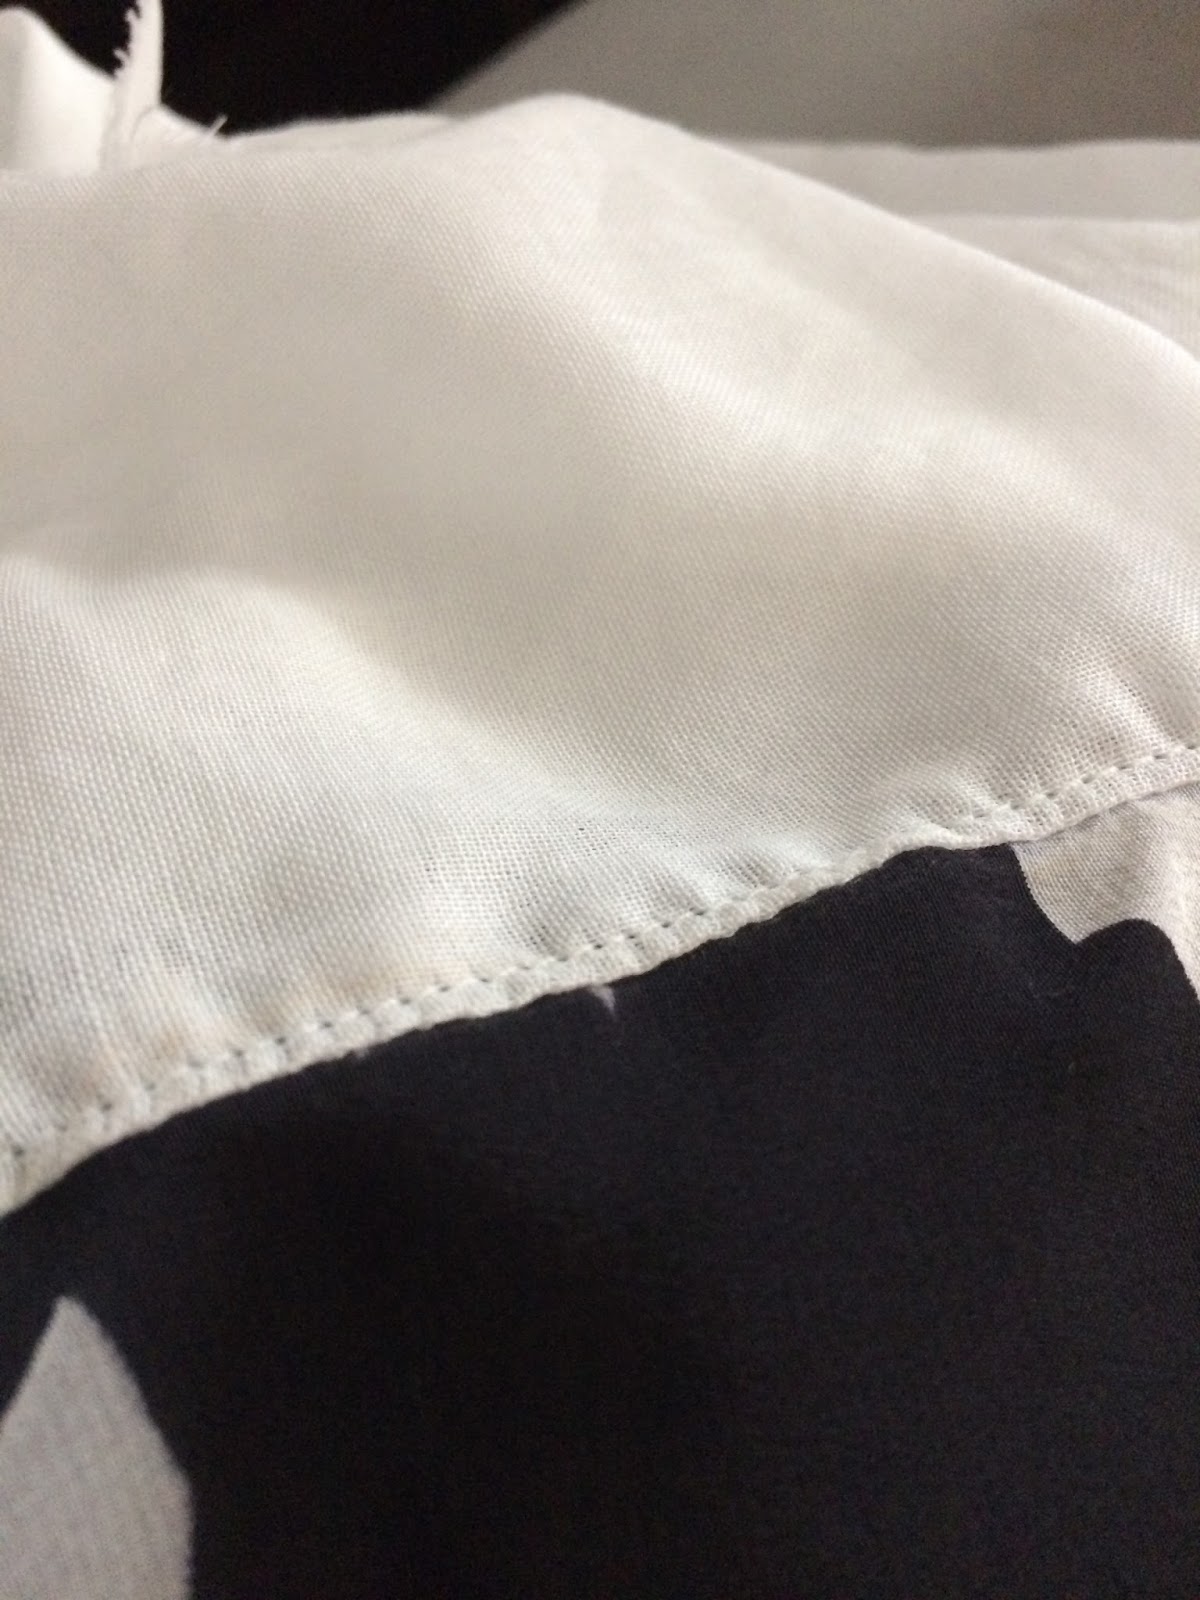
2. Because my fabrics were very lightweight, I used French seams to finish the side and shoulder seams.
 |
| Trimming along the initial 3/8" seam for the French seam finish. |
4. To attach the lining to the main fabric, I sewed the two pieces along the neckline. To finish the seam, I just used a double layer of straight stitches and trimmed close to the edge.


5. Instead of topstitching along the outside of the V neck, I understitched to keep the lining in place.
6. To sew the armhole edges of main and lining fabrics together, I used the "burrito" method. This was done by aligning and sewing the armhole edges of the main and lining fabric one side at a time with the rest of the top sandwiched in between the two layers.

7. After the neckline and armholes were constructed, it was easy enough to finish the side seams.
8. For the bottom hem, I opted to sew a rolled hem using my serger. For the lining I just used a double narrow hem.


My Juki MO 654DE has a built in roll hemmer. I only had to follow the rest of the instructions and didn't have to fiddle much with the tension settings at all to achieve a nice hem.

Use only the upper looper, lower looper and right needle.

Set the lower knife adjusting knob at 1-2.

Turn the overlocking width selection knob to align with the red marking on the throat plate.

Set stitch length to 1-1.5.
One thing to remember is take note of the previous settings before adjusting everything to the roller hem settings.
For the tension settings, I used 5 for the right needle and lower looper, 8 for the upper looper. I tested first on a small piece of main fabric scrap.


Needless to say, this won't be the last version. Maybe for next time I might lengthen the hem to make it a tunic.
It is stunning, thanks for the inspiration
ReplyDeleteThank YOU!!!
DeleteWow! I love this silk version on you! It is beautifully made, and looks great with the cardigan too.
ReplyDeleteThanks so much Vanessa!
Delete