I wasn’t really looking for a pants pattern when I visited
Jo-Ann’s last month but Simplicity 8956 was on display and it caught my eye. I
had a little over a yard left of a linen fabric and I was on a quest to sew as
much from my stash this summer as possible. I thought the features which included front pleats, back darts, notched waistband, trouser pockets and belt were perfect paired with my woven fabric.
 |
| Granted the wide legs may not be the ideal choice for someone short like me, I still decided to give it a try! |
Sizing
When it comes to bottoms, I tend to choose pattern size
based on my hips. Having a straight figure with a waistline that is almost as
wide as the hips, I find it easier to just grade up from the hips to the waist.
A quick check of the finished garment measurements printed on the pattern paper
helped me make a quick decision on which size to cut. I still sewed a muslin to
check on the fit at the crotch. This being a wide-legged pair, I was not too
worried about the fit around the thigh and legs.
Fabric

I have some leftover Kaufman Essex linen blend in my stash.
It is a 55% linen/45% cotton and labeled as lightweight (5.3 oz/sq yd) at
Fabric.com. However, it felt more midweight to me, perfect for pants.
I pretreated the fabric by pressing before washing. I used the hot water setting on the washing machine then used the highest setting on the dryer. However I did not let it dry totally but took it off when it was still damp and just let it hang to dry.
Construction Notes
Finishing edges
The directions and illustrations on the pattern are easy to
understand. My only constructive criticism is the lack of attention dedicated
to finishing the seams. I thought it would at least be mentioned in the general
directions but nada. It is easy, especially for a beginner, to just keep on following the directions and realize one needed to finish some edges prior to stitching seams. Here are a few examples:

The center front and back seams will be sewn
together only after the center back zipper has already been sewn. It would be
wise then to finish the edges first before attaching the zipper.

Since my fabric tended to fray, I also finished the edges of
the belt loops before sewing them down in the final step. FYI, those edges will not be hidden in between seams but folded down and sewn in place.
Zipper Attachment

Before sewing on the invisible zipper, I added a 1” strip of
lightweight iron on interfacing along the seam allowances.

To ensure the two sides of the pants match at intersecting seams, I hand basted the zipper to test.


 |
| View of the back after zipper was attached. |
Woven Belt

The Finished Garment


 |
| View of pocket's wrong side. |
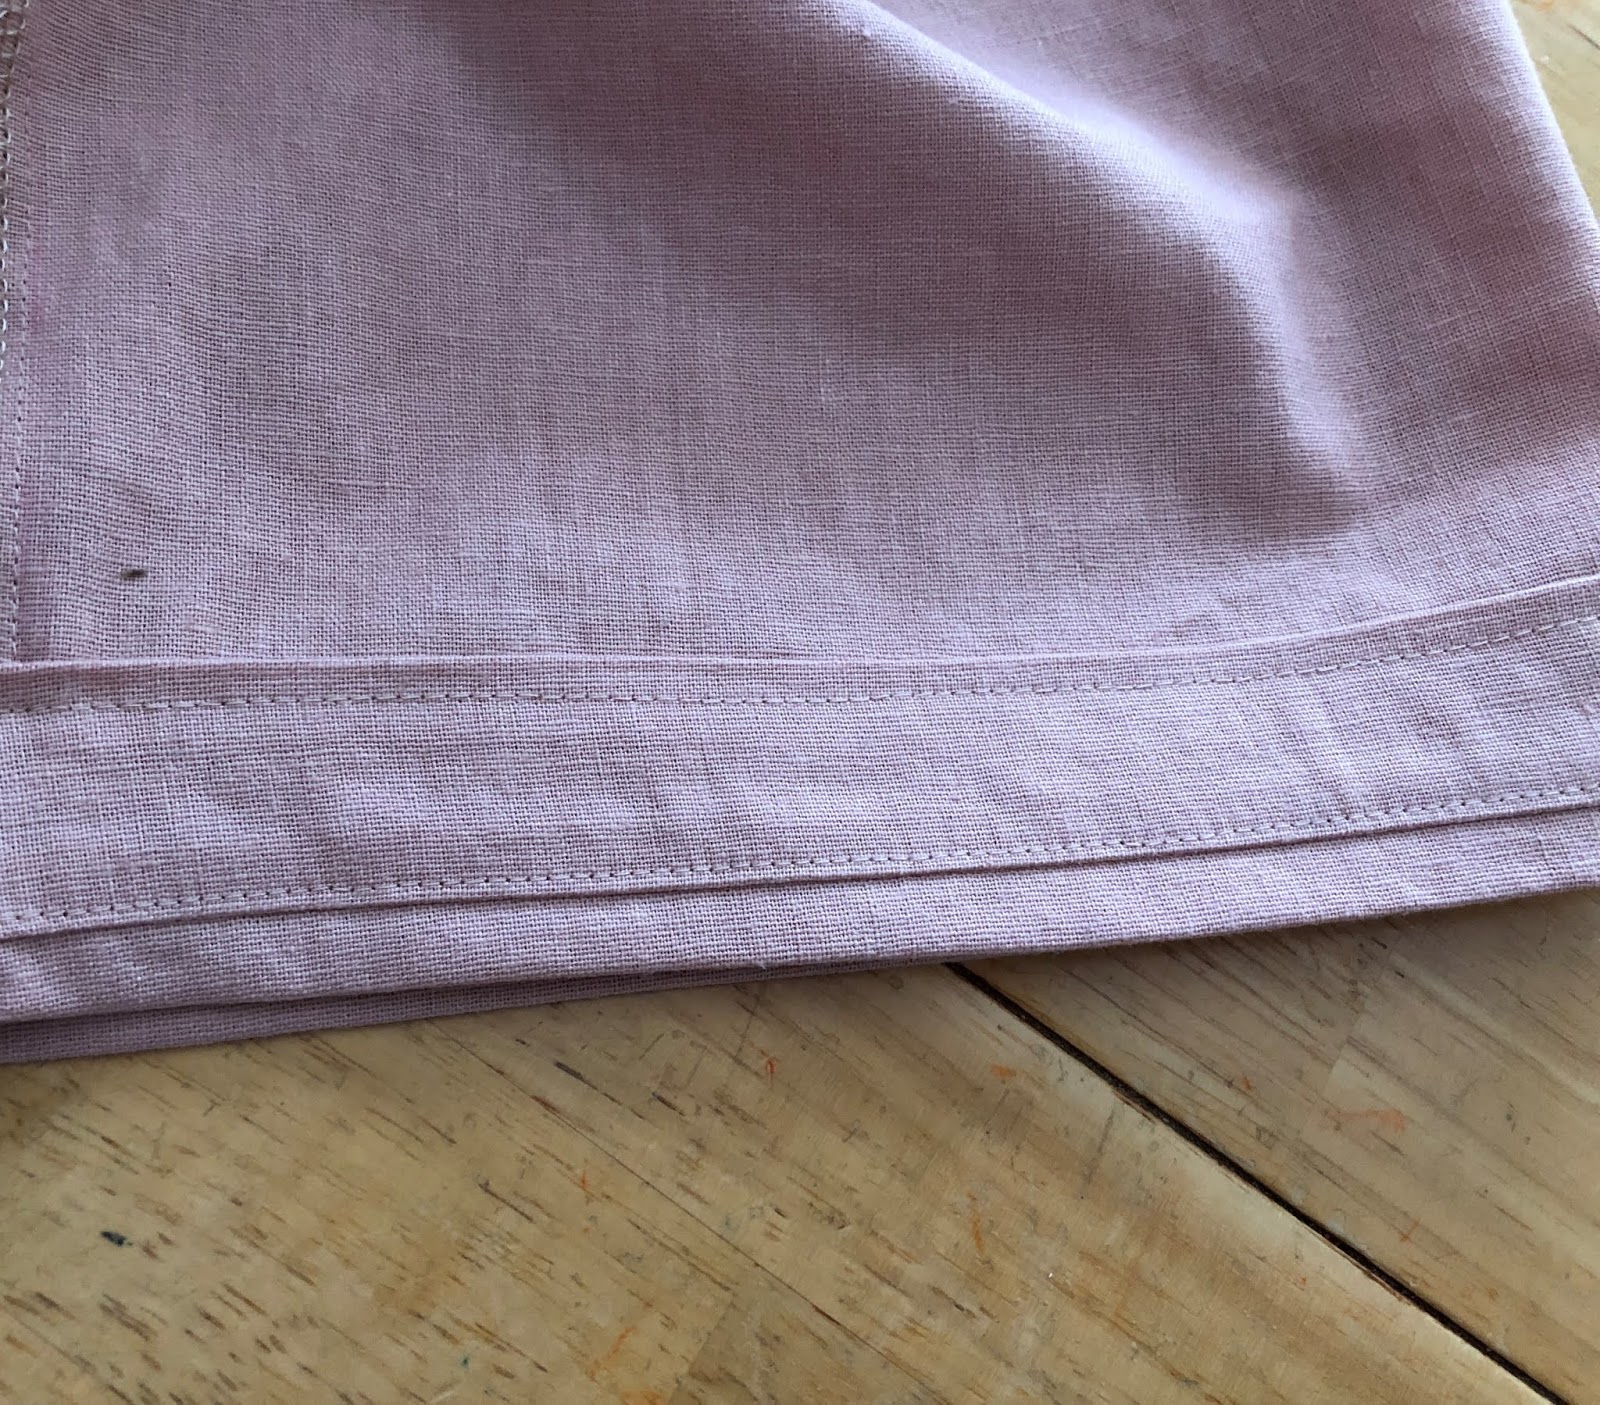 |
| View of the hem. I had to add a hem facing to extend the hem length as I was short on fabric. |


While sewing this project, I thought to myself I probably would not make another one. I had doubts about how a wide-legged silhouette would look on my super short stature. I also thought the only way to wear it was with tucked in top and I prefer to wear my tops untucked. But after trying the pants on with different tops, both tucked and untucked, I thought I might be able to get away with the style.
 |
| Shown here with a J. Crew tee purchased a long long time ago. |
After trying it on the first time, I decided to shave off about 1" from the width of the pant legs, starting at the bottom then tapering to nothing at mid-thigh.

 |
| Paired with a recently sewn Salme Hannah top. For pattern used, check out my review here. |
 |
Worn with top tucked out (belt removed to reduce bulk). The top shown here was a recently sewn version of Burda 8987 which I originally blogged about here.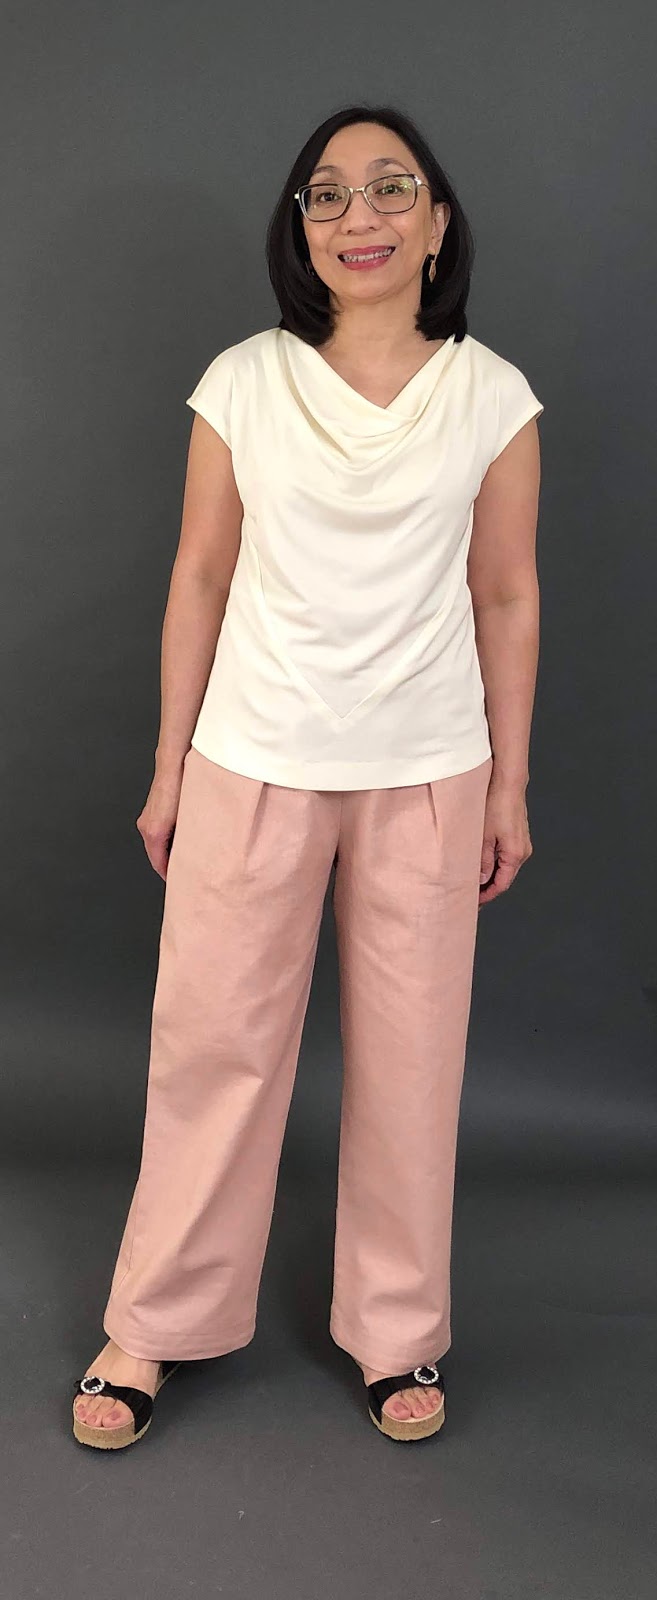 
Finally paired with Paco Peralta draped top which posted about here.
|
So what do you think? I will definitely be wearing this but should I make another version or stop at this?
They're beautiful! Essex Linen is my favorite fabric for making pants. Yes, definitely make more of these. The style looks great on you, both tucked and untucked, and the fit is great.
ReplyDeleteThanks for the vote of confidence Barbara! My first time sewing with Essex linen and I like the way it has a little bit of body to it.
DeleteThese look lovely, both with tops tucked in and out.
ReplyDeleteThanks Katherine! I'm glad I have options on how to wear this. I have a feeling I'll make the most out of the pants while it's still hot here!
DeleteLOVE them!!! And good call on narrowing the legs down. I think they look great with all of the tops you've paired them with.
ReplyDeleteThanks so much! Wore them last Sunday and they were so comfy! I really was pleasantly surprised at how good the color went with a lot of colors.
DeleteGreat will finally make a pair.
ReplyDelete